Welcome to the Control Freaks October 2012 Tour! You are probably arriving here from LeeAnn Greff’s blog! Didn’t she have some awesome projects?!?! This month’s theme is “The Men in our Lives” featuring masculine projects. The men in my life would be my dad, my brother… oh and me! LOL! I love to do masculine projects, there are some great stamp sets that you can use. I have featured some of my favorites, Postage Due, Fine Feathers, Nature Walk and You’re Amazing. I have two 3D projects to share with you today. The first one is a box and the second one is a banner. We’ll start off with the box.
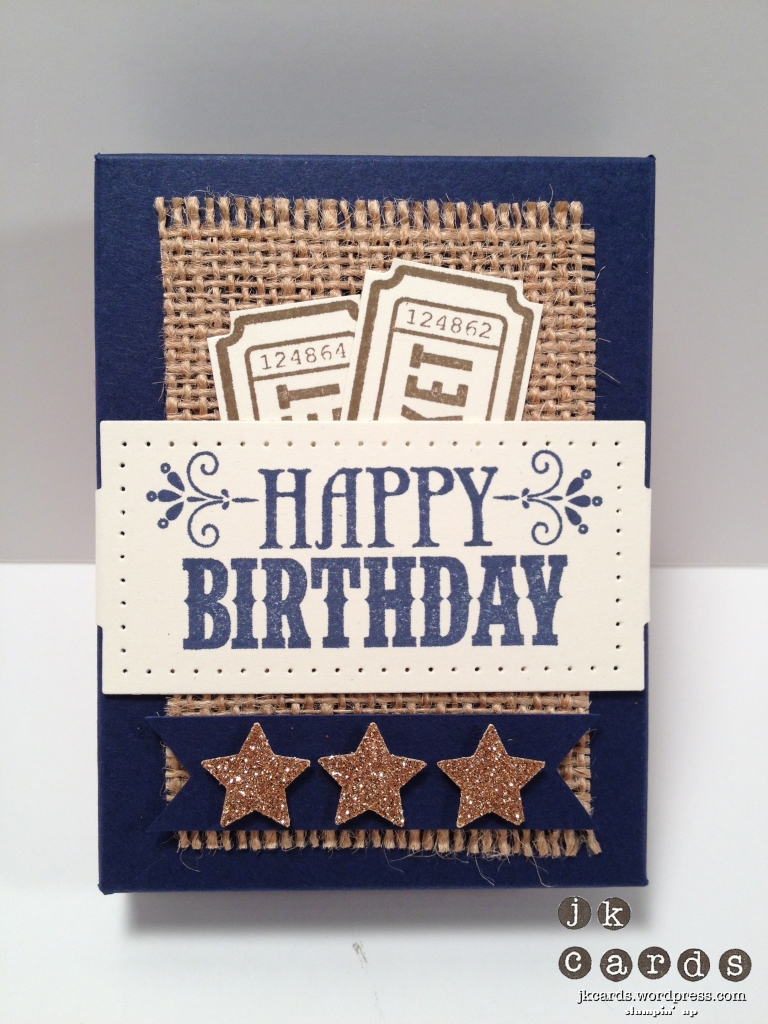
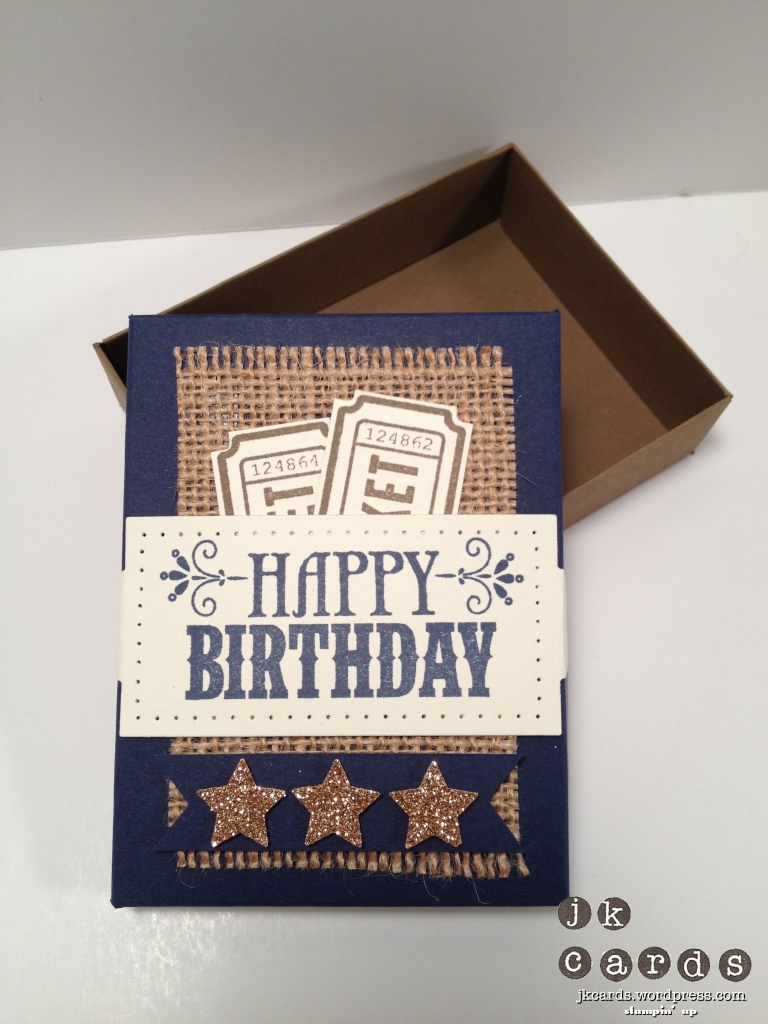
The bottom of the box is Soft Suede and the top is Night of Navy. I used my Simply Scored Scoring Tool to create it. A great tip to remember is when you go to make the lid move your card stock ever so slightly over to the right for each side. It really helps the lid fit much better. I used a piece of burlap for the background, it gives it a nice rough feel. The greeting is from the You’re Amazing Stamp Set and is stamped in Night of Navy. I used the Apothecary Accents Framelits Dies to cut it out and the Essentials Paper-Piercing Pack and the Paper-Piercing Tool to pierce around the edge. I scored the tabs and adhered them to the sides of the lid with Sticky Strip. The two tickets poking out are stamped in Soft Suede using the Take a Ticket Wheel and cut out with my Paper Snips.I flagged a piece of Night of Navy and adhered it with Stampin’ Dimensionals to the burlap. Some Champagne Glimmer Paper is punched out with the Merry Minis Punch pack and they too are adhered to the flagged piece with Stampin’ Dimensionals. The box is not overly complicated and I think makes a nice place for your dad or brother’s birthday gift!
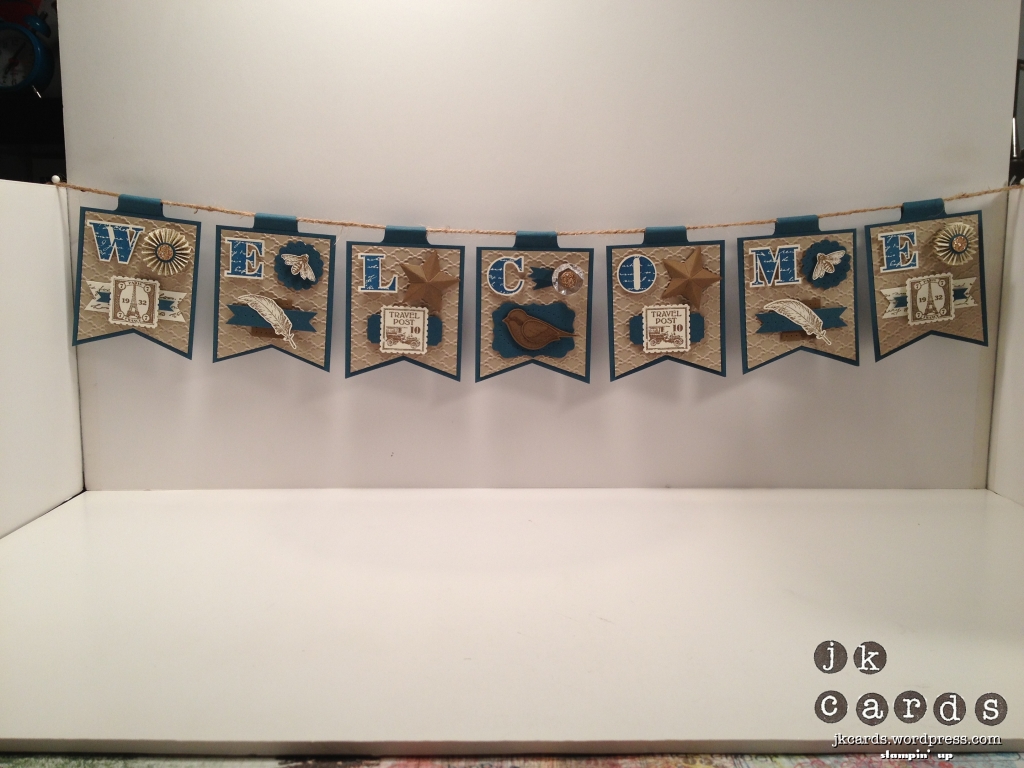
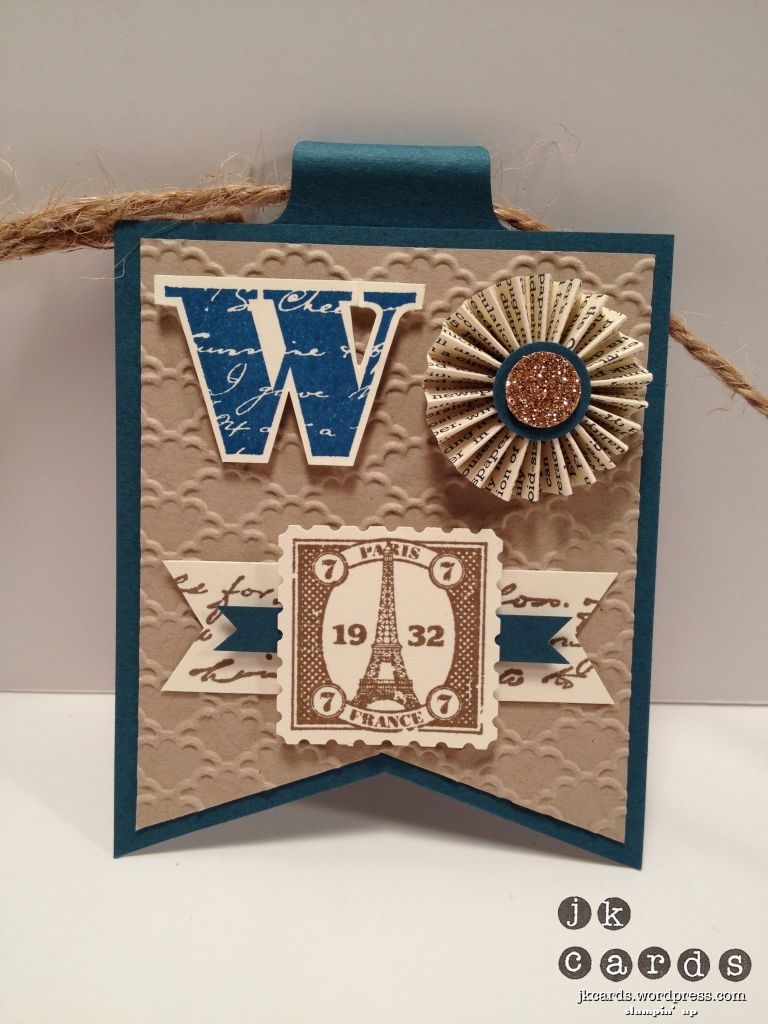
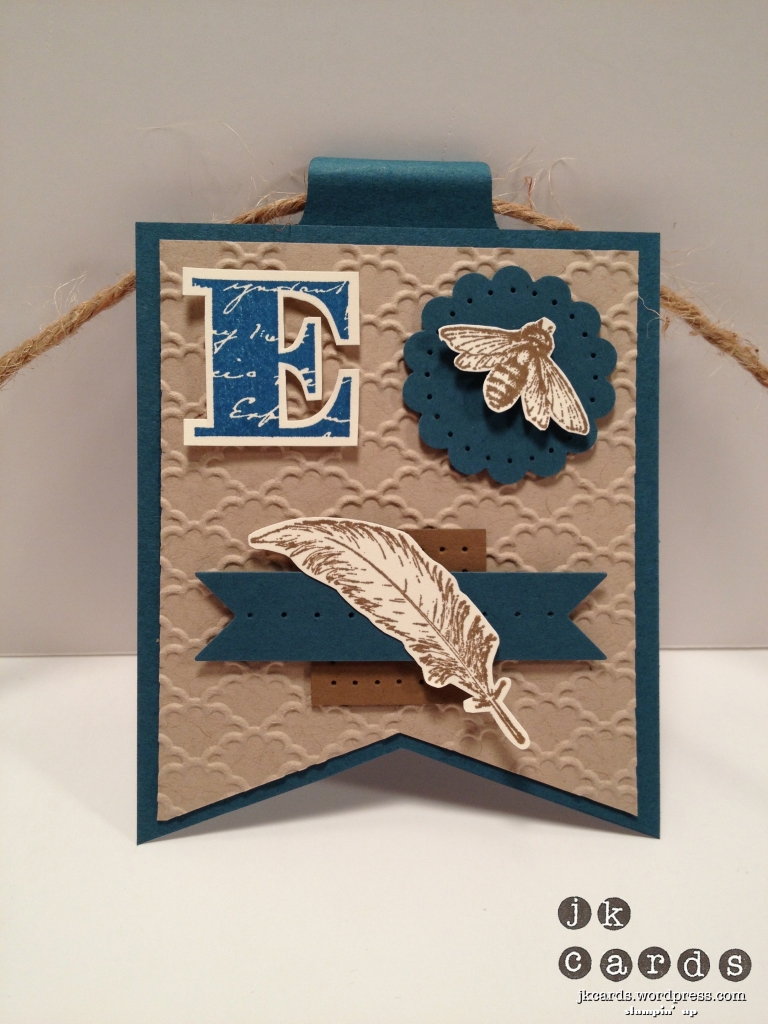
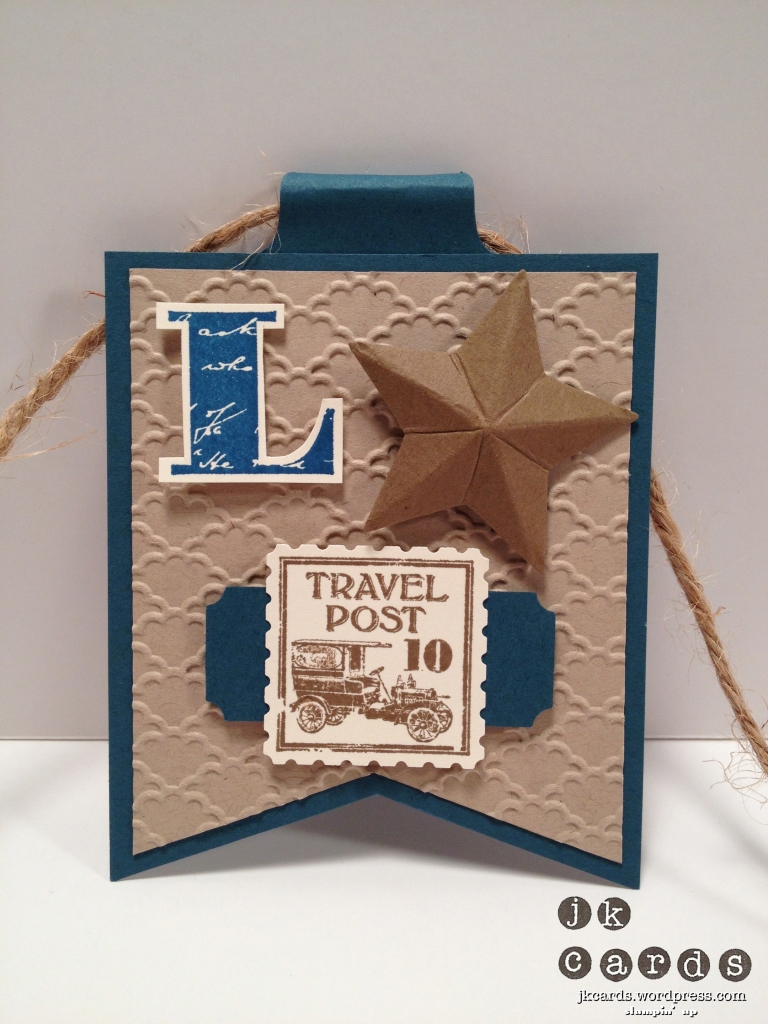
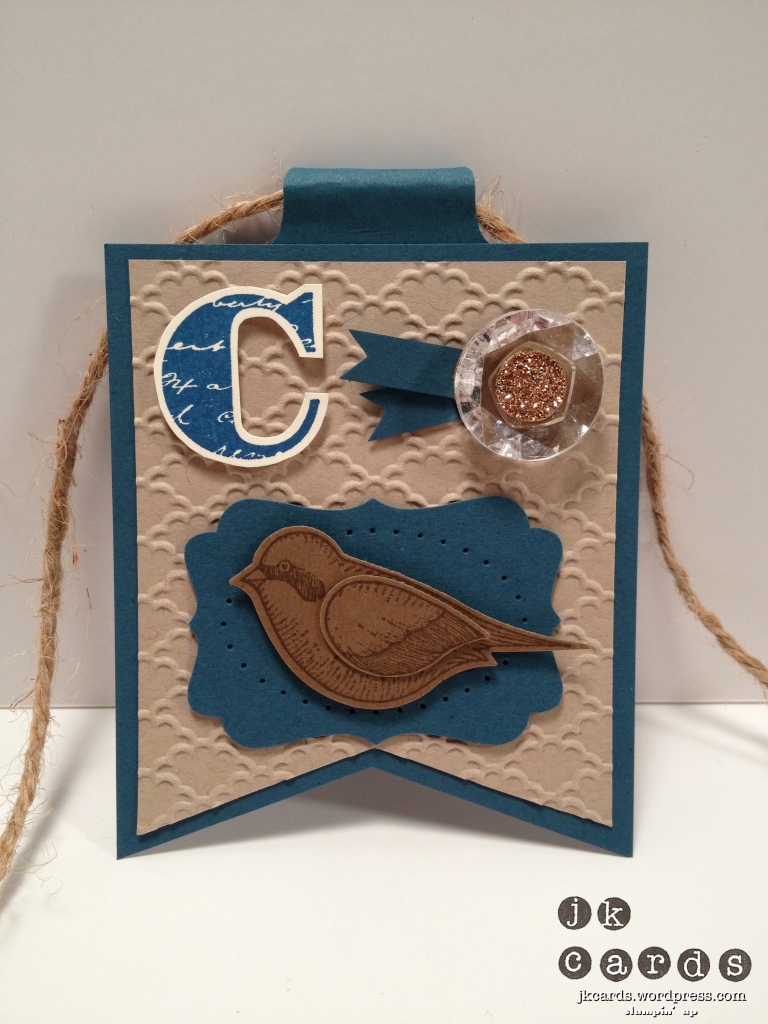
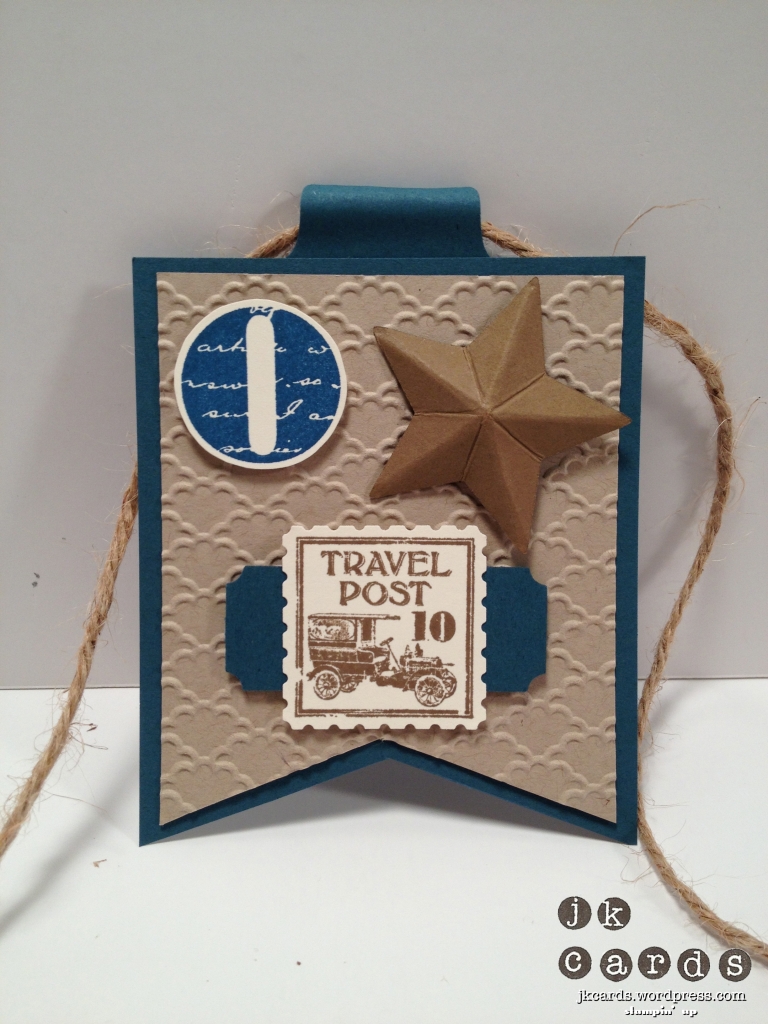
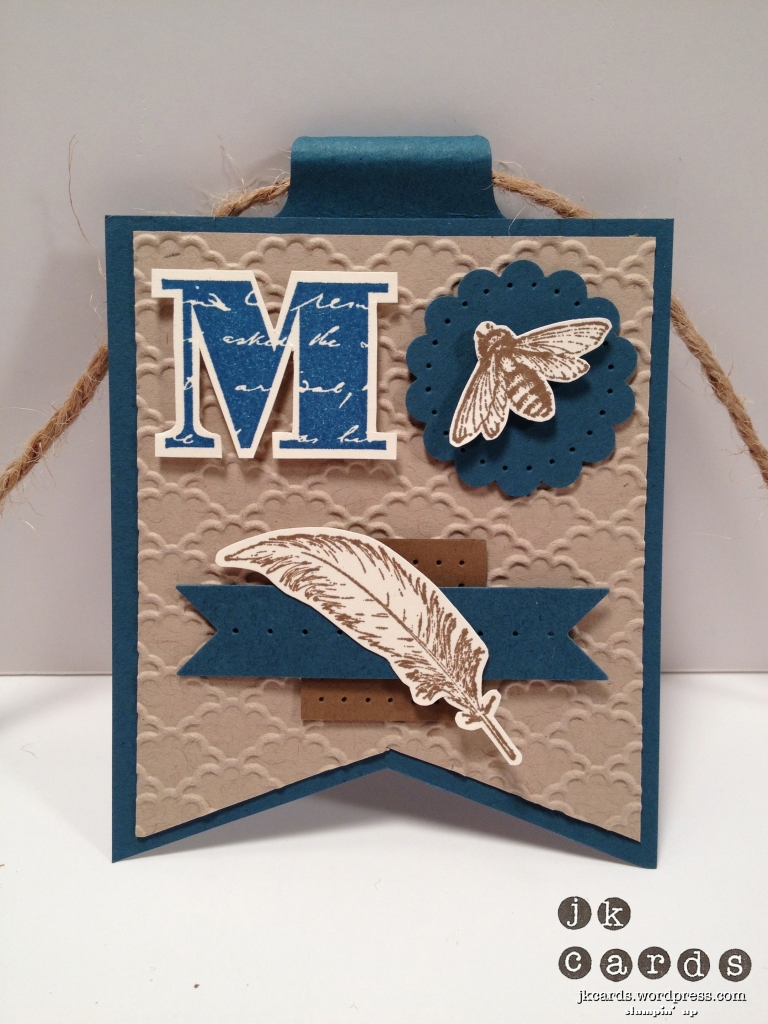
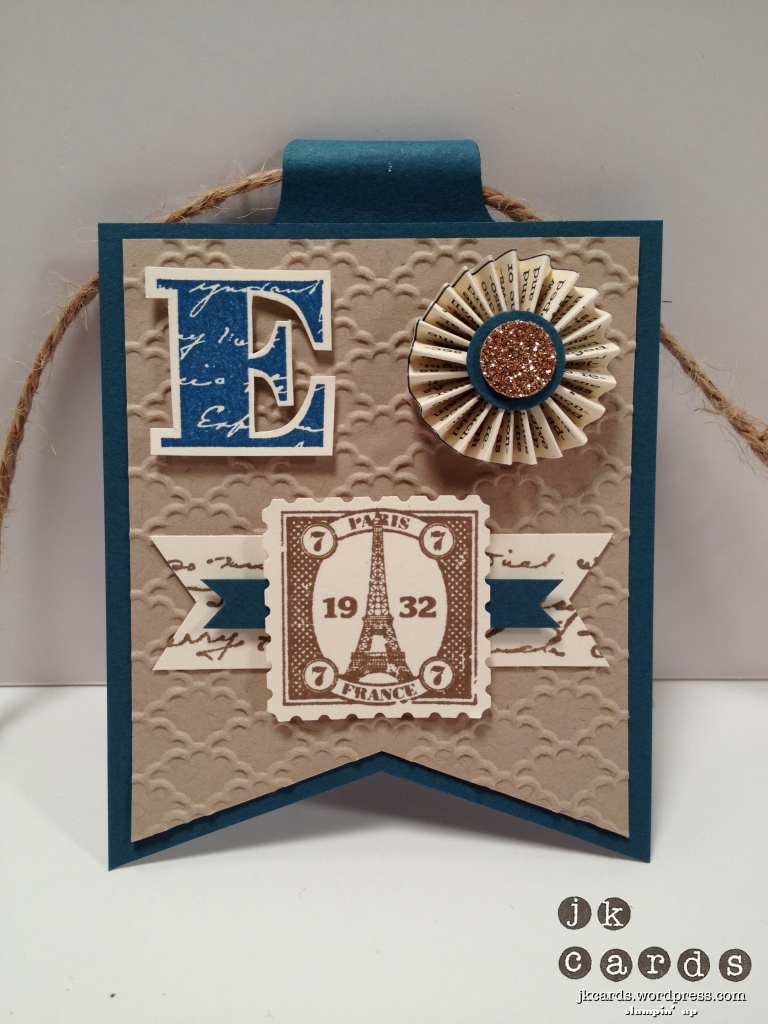
The banner contains a lot of elements! The base of each banner consists of a piece of Not Quite Navy that is flagged on the bottom and a piece of Crumb Cake that is also flagged on the bottom and the embossed using the Fancy Fan Textured Impressions Embossing Folder. All of the letters are stamped in Not Quite Navy using the Morning Post Alphabet and cut out with my Paper Snips. On the first and last banners we have a piece of Very Vanilla that is stamped using the Travel Journal Builder Wheel in Soft Suede and then flagged on both ends. A thin piece of Not Quite Navy is flagged and placed on top of that. The stamped image is from the Postage Due Stamp Set and is stamped in Soft Suede and punched out with the Postage Stamp Punch. The rosette is made from First Edition Designer Series Paper and has a piece of Not Quite Navy and Champagne Glimmer Paper punched out with Circle Punches. The second and sixth banners have a piece of Soft Suede punched out with the 1″ Square Punch and pierced around the edge using the Essentials Paper-Piercing Pack. A piece of Not Quite Navy is flagged on each end and pierced along the middle and placed on top of that. The stamped image is from the Fine Feathers Stamp Set and is stamped in Soft Suede and cut out with my Paper Snips. In the upper corner is a piece of Not Quite Navy that is punched out with the 1 1/4″ Scallop Circle Punch and pierced around the edge. The bee is from the Nature Walk Stamp Set and is stamped in Soft Suede and cut out with my Paper Snips. The third and fifth banners have a piece of Not Quite Navy that is punched out with the Ticket Duo Builder Punch. The stamped image is from the Postage Due Stamp Set and is stamped in Soft Suede and punched out with the Postage Stamp Punch. The 3D star is cut from a pattern and scored using the Simply Scored Scoring Tool, folded and mounted on a few Stampin’ Dimensionals. Finally the center banner has a piece of Not Quite Navy that is punched out with the Decorative Label punch and an oval is pierced in the center. The bird is from the Language of Friendship Stamp Set and is stamped in Soft Suede on Soft Suede and punched out with the Bird Builder Punch. In the upper left corner is a Vintage Faceted Button with a piece of Champagne Glimmer Paper in the center and a piece of Not Quite Navy cut out with the Bitty Banner Framelits Dies, cut in half and adhered underneath.
WOW! That was a lot of product! LOL! I really hope that you enjoy my two projects for this month’s Control Freaks Blog Tour. Don’t forget to click on the link below and visit Cindy Major to see what great projects she has in store for you! Thank you for stopping by to see me and don’t forget to leave a comment! Have a Freaky Day! 🙂

