

Hello everyone and welcome to the September Control Freaks Blog Tour Featuring Halloween Projects! I’m on a plane at the moment on my way to see a very good friend. Nothing like posting from 30,000 feet! If you are following the tour you should have arrived here from my good friend and very talented stamper Sandy Mathis’ blog. Her projects were just amazing weren’t they?!?! I have two fun and different projects for you this month. A nifty Halloween Wreath and a fun Halloween clock! Yes… a clock!
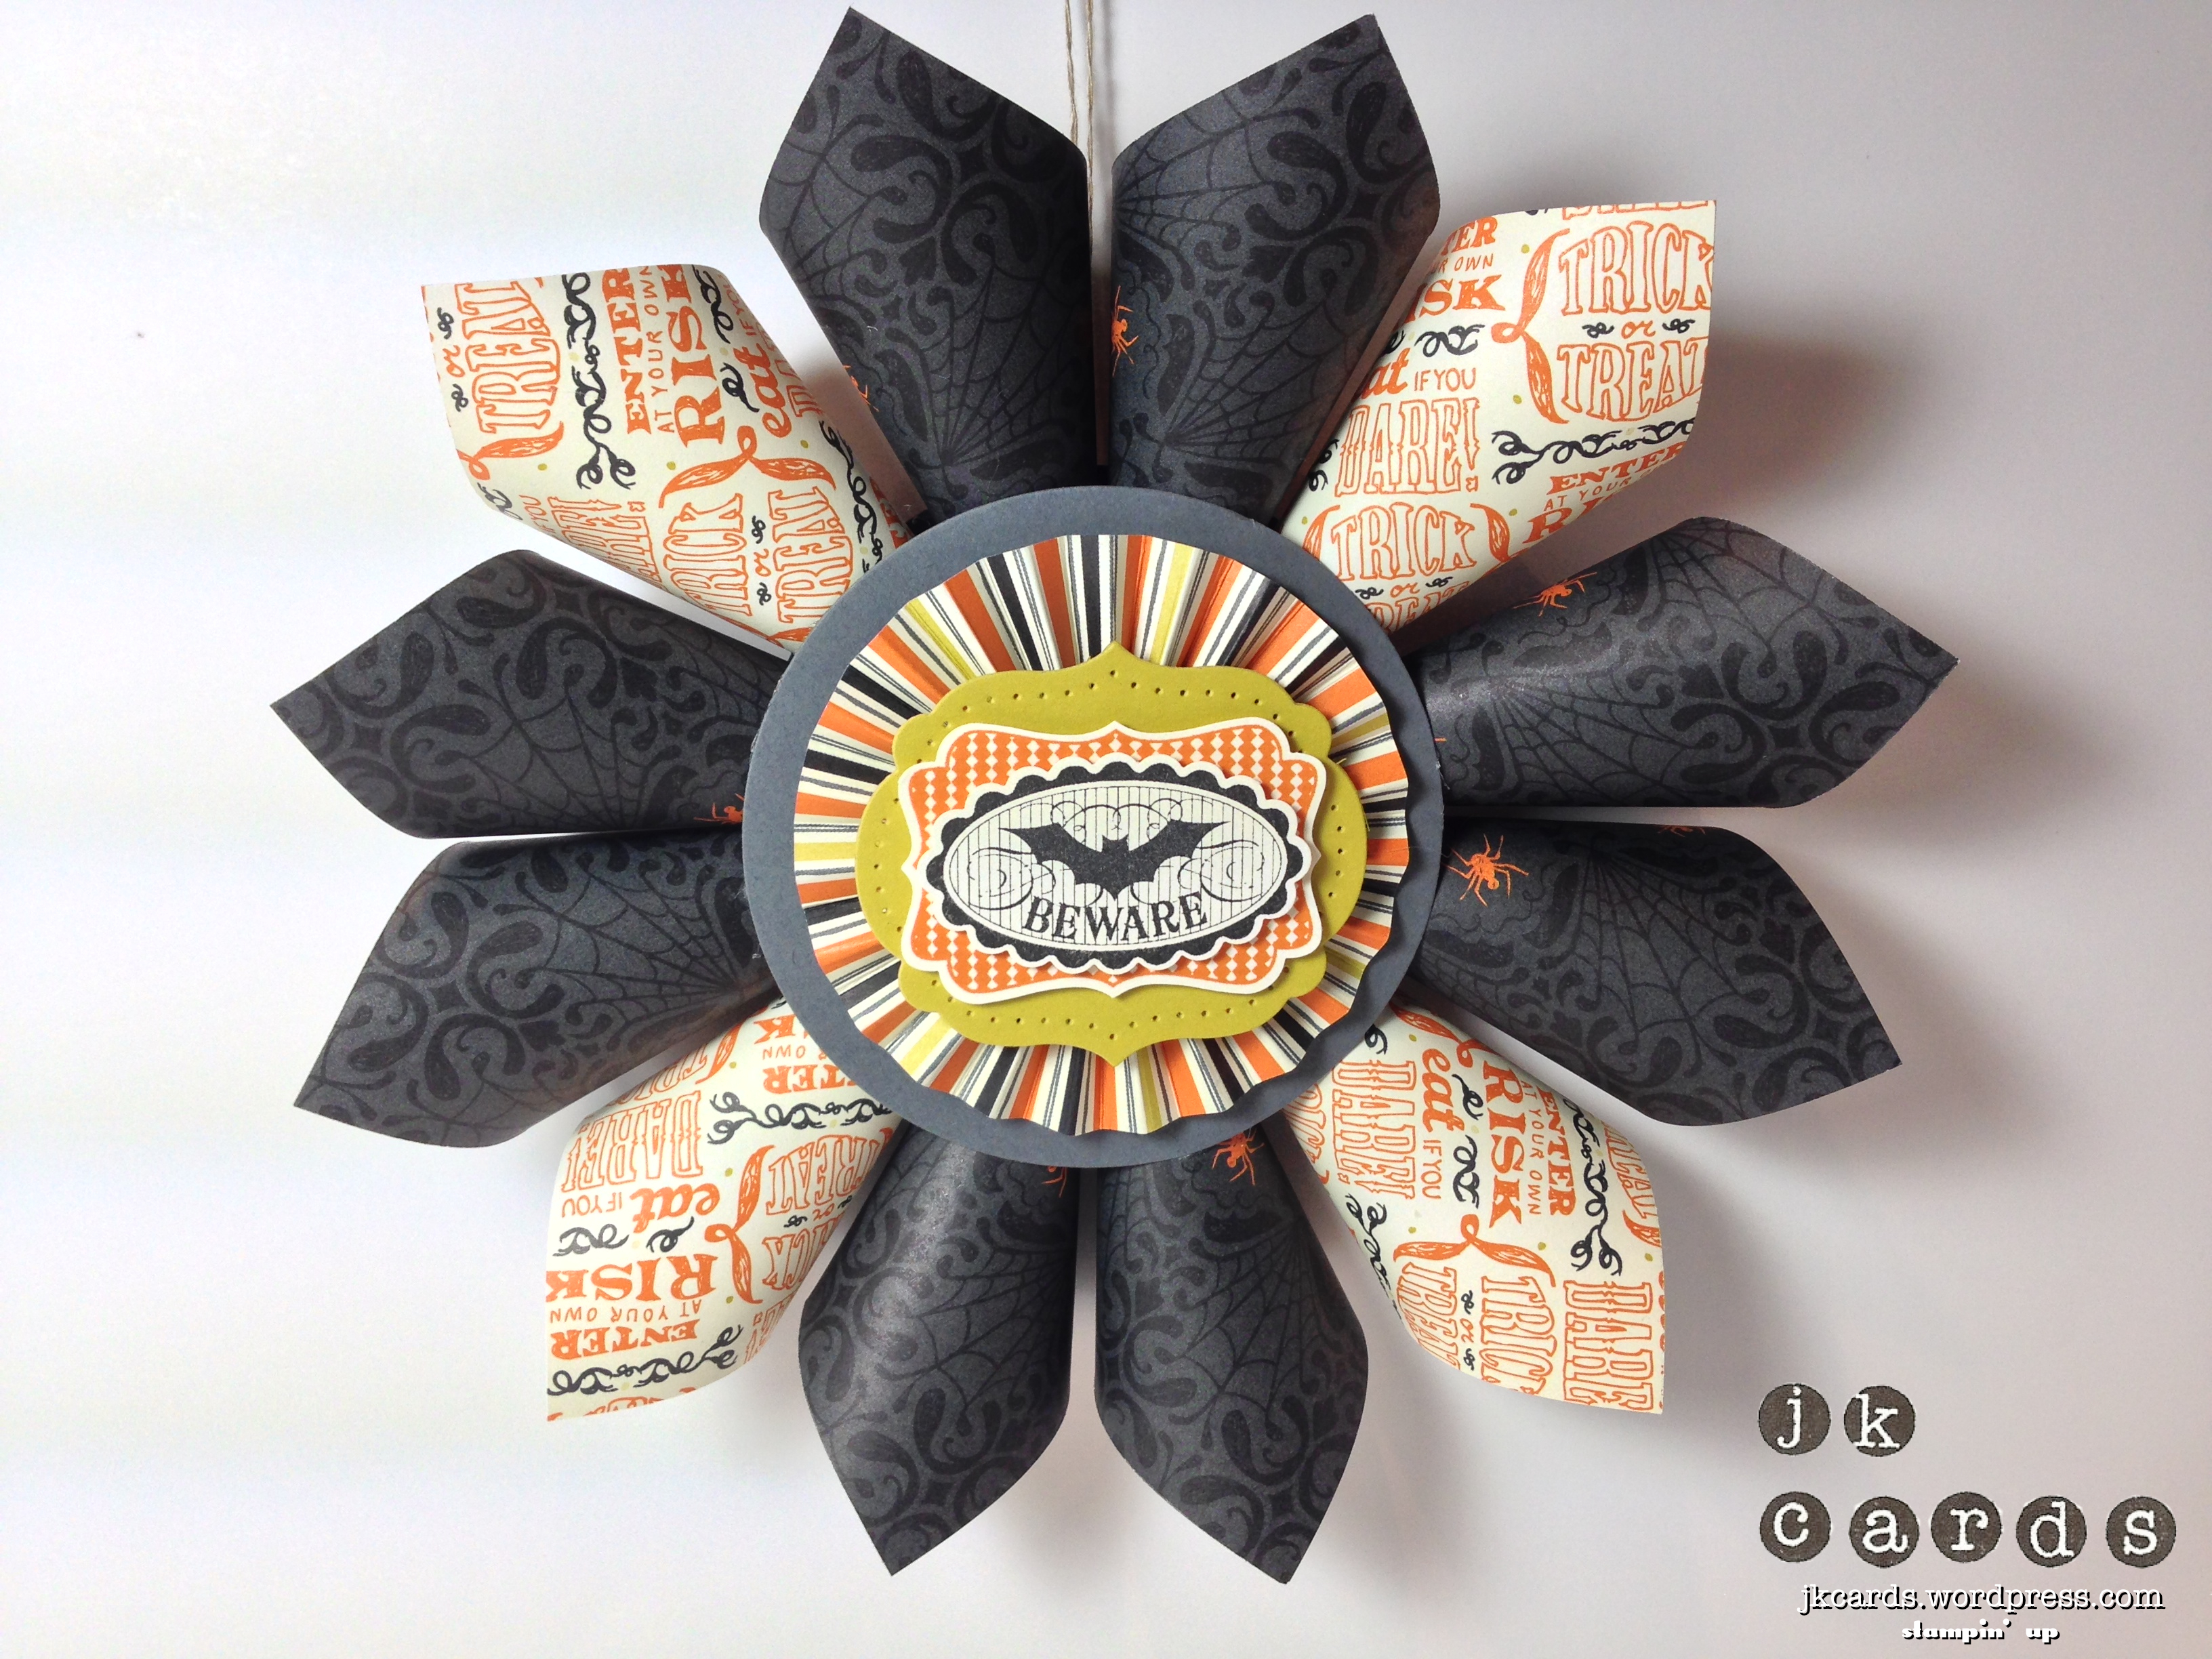
First up I have my Wreath. I was in a store the other day and I saw this pre-packaged halloween wreath and I thought well I can make that with my Stampin’ Up! goodies so that’s exactly what I did! For the backing of the wreath I cut out a piece of Basic Black Card Stock with my Circles Collection Framelits Dies. The cones are made from 12 sheets of Witches’ Brew Designer Series Paper cut in 4″ x 4″ squares. Out came the hot glue gun and after about two full sticks my cones were assembled and glued to the base. The center of the wreath is a piece of Basic Gray, again cut out with the Circles Framelits, and a rosette made from some more Witches’ Brew DSP. A piece of Summer Starfruit cut out with the Labels Collection Framelits Dies and pierced with the Festive Paper-Piercing Pack is the backing for the stamps. Both of the stamps are from the Halloween Bash Stamp Set, the Pumpkin Pie one is cut out with the Decorative Label Punch and the Basic Black one with the Scallop Oval Punch. They are all adhered to one another with Stampin’ Dimensionals. A pretty neat take on a wreath that you can make larger just by changing the dimensions of your squares!
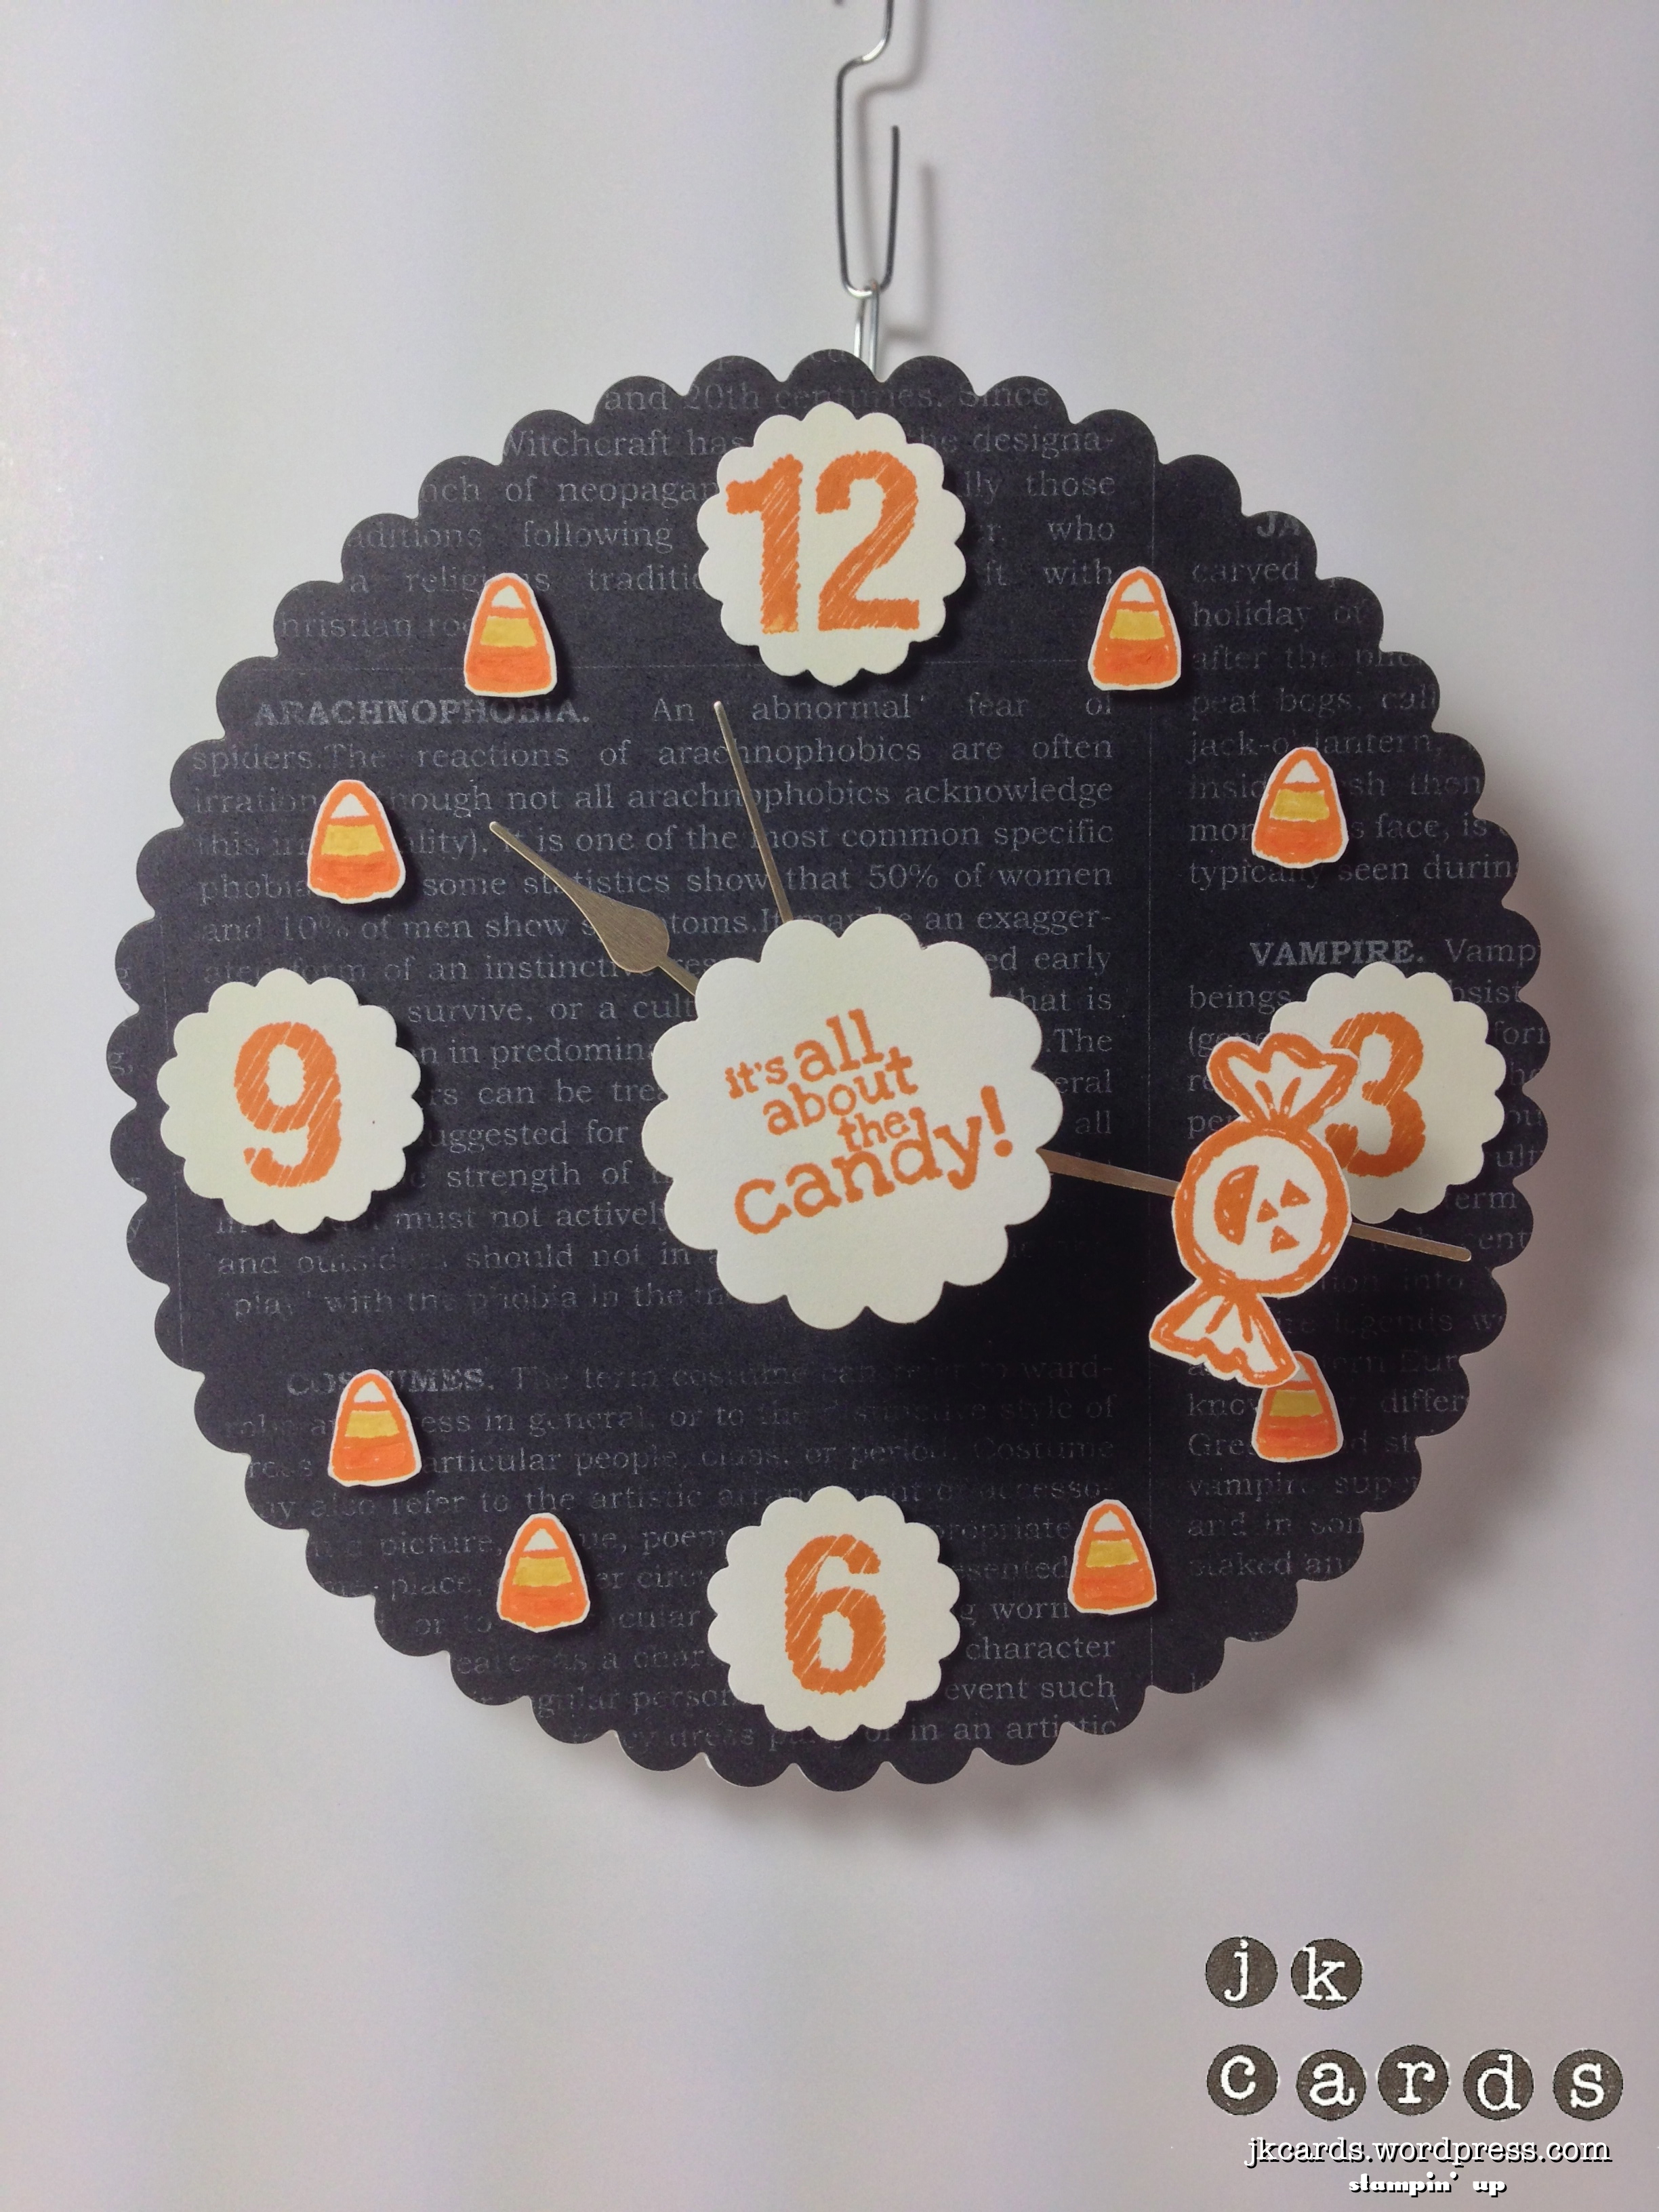
My second project is a really fun one. I was inspired when I was meandering through one of the local craft stores and happened down the clock aisle. I thought wouldn’t it be fun to make a Halloween clock?! For the base of the clock I used my Circles Collection Framelits to cut out a piece of Coaster Board and a piece of Witches’ Brew Designer Series Paper. I glued them to each other using Multi-Purpose glue and used my Paper Snips to make the hole in the middle for the movement to go through. The numbers are from the ABC-123 Sketch Alphabet & Numbers Stamp Set and are stamped in Pumpkin Pie and punched out with the 7/8″ Scallop Circle Punch. All of the other stamped images and greeting are from the Halloween Hello Stamp Set and are stamped in Pumpkin Pie too. I used my Pumpkin Pie and Daffodil Delight Stampin’ Write Markers to color in the candy corn and adhered everything to the clock face with Stampin’ Dimensionals. I really love the way the greeting spins around the center and the candy makes it’s way around the clock face too!
So what do you think?!?! A little different and fun huh?! I really hope that you enjoyed my projects for this month’s Control Freaks Blog Tour featuring Halloween Projects. Now you are off to see the talented Connie Babbert’s projects. She always has some fun ideas! Thank you for stopping by and enjoy the rest of the tour! 🙂
Stampin’ Up! products used:
Wreath:
Card Stock: Basic Black, Basic Gray, Summer Starfruit and Very Vanilla
Designer Series Paper: Witches’ Brew
Ink: Pumpkin Pie and Basic Black Classic Stampin’ Ink
Stamp Set: Halloween Bash Clear Mount
Framelits: Circles Collection and Labels Collection
Punches: Decorative Label and Scallop Oval
Tools: Big Shot, Simply Scored, Festive Paper-Piercing Pack, Paper-Piercing Tool, Hot Glue Gun, Stampin’ Dimensionals and SNAIL
Clock:
Card Stock: Very Vanilla
Specialty: Coaster Board
Designer Series Paper: Witches’ Brew
Ink: Pumpkin Pie Classic Stampin’ Ink
Stampin’ Write Markers: Pumpkin Pie and Daffodil Delight
Stamp Set: Halloween Hello and ABC-123 Sketch Alphabet & Numbers Clear Mount
Framelits: Circles Collection
Punches: 7/8″ Scallop Circle and 1 1/4″ Scallop Circle
Tools: Big Shot, Paper Snips, Multi-Purpose Glue, Stampin’ Dimensionals and SNAIL