Paper Players #127 :-)

A very good Sunday morning to you all! I had a nice day yesterday. Taylor and I both got much needed haircuts, we went to lunch with my friend Louis at Panera (a favorite of mine). After lunch went to MJM Shoes and Taylor and I both got Vans sneakers for $12.99! The bargains didn’t stop there, I went to the Gap later on with my friend Heather and got jeans for $11.59 and a winter coat for $35.68! I love a good bargain!

Today is an especially good day for me as I start my Guest Designer term with the Paper Players! I have been playing along with them for over a while and have enjoyed every one of their challenges. They are a talented group and I always look forward to seeing what wonderful creations they come up with. For the first challenge of the New Year Ann has given us a “Love is in the Air” challenge…

Paper Players 127 1-06-2013

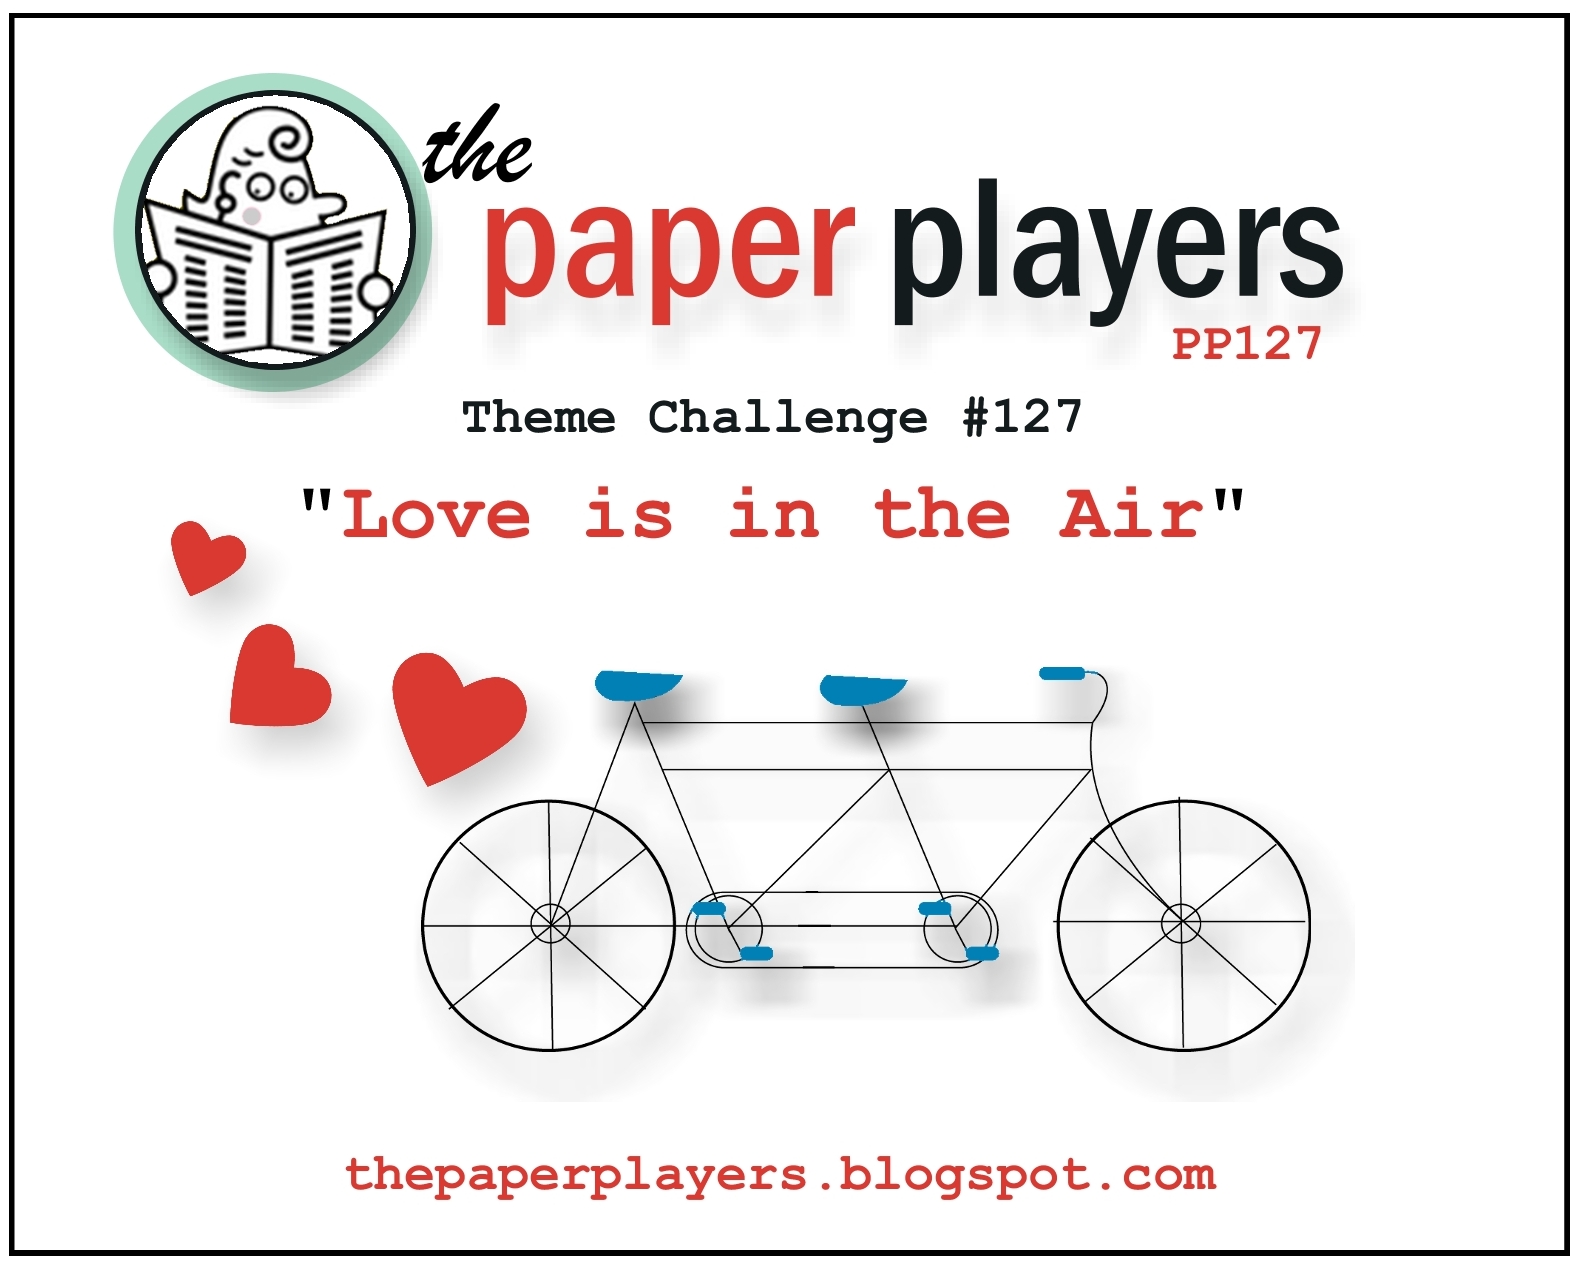
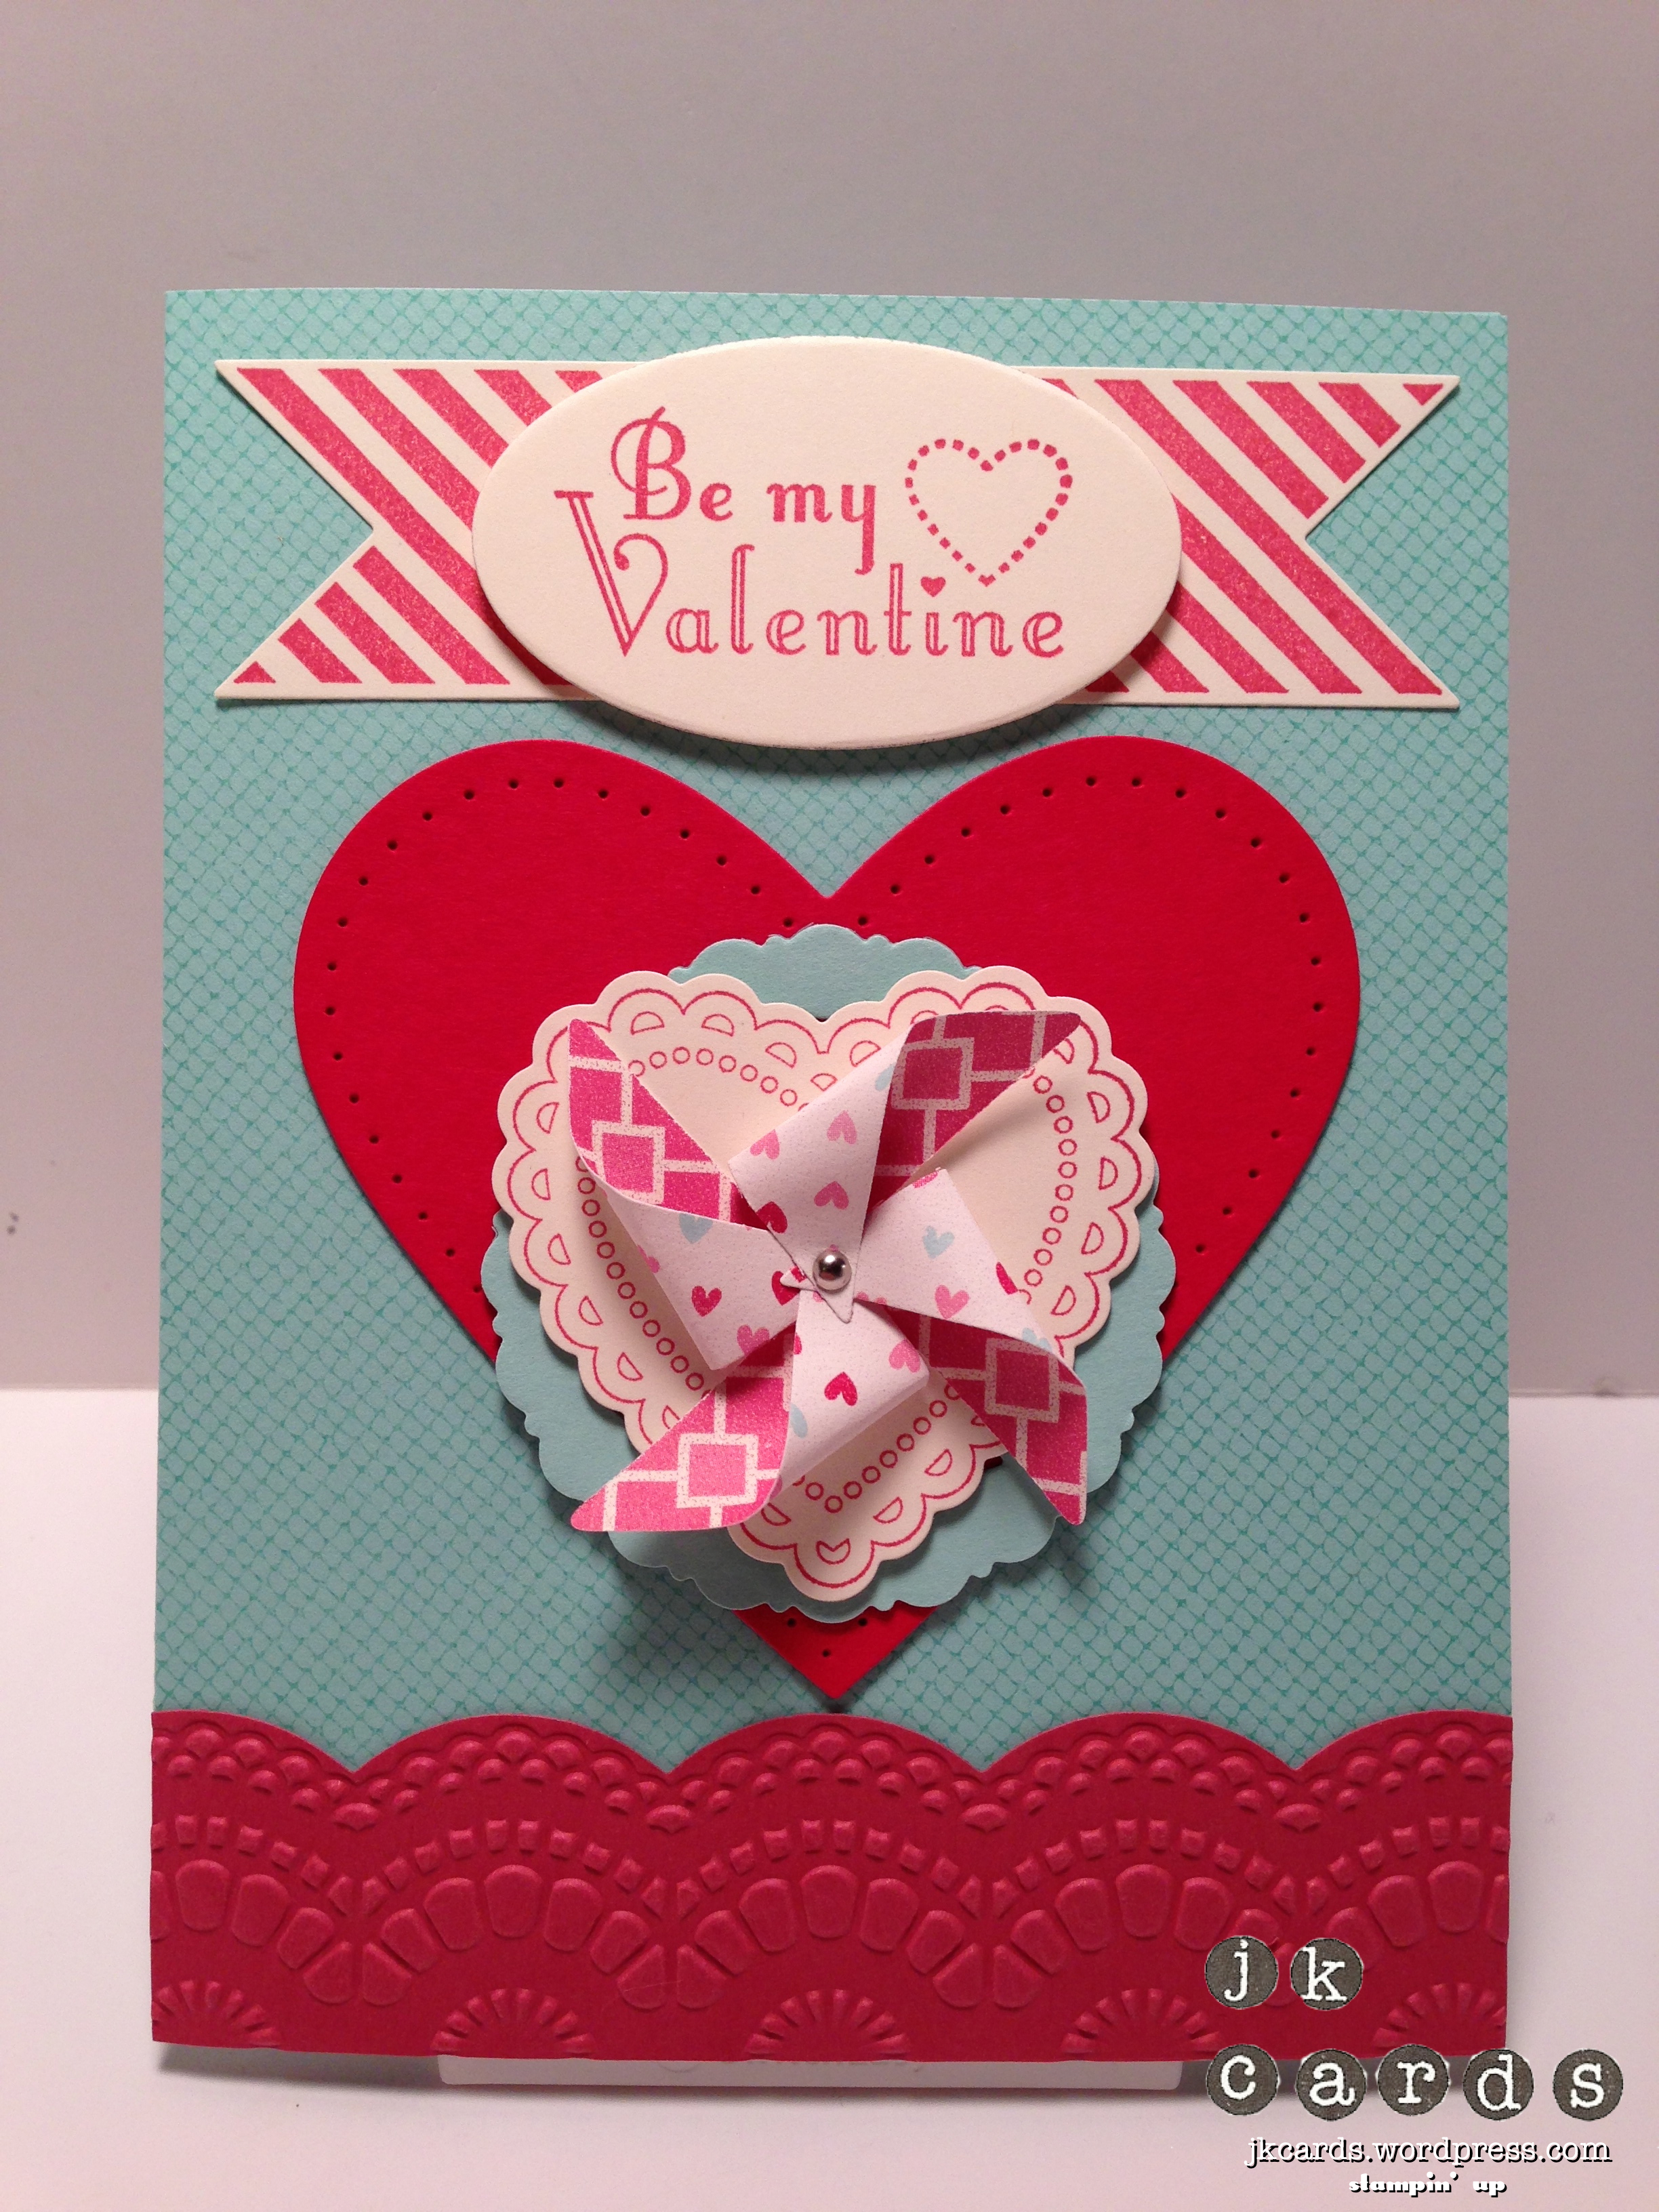
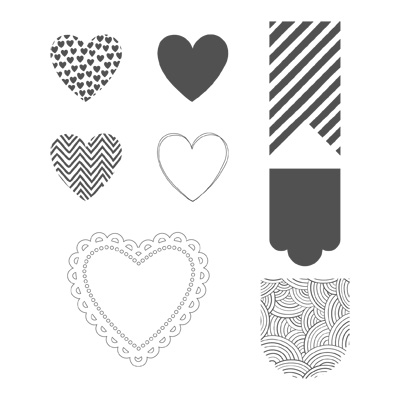
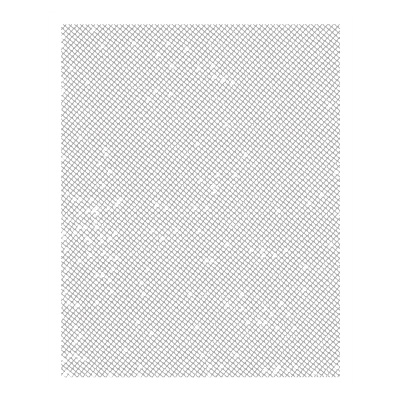
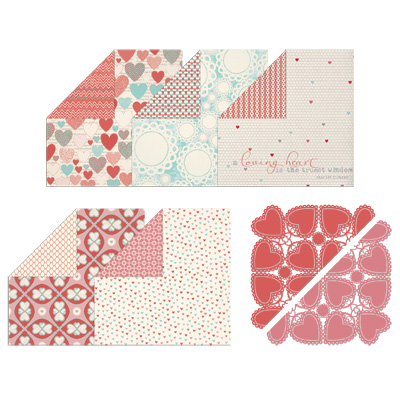
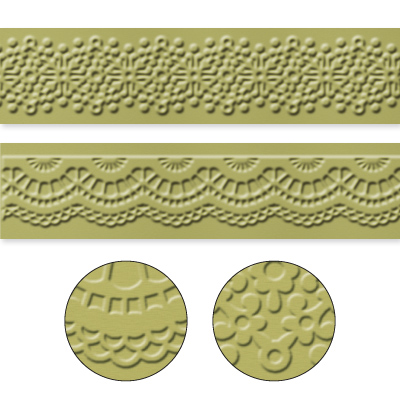
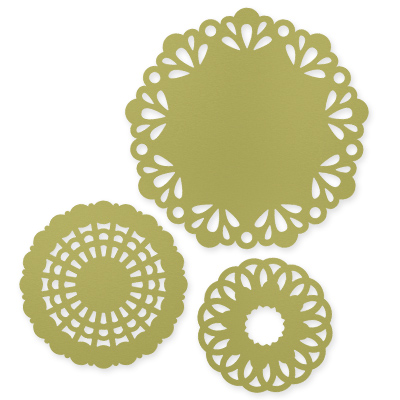
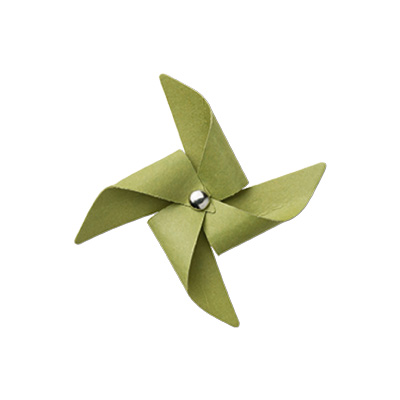
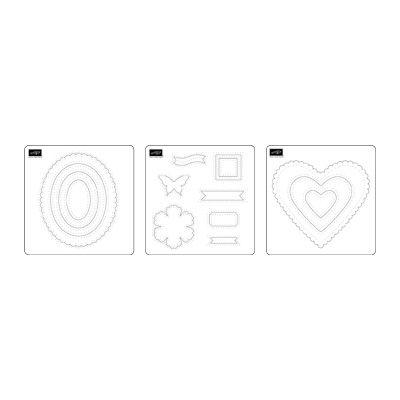
A great challenge to give you a head start on your Valentine’s cards! And who doesn’t like a little romance?!?! My card starts off with a base of Pool Party Card Stock that I stamped in Pool Party with the Netting Background Stamp. Across the bottom is a piece of Primrose Petals that I embossed with the Delicate Designs Textured Impressions Embossing Folder. For the top I used the Hearts a Flutter Stamp Set and Hearts a Flutter Framelits that I used to cut out the flags that are stamped in Primrose Petals. The greeting is from the Delightful Dozen Stamp Set and is also stamped in Primrose Petals and I cut it out with the Ovals Collection Framelits Dies and adhered it to the card with Stampin’ Dimensionals. In the middle of the card is a piece of Real Red that I cut out with the Hearts Collection Framelits Dies. The edge is pierced using the Occasions Paper-Piercing Pack and Paper-Piercing Tool. On top of that is a piece of Pool Party that I cut out with the Delicate Doilies Large Sizzlit and The heart image on top of that is also from the Hearts a Flutter Stamp Set and is stamped in Primrose Petals and cut out with the Hearts a Flutter Framelits Dies. I mounted it to the card with Stampin’ Dimensionals. For the final piece I used the Pinwheel Sizzlits Die to cut out a piece of More Amore Specialty Designer Series paper and a 1/8″ Silver Mini Brad to hold it together. A Stampin’ Dimensionals adheres it to the card. I love all of the new products from the 2013 Spring Catalog and they go so well with the items from the 2012-2013 Annual Catalog. I hope that you enjoyed my Valentine’s card for this weeks Paper Players “Love is in the Air” challenge form Ann. Head on over to the blog and see what wonderful creations the other designers have come up with and post a card of yours while you’re there! Thanks for checking in with me today and I hope that you have an enjoyable Sunday!

Stampin’ Up! products used:

Card Stock: Pool Party, Very Vanilla, Primrose Petals and Real Red

Designer Series Paper: More Amore Specialty

Ink: Primrose Petals Classic Stampin Ink

Stamp Sets: Hearts a Flutter and Delightful Dozen Clear Mount and Netting Background Wood Mount

Embossing Folder: Delicate Designs

Framelits: Hearts a Flutter, Hearts Collection and Ovals Collection

Sizzlits: Delicate Doilies Large and Pinwheel

Embellishments: 1/8″ Silver Mini Brads

Tools: Big Shot, Occasions Paper-Piercing Pack, paper-Piercing Tool, Stampin’ Dimensionals and SNAIL

Paper Players GD Love #127

Hearts a Flutter CM

Delightful Dozen

Netting Background Stamp WM

More Amore Specialty DSP

Delicate Designs Textured Impressions Embossing Folders

Delicate Doilies Large Sizzlits Die

Pinwheel Sizzlits

Hearts a Flutter Framelits

Hearts Collection Framelits Dies

Occasions Paper-Piercing Pack

Create with Connie and Mary 228

A good Thursday Morning to you all! If it ‘s Thursday it’s Create with Connie and Mary day! This week is my last week as a Guest Designer on the blog. I want to thank all of the talented people over there. It was truly an honor to be a part of your fabulous team for two months. I hope that they will have me back again in the future! Now for today’s post, this week we have a color challenge…

What a fun color combination it is, and some Silver Glimmer Paper to boot! I have been wanting to use one of my new Single Stamps and I thought that this would be perfect for it. The base of my card is Wisteria Wonder and I used the Distressed Dots Background Stamp inked in Wisteria Wonder for the background. I stamped the image from the Happy New Year Single Stamp in Wisteria Wonder and Baja Breeze on Whisper White. The Wisteria Wonder one is cut out with the Window Frames Collection Framelits Dies. I cut off the top and bottom and adhered it to a piece of Baja Breeze that I stamped with the Confetti Stamp Set in Baja Breeze and cut it out with the same Framelit. The ballon and the champagne bottle that are stamped in Baja Breeze are cut out and adhered to the Wisteria Wonder image with Stampin’ Dimensionals. The panels are also adhered to the card with them. Some Silver Glimmer Paper punched out with the 1/2″ Circle Punch and the star from the Merry Minis Punch Set are also adhered with some Stampin’ Dimensionals to the top half of card. I like the popped up pieces on the main image and the stamp fits perfectly inside the Window Frame. I hope that you enjoyed my Guest Designer card for this week’s Create with Connie and Mary Color Challenge. Thank you for coming to see me today. I hope that you have a pleasant day!

Stampin’ Up products used:

Card Stock: Wisteria Wonder, Baja Breeze and Whisper White

Specialty Paper: Silver Glimmer

Ink: Wisteria Wonder and Baja Breeze Classic Stampin’ Ink

Stamp Sets: Happy New Year Single Stamp, Confetti Clear Mount and Distressed Dots Wood Mount

Tools: Big Shot, Window Frames Collection Framelits Dies, 1/2″ Circle Punch, Merry Minis Punch Pack, Paper Snips, Stampin’ Dimensionals and SNAIL

Create with Connie and Mary Color Challenge 226

Good morning! Well, someone in New York must have really annoyed mother nature! We got 3 inches of snow today and some more howling wind! Because hurricane Sandy wasn’t enough! I hope she’s done with us for a while. I stopped home last night and it was 38 degrees in my house, now that is a little cold! Yes, there is still no power. But some more people that I live near got theirs back tonight so maybe tomorrow. 😛

Today’s post is for this week’s Create with Connie and Mary Challenge. This week we have a very nice color combination…

I love Midnight Muse. I wasn’t quite sure what I was going to do. At first I was thinking fall and then I thought no, a Christmas card. I do love non-traditional Holiday colors so this is perfect! The base of my card is Midnight Muse Card Stock. I embossed a piece of Cajun Craze with the Northern Flurry Textured Impressions Embossing Folder. Then I adhered a piece of Midnight Muse 3/8″ Stitched Satin Ribbon around the back with Sticky Strip before I adhered it to the base. The stamped image is from the Snow Swirled Stamp Set and is stamped in Midnight Muse on Whisper White. I stamped one the of the snowflakes in More Mustard and punched it out with the 1/2″ Circle Punch and adhered it with a Stampin’ Dimensional. Some Basic Jewels Rhinestones give it just a little sparkle. The greeting is stamped in Cajun Craze. I backed them both with More Mustard and adhered them to the base with Stampin’ Dimensionals. I love the elegance of the tree and the sparkle from the rhinestones. I hope that you enjoyed my Guest Designer card for this week’s Create with Connie and Mary Challenge. Don’t forget to visit the blog to see what all of the other talented designer have come up with and be sure to check out their Card Create-tions subscription for some great holiday card and gift ideas. Thank you so very much for stopping by today and I hope that you have a warm and cozy day! 🙂

Stampin’ Up! products used:

Card Stock: Whisper White, Midnight Muse, Cajun Craze and More Mustard

Ink: Midnight Muse, Cajun Craze and More Mustard Classic Stampin’ Ink

Stamp Set: Snow Swirled Clear Mount

Embellishments: Midnight Muse Stitched Satin Ribbon

Tools: Big Shot, Northern Flurry Textured Impressions Embossing Folder, 1/2″ Circle Punch, Basic Jewels Rhinestones, Sticky Strip, Stampin’ Dimensionals and SNAIL

Create with Connie and Mary 224 Color Challenge

Yeah! Today is Create with Connie and Mary day which means it must be Thursday! Only one more day to go until FRIDAY! How are we all doing? Things are good on my end, no complaints. So, this week’s Create with Connie and Mary Challenge is a color challenge…

I was a happy boy when I saw that it included one of my favorite colors, Island Indigo! My card starts off with just that, a base of Island Indigo Card Stock. The background is a piece of Orchard Harvest Designer Series Paper. I stamped the Daffodil Delight flagged piece with the Netting Background Stamp in Daffodil Delight. The Dotted Scallop Ribbon Border Punch is used to make the edges with Island Indigo. The completed flagged piece is then adhered to the card with SNAIL. The image is from the Friendship Preserves Stamp Set and is stamped in Island Indigo and again in Lucky Limeade. I used the Window Frames Framelits Dies to cut each one out. I cut off the top and bottom of the Island Indigo one and then  mounted it to the Lucky Limeade piece with Stampin’ Dimensionals. Some Sticky Strip holds the piece of Island Indigo 3/8″ Ruffled Ribbon behind the stamped piece and I used some more Stampin’ Dimensionals to mount it to the card. This would be a great quick and easy card to make for a thank you or even a birthday. I hope that you enjoyed my Guest Designer Card for this week’s Create with Connie and Mary Challenge. Before I go I wanted to mention that Connie and Mary have a new subscription called Card “Create”tions. Scroll down past my card and see what this three week subscription has to offer. Thank for stopping by and visiting with me today. I hope that you all have a great Thursday!

Stampin’ Up! products used:

Card Stock: Island Indigo, Daffodil Delight and Very Vanilla

Ink: Island Indigo, Lucky Limeade and Daffodil Delight

Stamp Sets: Friendship Preserves Clear Mount and Netting Background Wood Mount

Designer Series Paper: Orchard Harvest

Embellishment: Island Indigo 3/8” Ruffled Ribbon

Tools: Big Shot, Window Frames Collection Framelits Dies, Dotted Scallop Ribbon Border Punch, Paper Snips, Sticky Strip, Stampin’ Dimensionals and SNAIL

Card “Create”tions includes:

  • 3 week mini-edition that is only cards
  • These cards are EXCLUSIVE to our subscription and won’t be shown anywhere else.
  • Each designer will choose a holiday or winter set each week and make 3 different cards using that one set.
  • Total of 45 unique card ideas from 15 different sets.
  • Each card set includes a printable supply list with card measurements and photos.
  • Perfect for your classes and stamp camps or to make for your own holiday cards!

AND…as a bonus on Saturday, each designer will be sharing a little 3D favor that matches the holiday or winter set they chose that week.  We will be sharing this favor on our personal blogs, too, but you can easily tie it into your class offering!

AND…who are our designers?  Your favorites are on board!

  • Elizabeth Price
  • Debbie Henderson
  • Deb Currier
  • Connie Babbert
  • Mary Brown

So head on over and subscribe for only $19.99 to get three full weeks of great card ideas for the Holidays!

CCMC 223 Sketch

Good morning! It’s Thursday and we know what that means… tomorrow is Friday! I’m feeling a little better than I have, hopefully that means I’m nearing the end of the cold. I have a meeting out east tonight and a busy weekend ahead of me. I hope that the cold is almost over!

Today’s post is for this week’s Create with Connie and Mary Challenge. This week the lovely ladies have given us this sketch…

I decided that I wanted to try something a little different. In the latest issue of the Demonstrator magazine, Stampin’ Success, they stamped on a Window Sheet with White Staz-On so I decided I would give that a try with a little twist. The base of my card is Naturals White Card Stock. I cut a smaller piece of the same card stock and used some Twitterpated Designer Series Paper for the diagonal strip and some Midnight Muse 3/8″ Stitched Satin Ribbon across the top of that. The greeting is stamped in Midnight Muse and is from the Petite Pairs Stamp Set. A Vintage Faceted Designer Button with a piece of Silver Glimmer Paper in the center completes that layer. The window that I created to the left is Midnight Muse. The base layer is stamped with the Illuminate Glimmer Pad using the Snowflake Soiree Stamp Set. I stamped images from the same set in White Staz-On on a piece of Window Sheet and cut out a frame of Midnight Muse to go over the top. I used some Stampin’ Dimensionals to pop up the framed piece. I love the way the snowflakes look stamped in the Illuminate Glimmer and White Staz-On layered on top of one another. You can see the effect a little better in the second picture. I hope that you enjoyed my Guest Designer card for this week’s Create with Connie and Mary Challenge. Be sure to hop on over and check out the other Design Team’s cards and post one of your own for us to see. Thanks for dropping by and have a great day!

Stampin’ Up! products used:

Card Stock: Naturals White and Midnight Muse

Designer Series Paper: Twitterpated

Specialty: Window Sheets and Silver Glimmer Paper

Ink: Midnight Muse Classic Stampin’ Ink

Specialty Ink: Illuminate Glimmer and White Staz-On

Stamp Sets: Petite Pairs and Snowflake Soiree Clear Mount

Embellishments: Vintage Faceted Designer Buttons and Midnight Muse 3/8″ Stitched Satin Ribbon

Tools: Paper Cutter, Paper Snips, Stamp-a-ma-jig, Sticky Strip, Stampin’ Dimensionals and SNAIL

CCMC 221 and Guest Designer!

A very good morning to you all! I have some exciting news to share with you today. I will be a guest designer on Create with Connie and Mary for the months of October and November!! I’m so happy to be a part of such a talented team for the next two months! I have been a fan of theirs since I started with Stampin’ Up! last year. What an honor! For my first week with the talented ladies we have a sketch…

I love the simplicity of it and I’m a big fan of flags! I wanted to keep the card clean and simple so I thought the best stamp to showcase would be the Heart of Christmas. The base of my card is Early Espresso Card Stock. I embossed a piece of Primrose Petals with the Lacy Brocade Textured Impressions Embossing Folder. The flags are created from strips of Candlelight Christmas Specialty Designer Series Paper. I stamped the Heart of Christmas Stamp in Lucky Limeade and again in Early Espresso. I cut out the center of the sentiment on the Early Espresso piece and mounted it to the Lucky Limeade piece with Stampin’ Dimensionals. It’s backed by a piece of Real Red and a piece of Early Espresso before being adhered to the card with more Stampin’ Dimensionals. The Heart of Christmas stamp is definitely one of my favorites out of the new Holiday Catalog. I hope that you enjoyed my Guest Designer card this week. Head on over to Create with Connie and Mary and post your card for this week’s challenge, I look forward to seeing what you do with the sketch! Thank you so much for visiting and have a wonderful day!

Stampin’ Up! products used:

Card Stock: Very Vanilla, Early Espresso, Primrose Petals and Real Red

Ink: Lucky Limeade and Early Espresso Classic Stampin’ Ink

Stamp: Heart of Christmas Wood Mount

Designer Series Paper: Candlelight Christmas Specialty

Tools: Big Shot, Lacy Brocade Textured Impressions Embossing Folder, Paper Snips, Stampin’ Dimensionals and SNAIL

All images 2012 Stampin’ Up!