Hi there and happy Sunday! I had a very busy day yesterday. I woke up and crafted for a bit and then I had to get ready for Erika to come over and make Daniel’s birthday decorations. Before that Andrew, my brother, Erika and I went to Croxley’s Ale House for lunch. We met two of my brother’s friends there and had a very nice lunch. They have 10 Cent wings and really good burgers and a very large selection of beer! After lunch we came back to my house and Erika and I worked on Daniel’s party decorations and Andrew worked on moving the rest of my blog over. The decorations are mostly finished and there is only one more piece to do for the blog. I have already reassigned the jkcardsonline.com web address to the new one, I just have to move the subscribers over and then I will be able to take down this one and only use the new one. For now I will be posting on both blogs, hopefully only until Monday! As I said I will also send out a test post to make sure that all of you are getting the emails. Thanks for you patience during the transition!
It’s time for another Creation Station Blog Tour and this month we are featuring the Wondrous Wreath Photopolymer Stamp Set and the Wonderful Wreath Framelits. Well, it’s generally an all around wreath theme! If you are following along with the tour you have arrived here from the talented Deborah Smart’s blog. Such great projects!! I have a card and a home decor project for you today so let’s get to them!
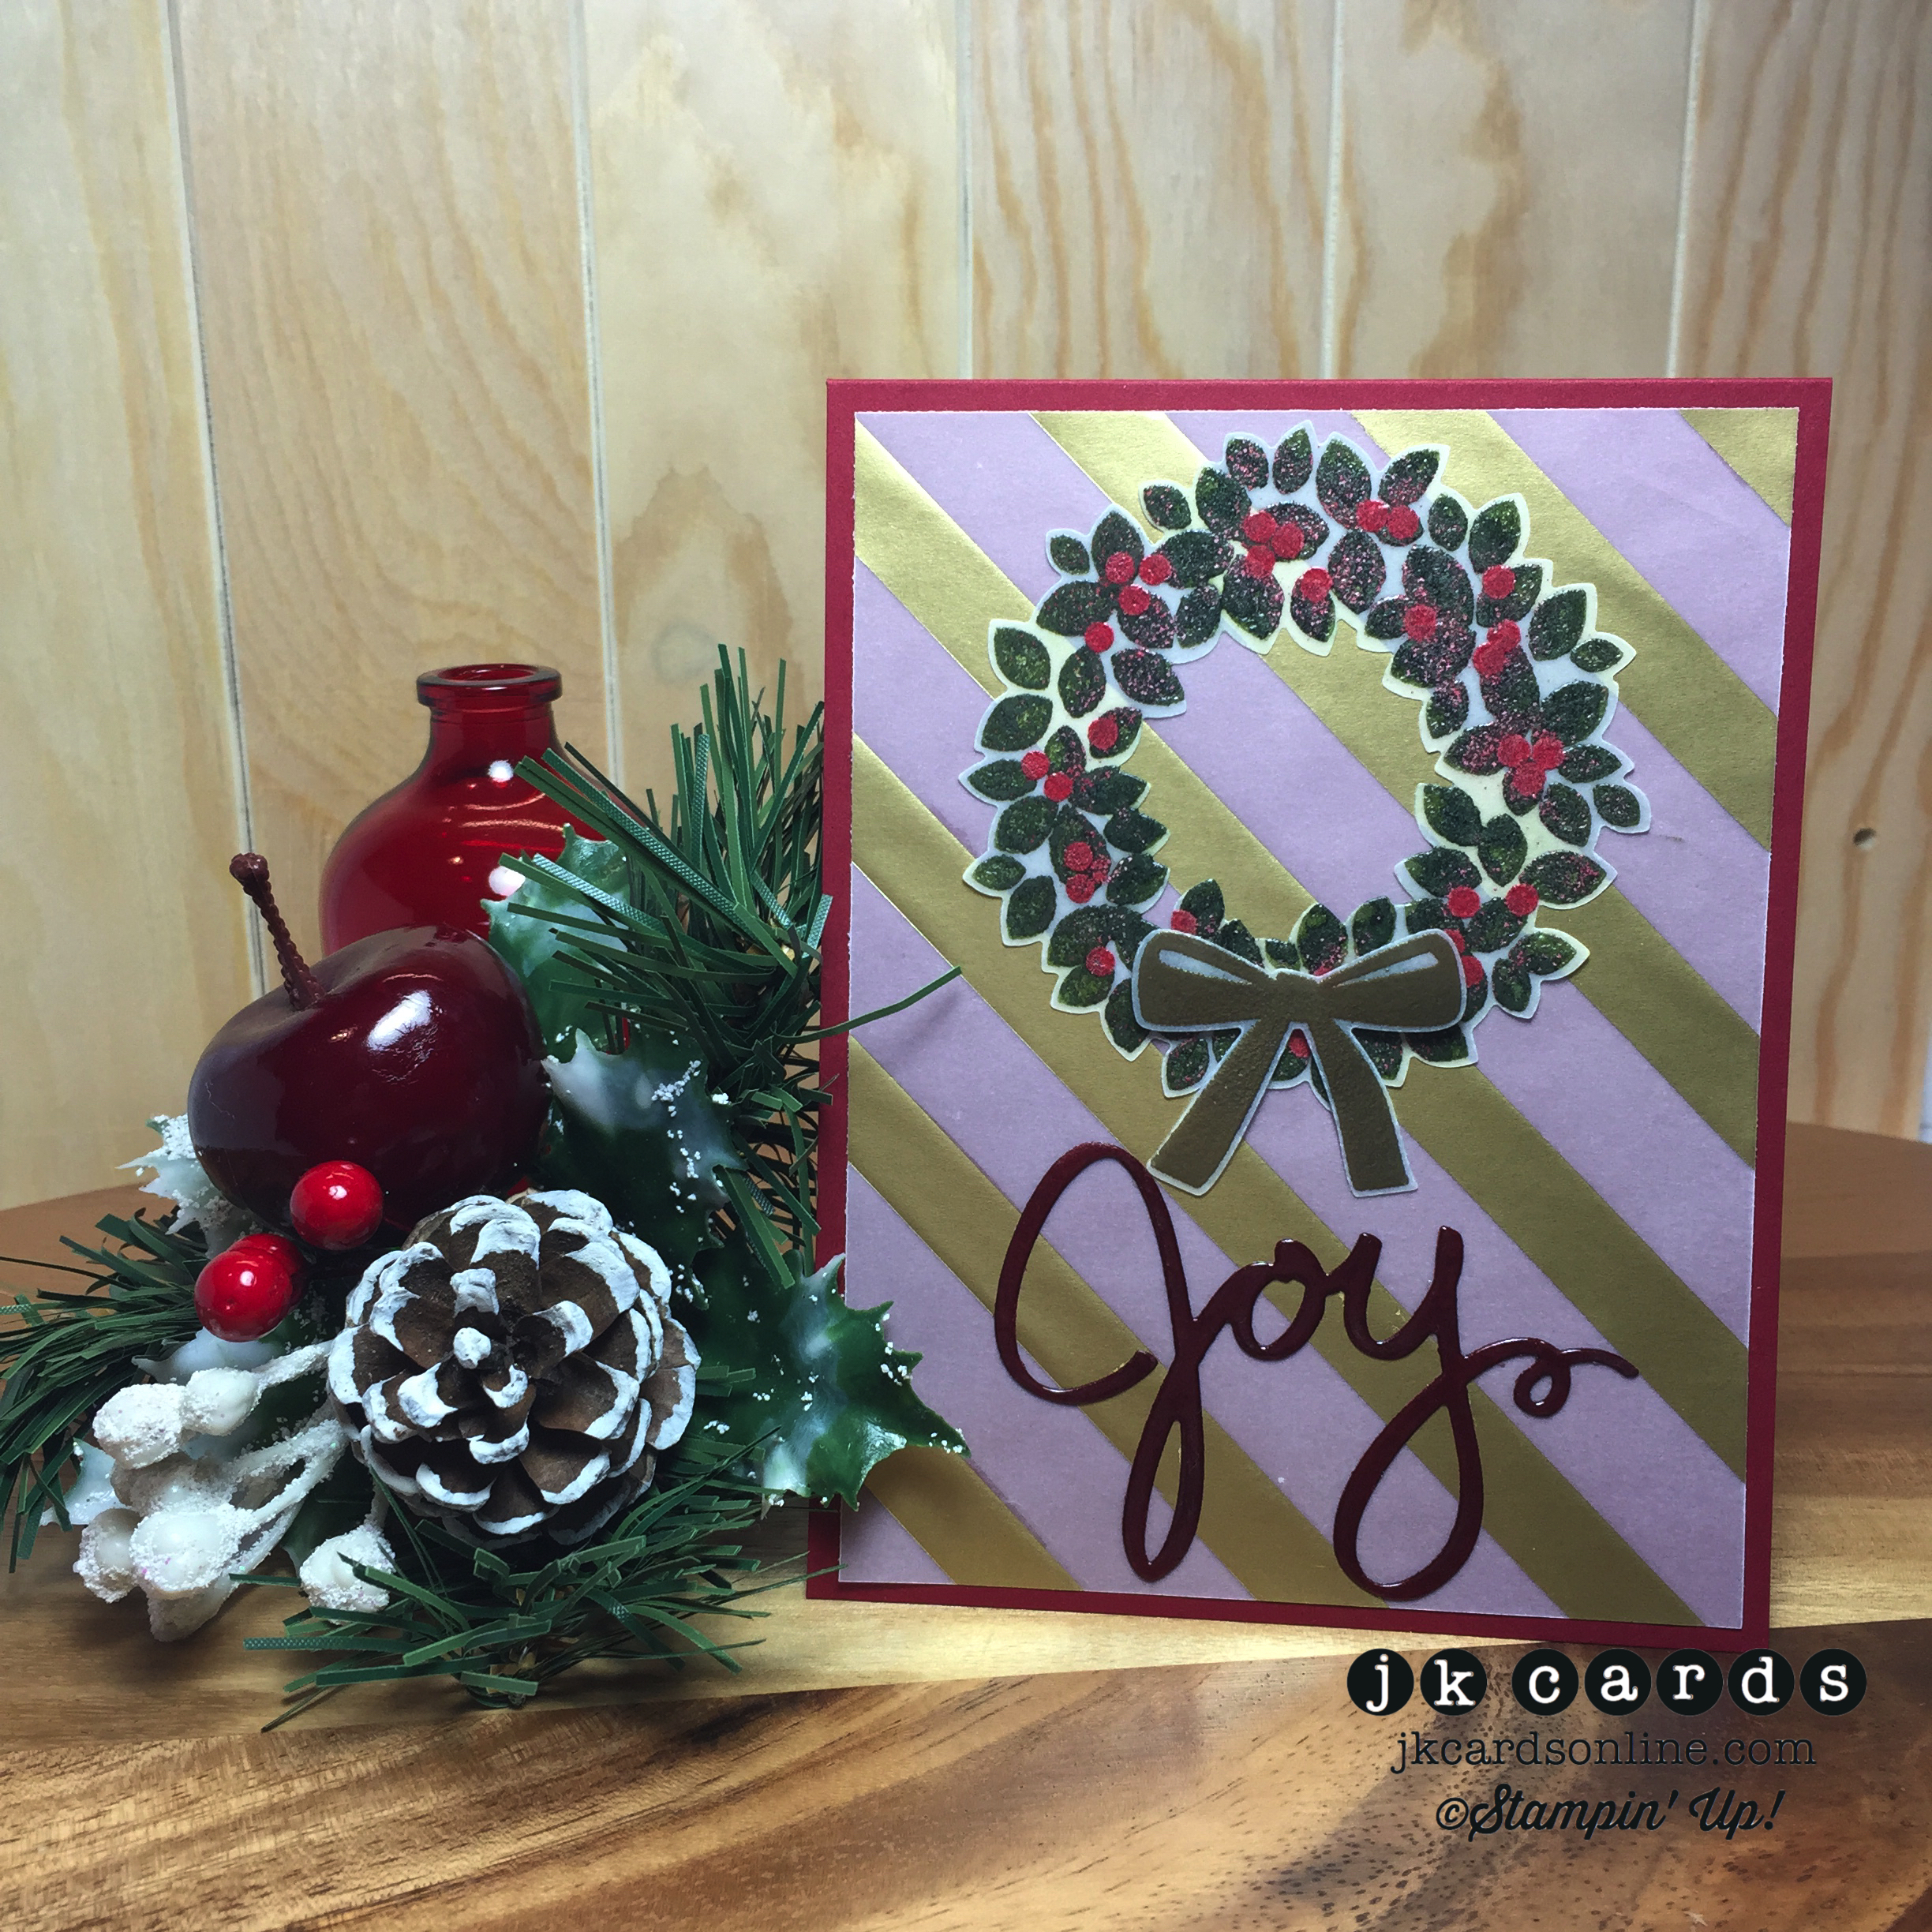
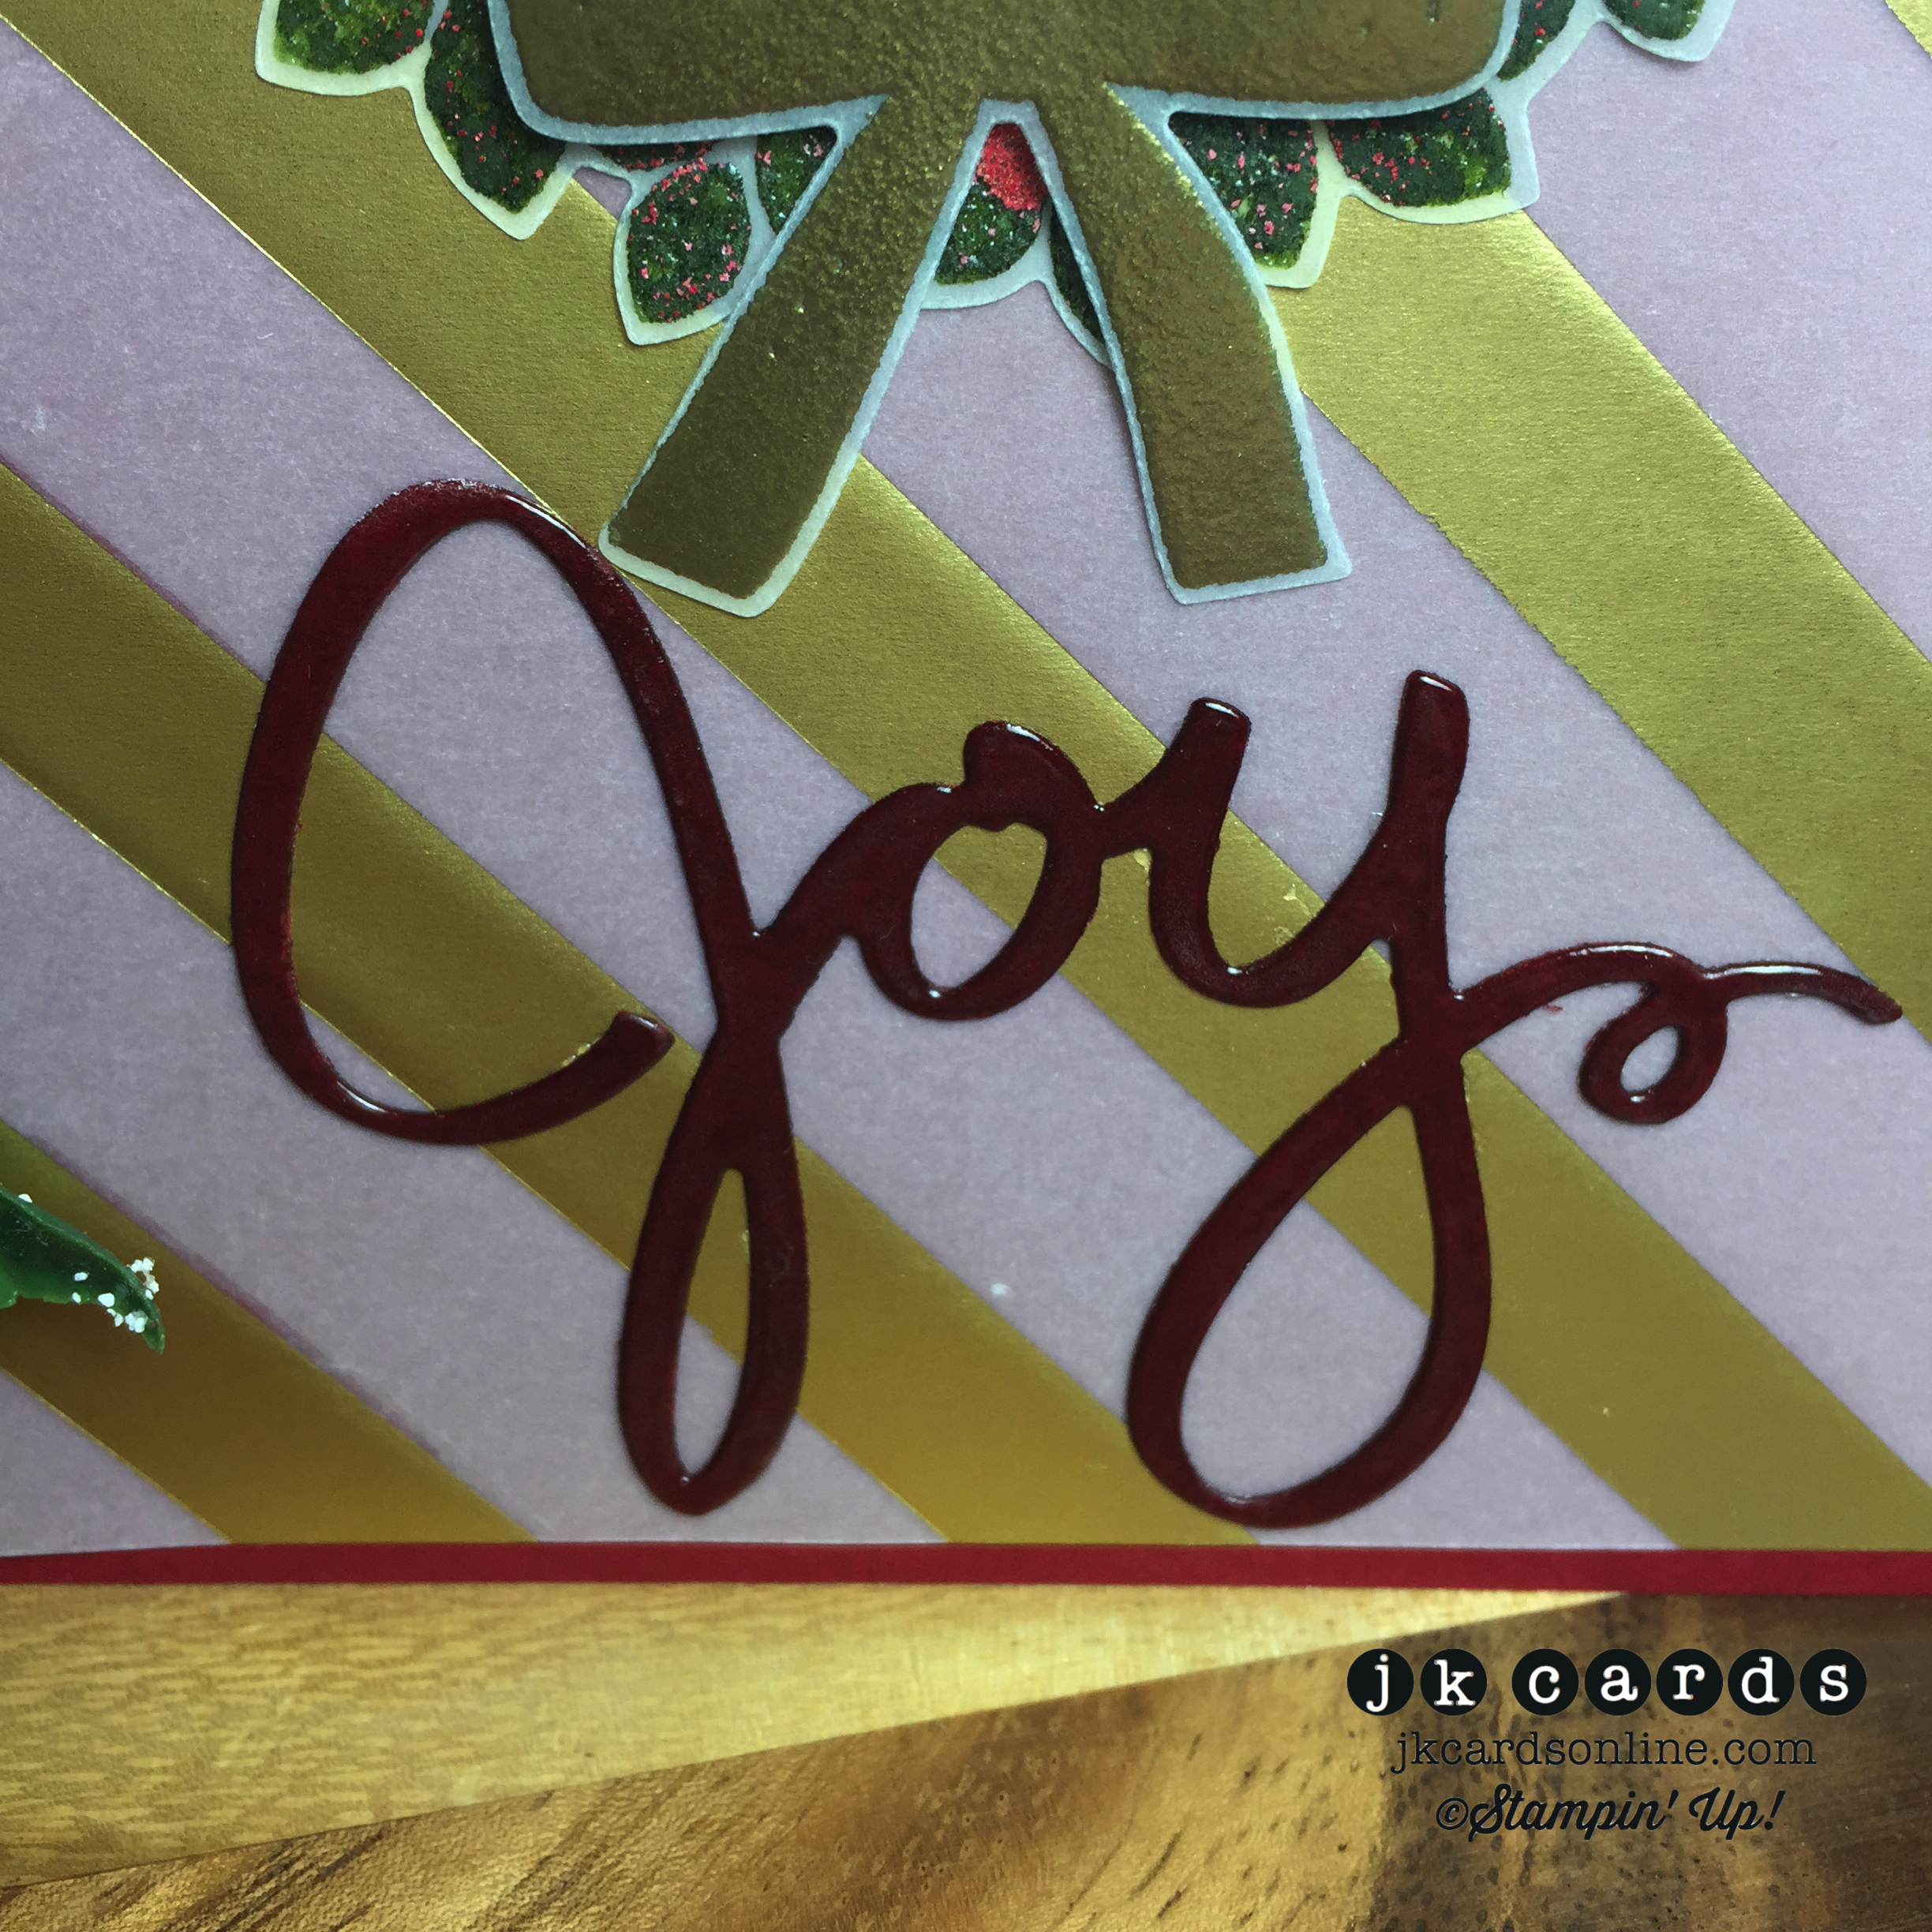
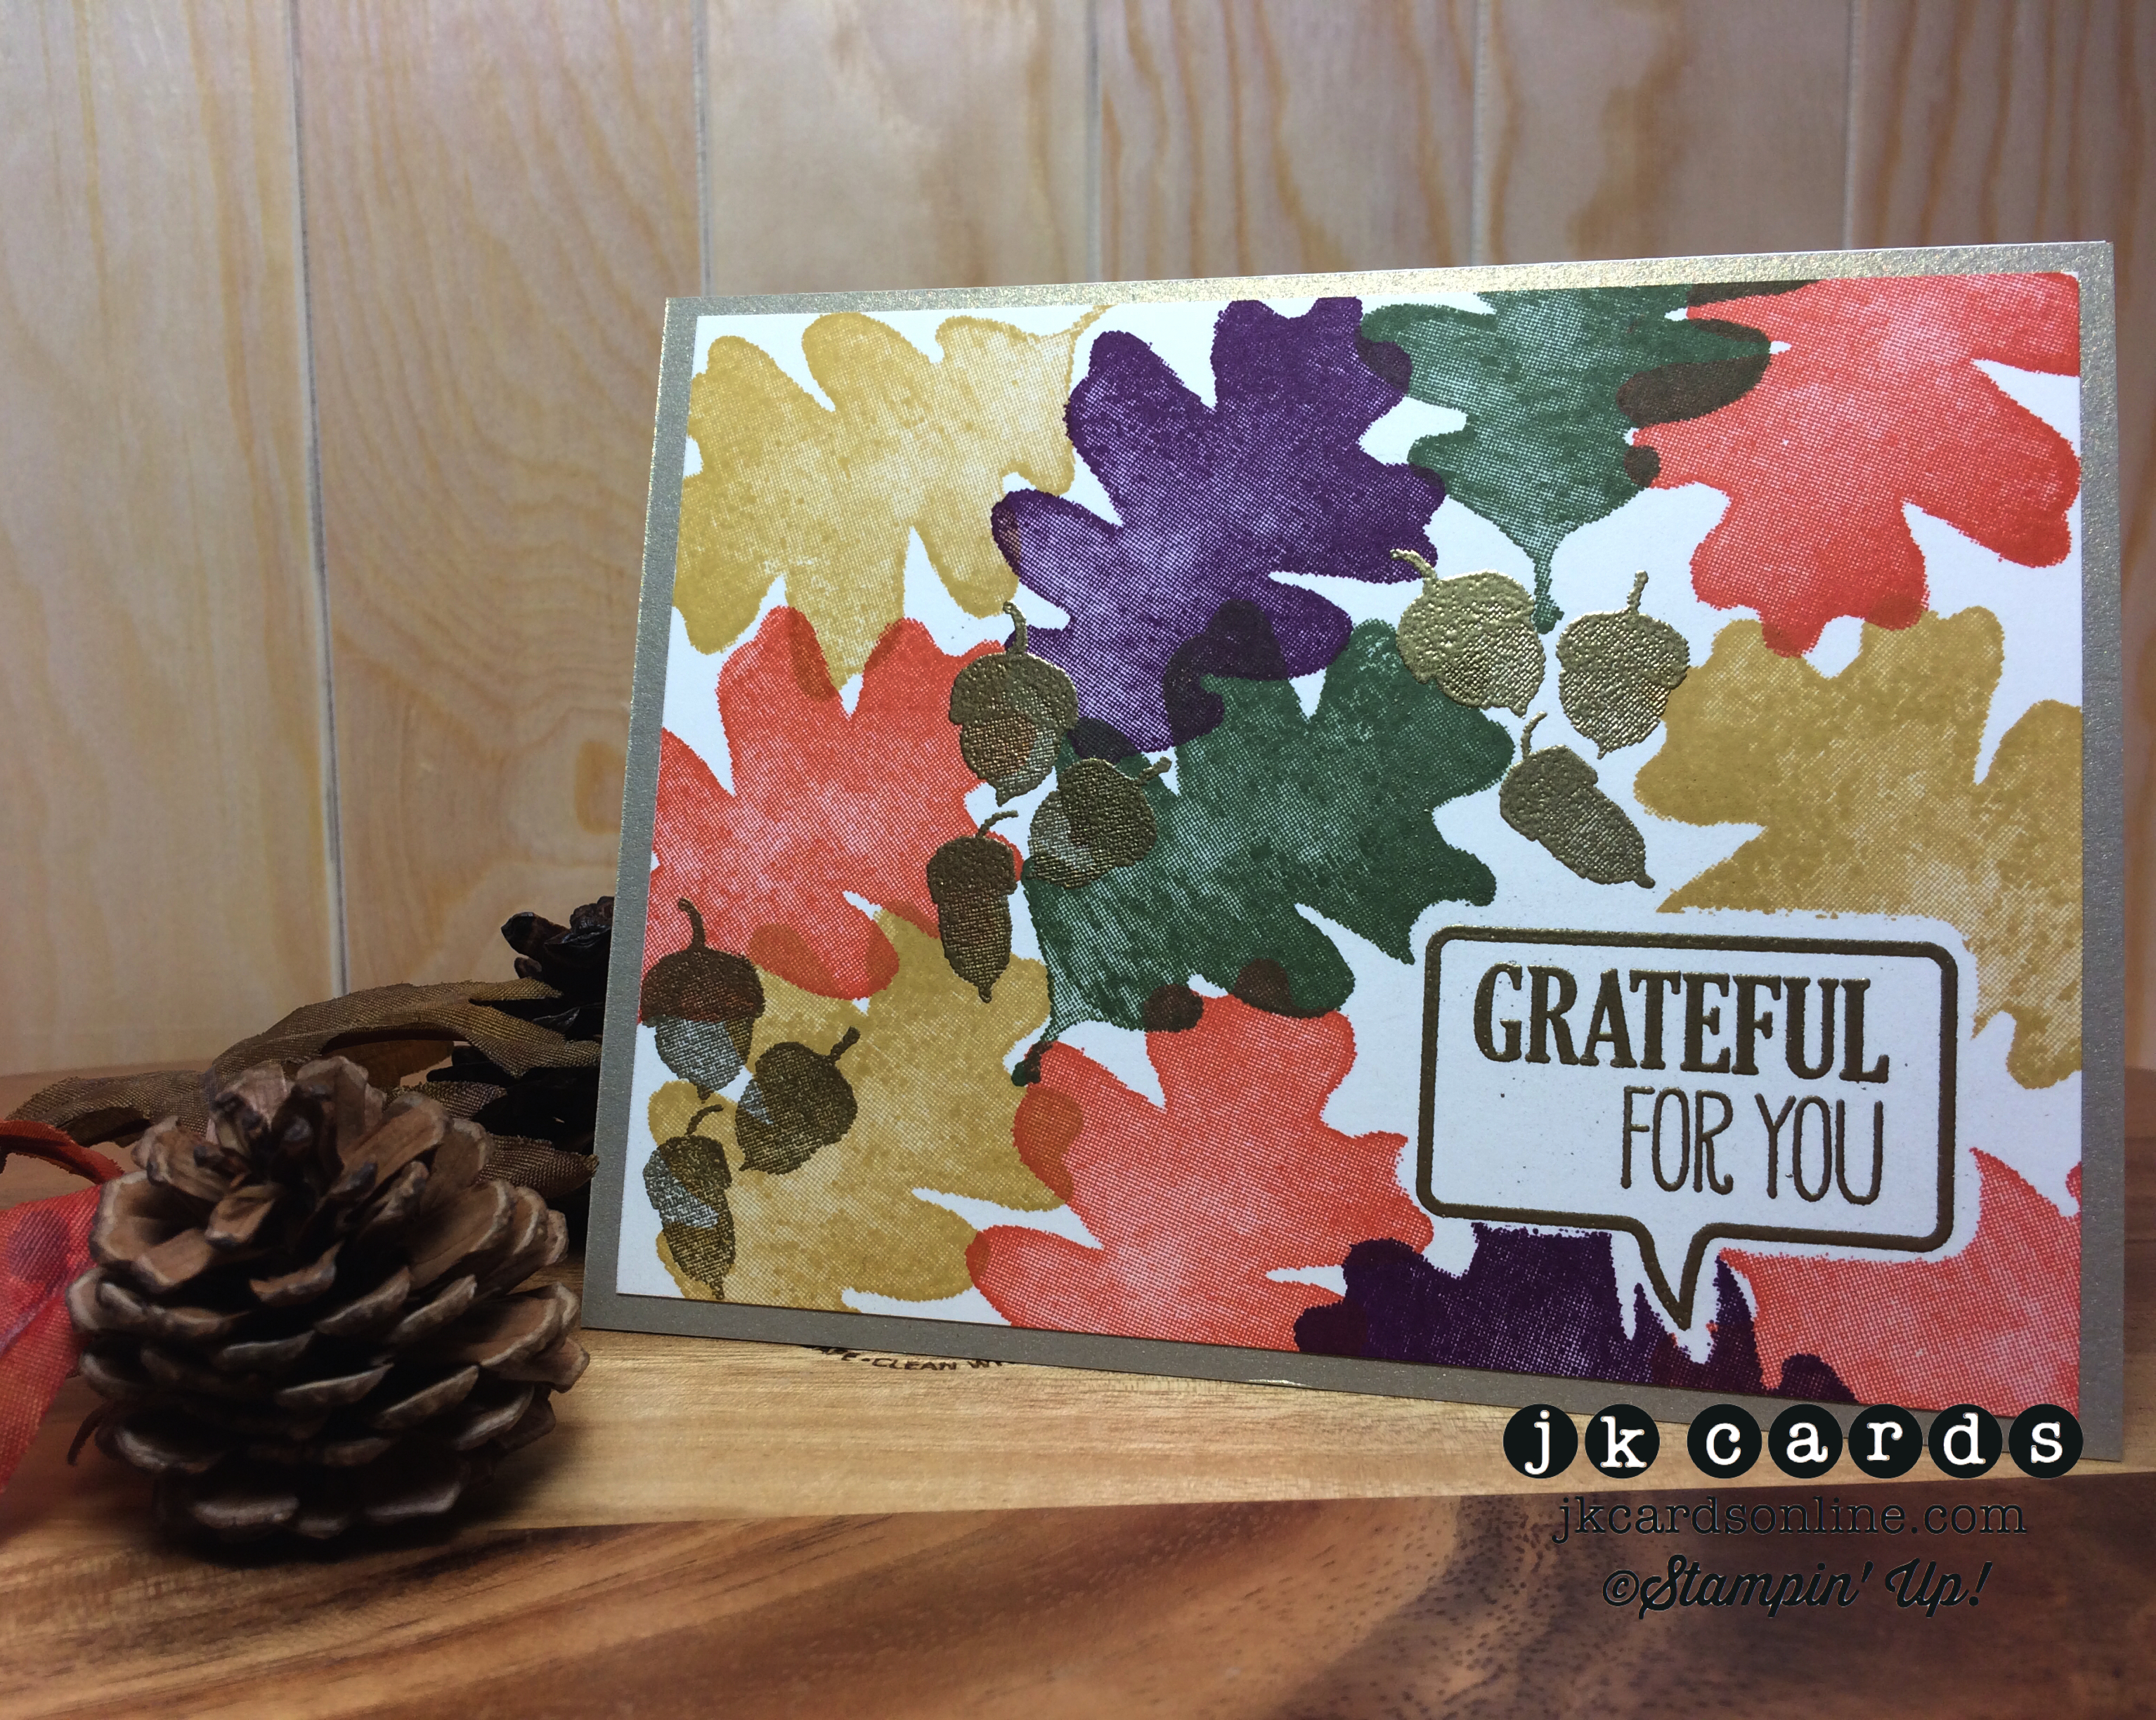
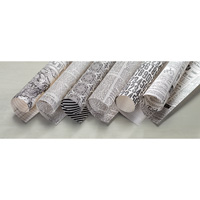
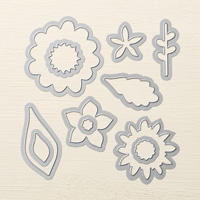
First up is a neat Christmas card. For the base I used a piece of Cherry Cobbler Card Stock and the background is a piece of the Gold Fancy Foil Designer Vellum. My wreath is from the Wondrous Wreath Photopolymer Stamp Set and is stamped in Mossy Meadow on Vellum Card Stock. I sprinkled some Clear Stampin’ Emboss Powder over the image and used my Heat Tool to set it. When you stamp on Vellum the ink takes a while to dry so it the perfect excuse to heat emboss it! I stamped it again with the berries from the set and used Cherry Cobbler Stampin’ Emboss Powder for those. The Wondrous Wreath Framelits cut it out and some Multi-Purpose Glue adheres it to the card. The bow is from the same set and is heat embossed in Gold Stampin’ Emboss Powder and also cut out with the Framelits. A little bit of Stampin’ Dimensional holds it to the wreath. I cut the Joy out from the Wonderful Wreath Framelits from a piece of Cherry Cobbler and heat embossed it with Clear Stampin’ Emboss Powder twice. I think that it gives it a very cool look, almost like patent leather. Some more Multi-Purpose Glue adheres that to the card. I love the simple elegance of the card and especially the shine on the Joy!


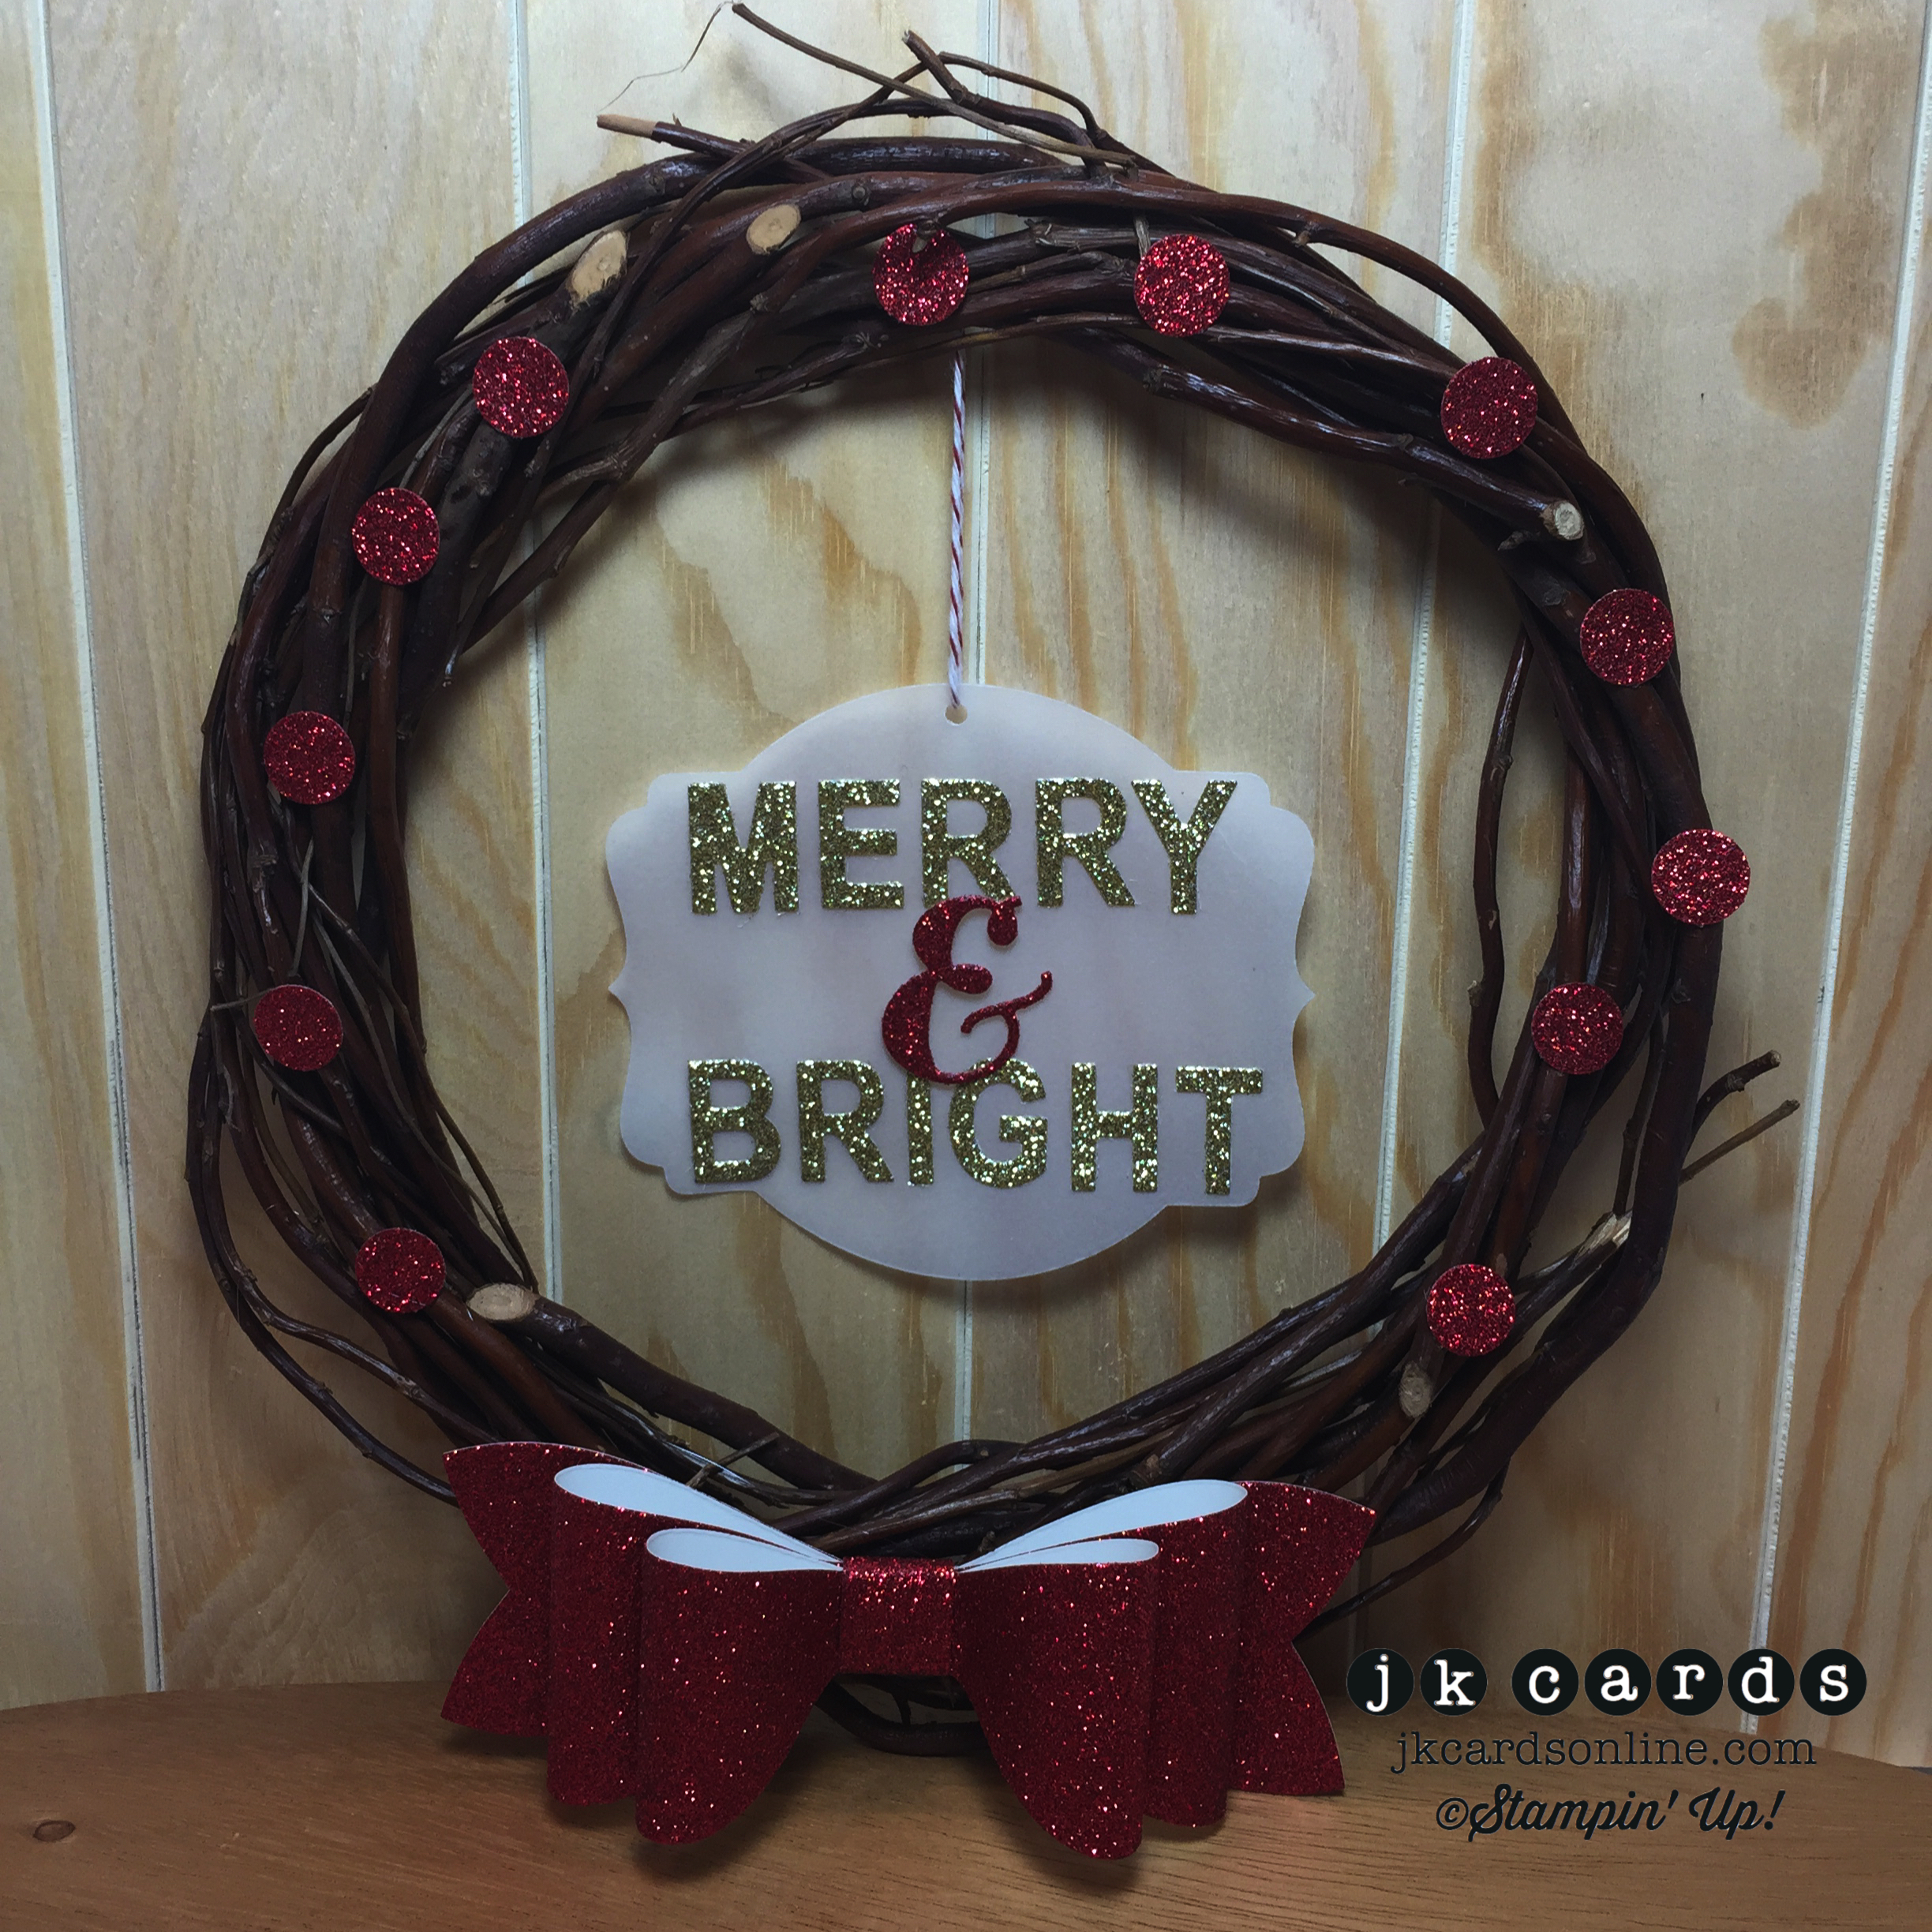
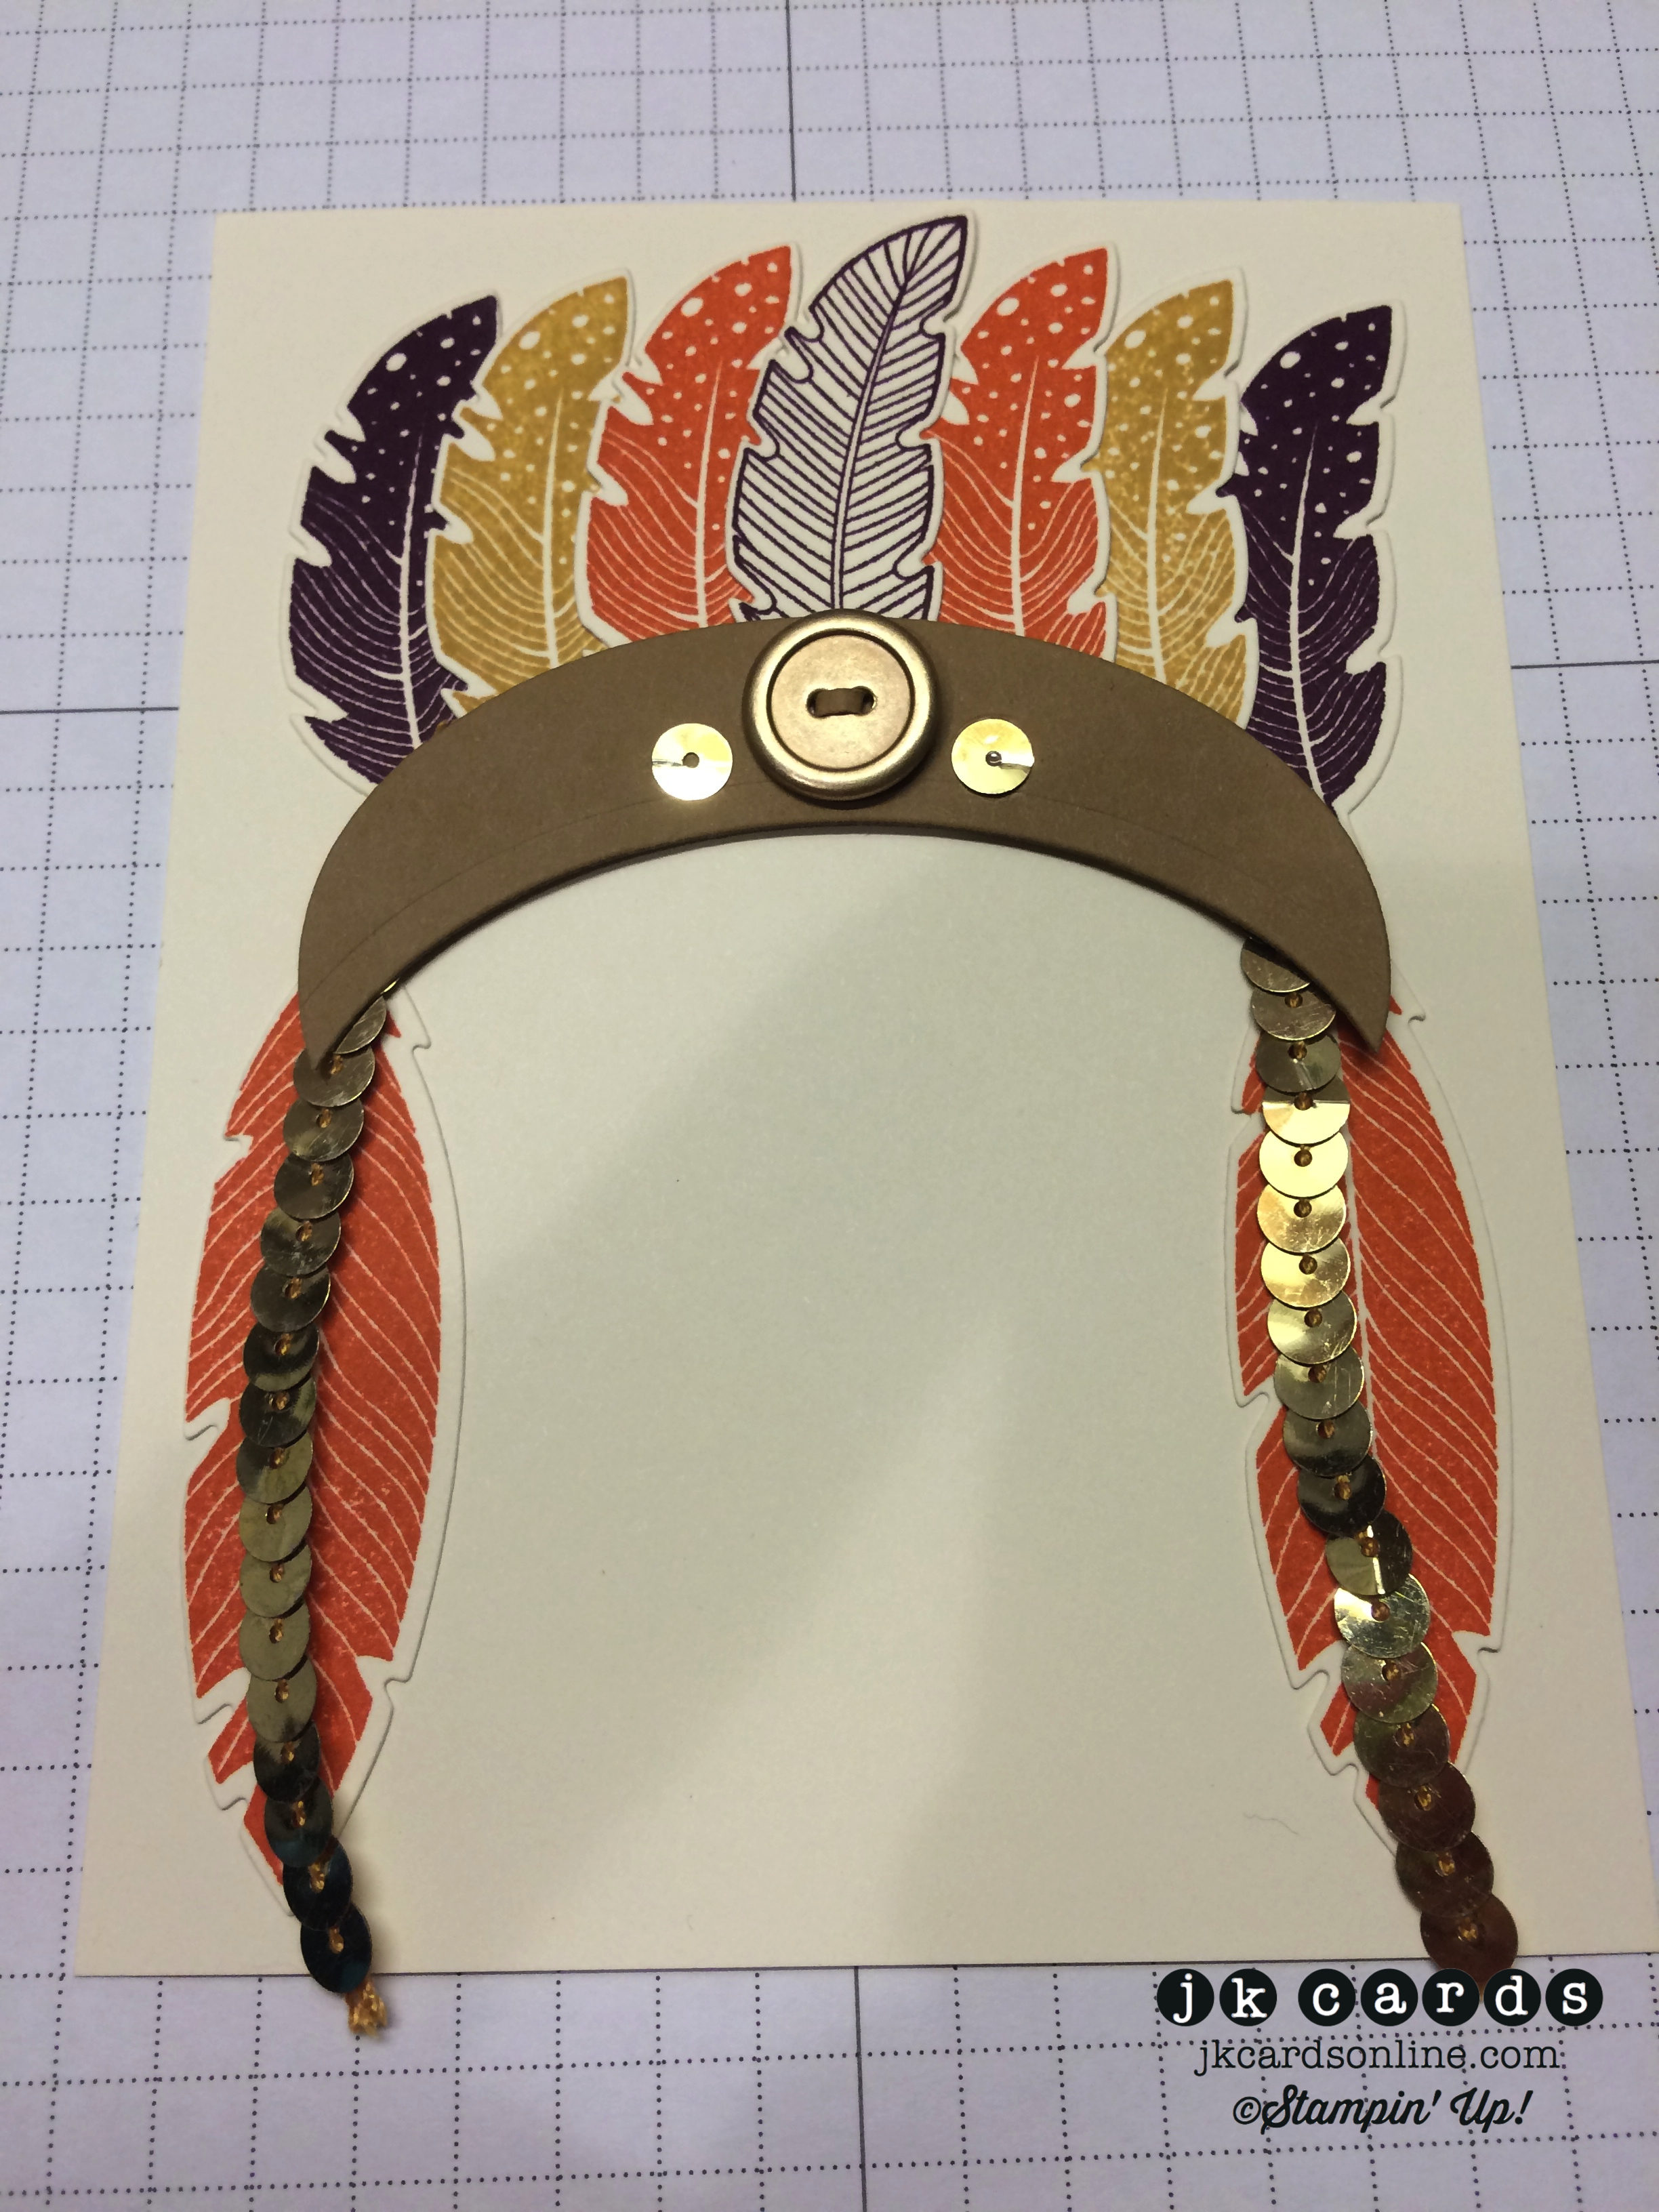
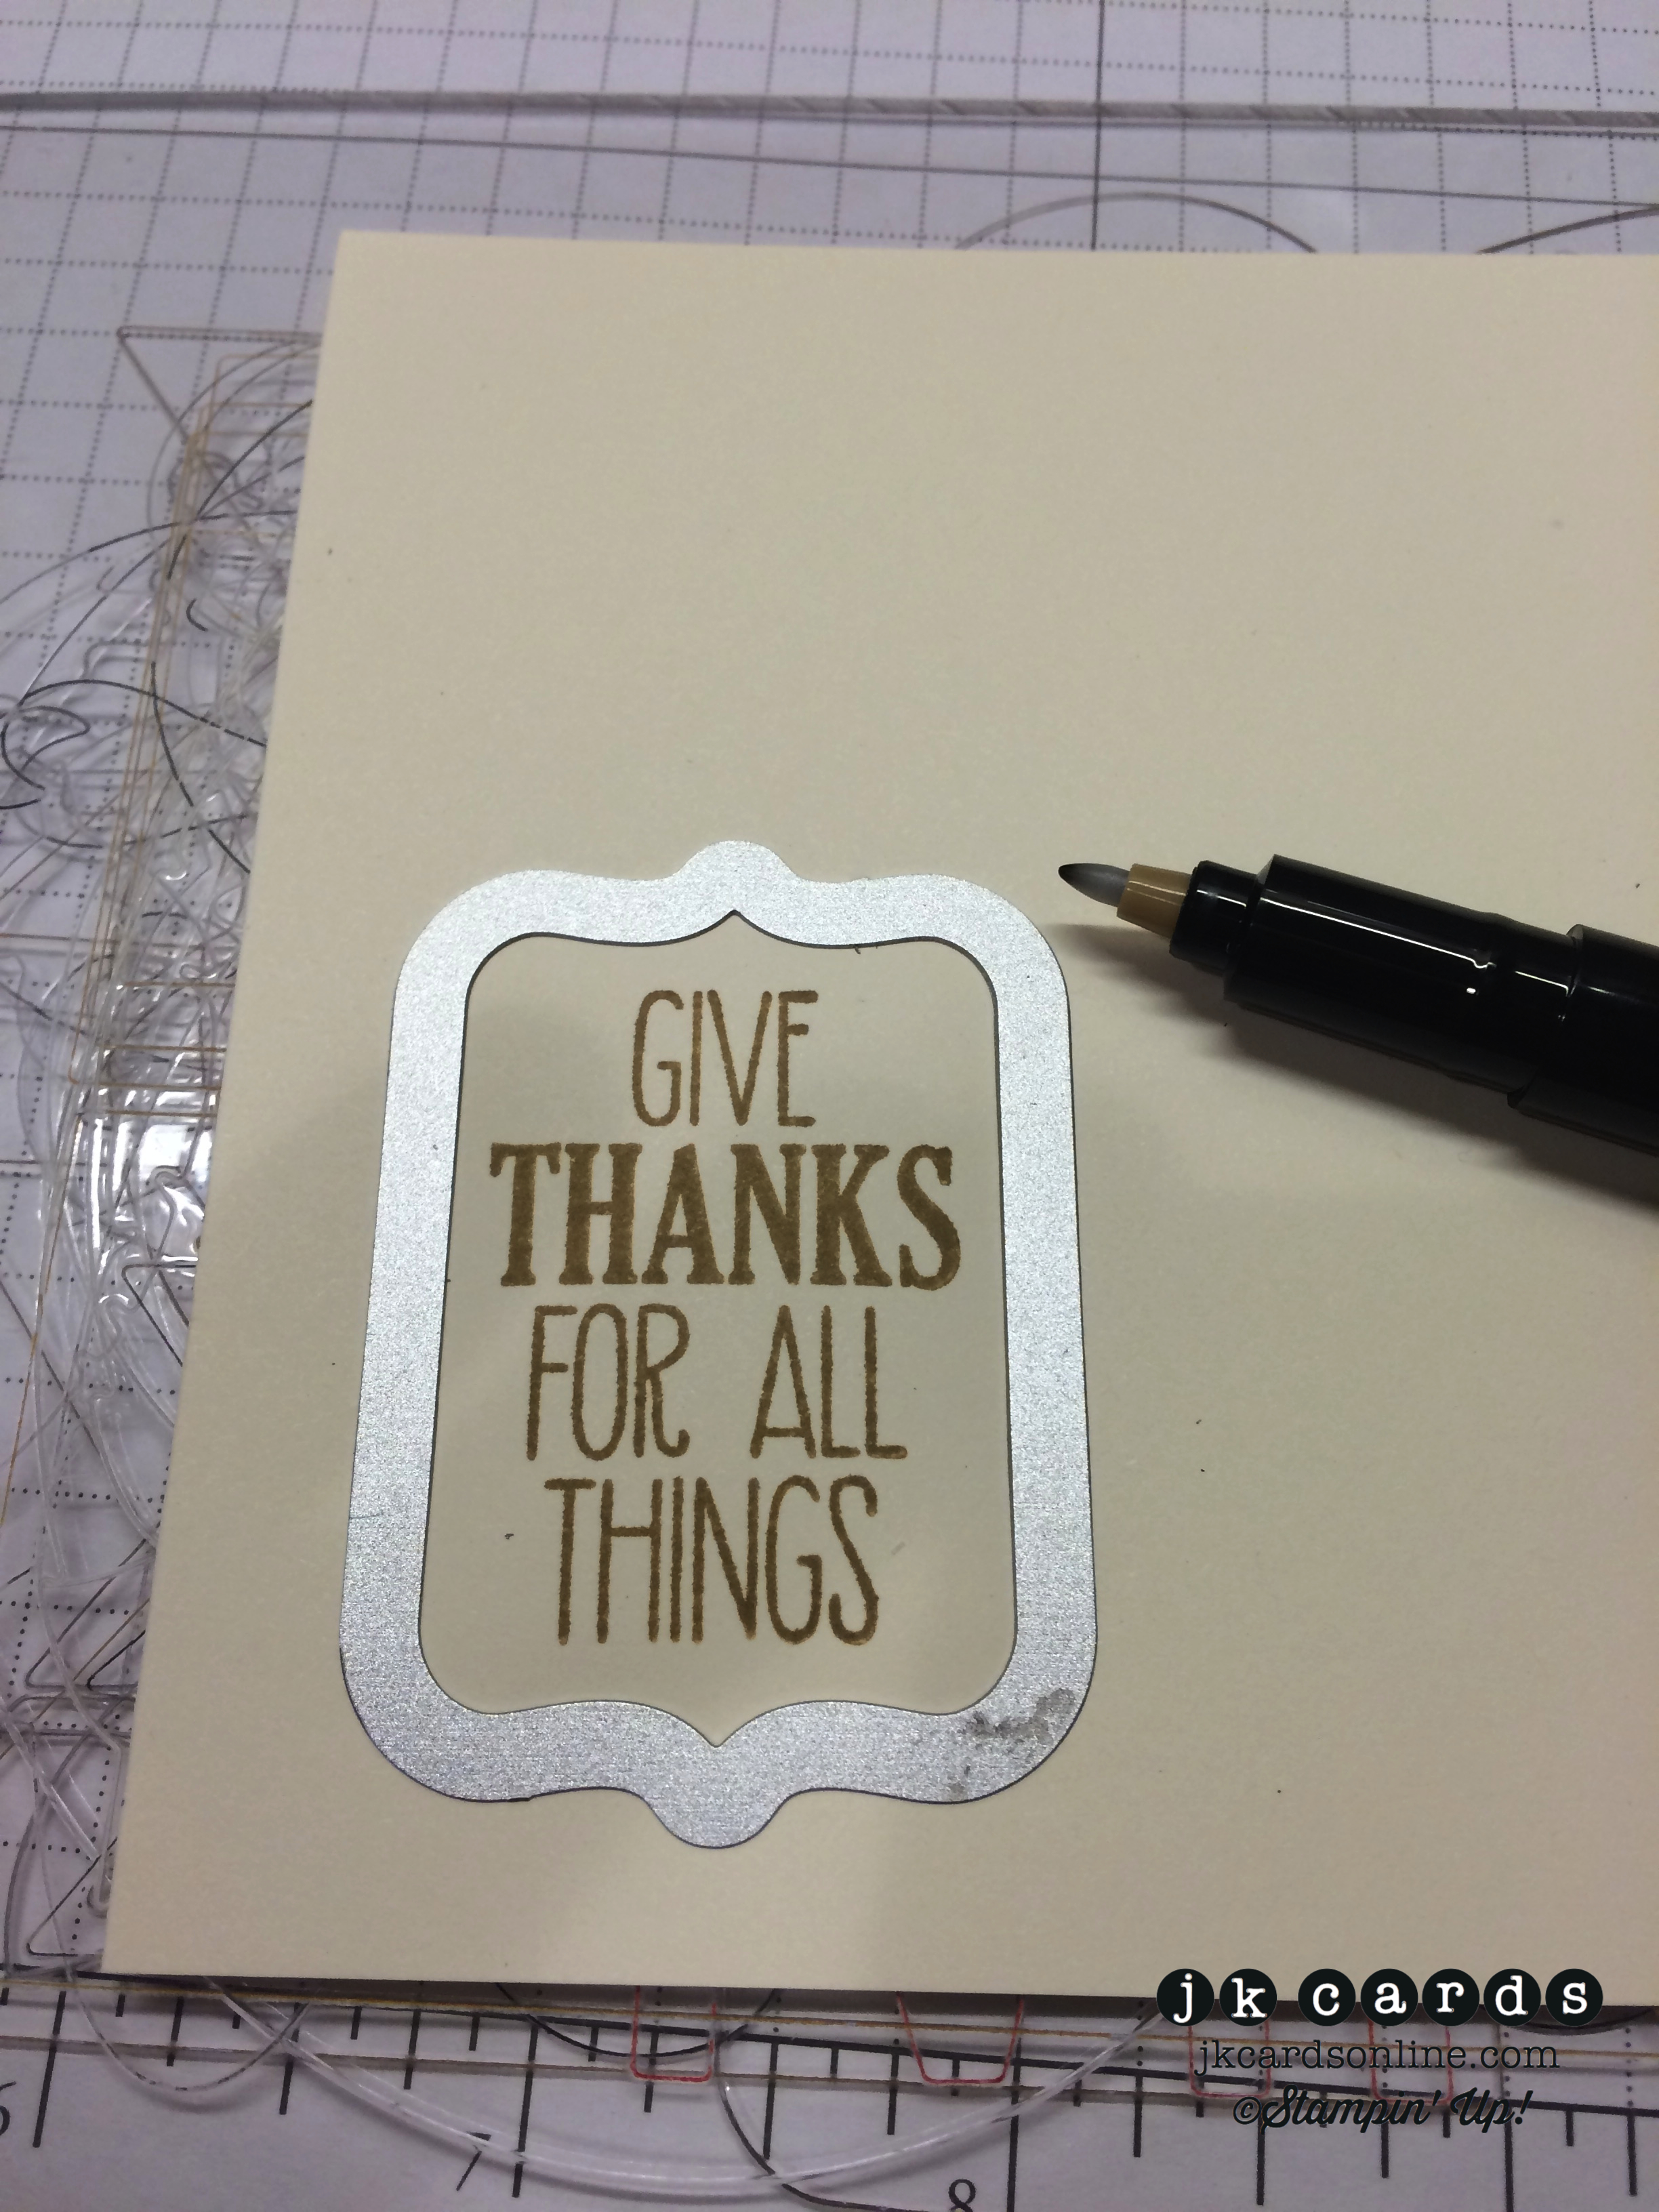
My next project is a fun wreath that will go on my wall somewhere in the house. I used a simple twig wreath that I had laying around in the Stampin Galley for my base. To create the bow I used the Gift Bow Bigz L Die and some Red Glimmer Paper. The berries around the wreath are also Red Glimmer Paper that I punched out with the 1/2″ Circle Punch. In the center hanging from apiece of Cherry Cobbler Baker’s Twine is a piece of Vellum Card Stock that I cut out with the Deco Labels Collection Framelits. My letters are Gold Glimmer Paper and I used the Little Letters Thinlits to cut them out and I adhered them with Multi-Purpose Glue. The ampersand is Red Glimmer Paper and is cut out with one of the dies from the Label Card Thinlits. I used some Stampin’ Dimensionals pieces to adhere that then tied it to the wreath. The bow and all the “berries” are adhered with hot glue to make sure that they stay in place! I love the sparkle of all of the Glimmer Paper and the unexpected hanging greeting in the middle!


I really hope that you enjoyed my two projects for the Creation Station Blog Tour featuring the Wondrous Wreath Photopolymer Stamp Set. I had a great time making the projects as I always do! Now you are off to see what clever Ilina Crouse has come up with. I love to inspire you to try new things and have you come by and see what I’m up to! Enjoy the rest of your Sunday! 🙂


Creation Station Blog Tour list:
Justin Krieger (That’s Me!)
Stampin’ Up! products used:
Card:
Stamp Set: Wondrous Wreath Photopolymer
Ink: Mossy Meadow Classic Stampin’ Ink
Specialty Ink: Versa-Mark
Stampin’ Emboss Powder: Clear, Gold and Cherry Cobbler
Card Stock: Cherry Cobbler
Specialty Card Stock: Vellum and Gold Fancy Foil Designer Vellum
Framelits: Wonderful Wreath
Tools: Bog Shot, Heat Tool, Multi-Purpose Glue, Stampin’ Dimensionals and SNAIL


Wreath:
Specialty Paper: Red and Gold Glimmer
Specialty Card Stock: Vellum
Framelits: Deco Labels Collection
Thinlits: Little Letters
Big Shot Die: Gift Bow Bigz L
Punch: 1/2″ Circle
Tools: Big Shot, Sticky Strip, Multi-Purpose Glue, Stampin’ Dimensionals and SNAIL


Current Promotions:
With our personalized stamps you can create a cool address label or even use it for everything from marking your territory on books or other belongings to having a fun way to give a personal touch to gifts and goodies. Click HERE for a PDF of the flyer.
It’s here! The 2014 Holiday Catalog is ready for you to place your order! It’s packed with fun trendy products and quick kits! Click on the image in the sidebar and place your order today!
Need some cards quicky? Stampin’ Up! has a brand new kit that allows you to create 20 cards, all you need is some adhesive and you’re all set. Click here for the Everyday Occasion Card Kit!
Make your own stamp! New Undefined stamp carving kit. Available now! Click here for the PDF.
Check out all of the Photopolymer Stamp Sets! The newest set is You’re Wonderful. It’s a completely clear stamping option you are going to love!