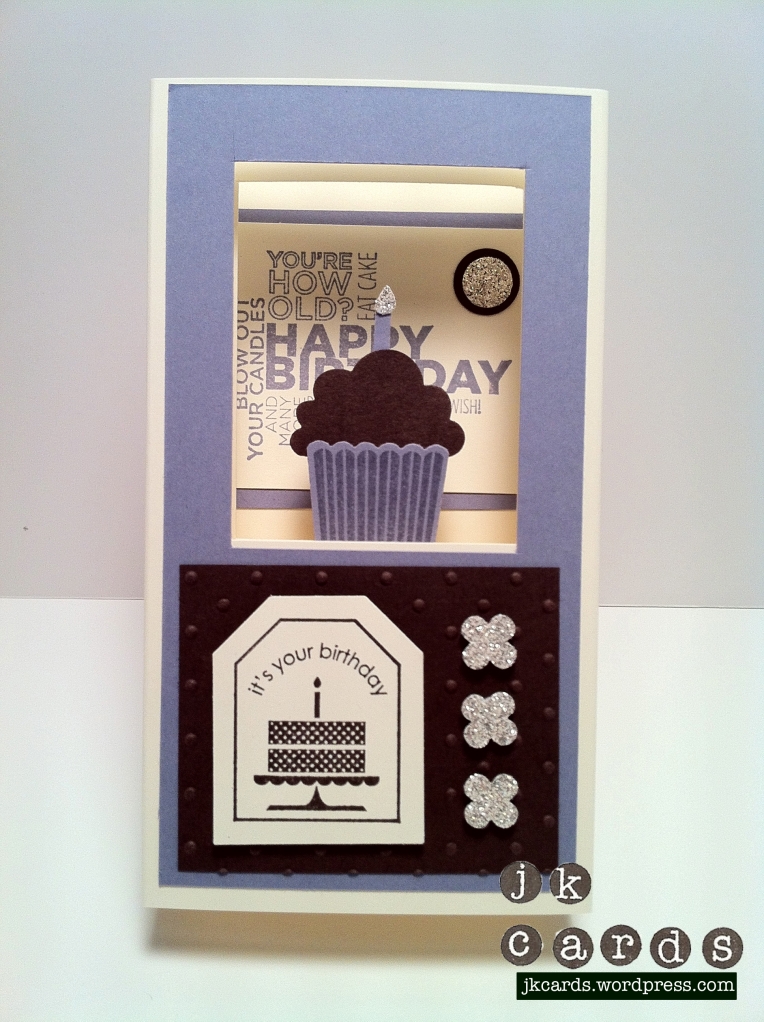
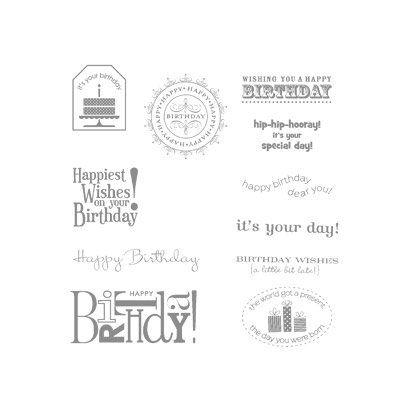
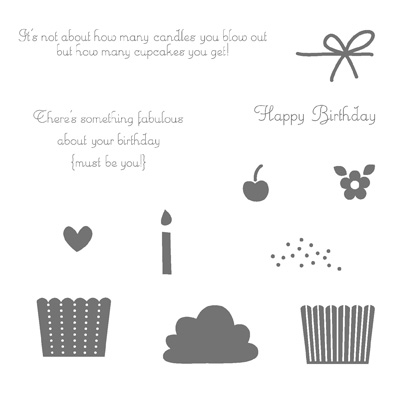
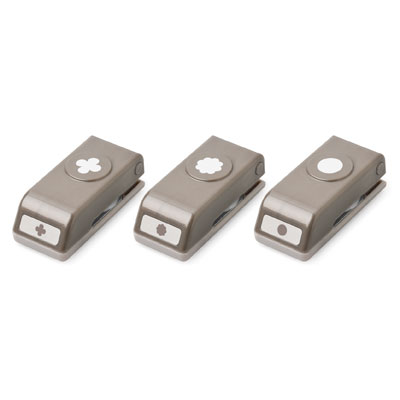
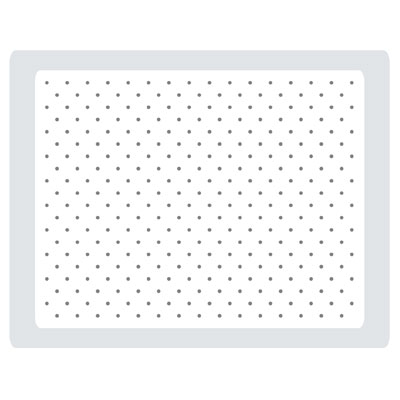
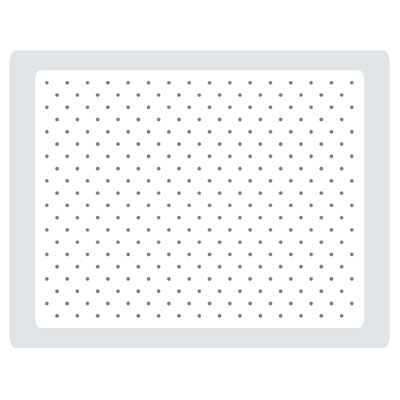
My good friend Kim turned 30 on Friday. It is a milestone birthday when you are finally leaving your 20’s but she doesn’t look a day over 18! I wanted to make her a special card and my new favorite is the 3D Window. It takes a while to make one but boy are they worth it! I used some Wisteria Wonder, Chocolate Chip and Very Vanilla Smooth Card Stock. The stamp sets I used are Delightful Dozen, Happiest Birthday Wishes and Cupcake Builder sets. I used the Cupcake Builder punch for the cupcake and the Itty Bitty Shapes Pack for the Glimmer flowers and circle. The images were stamped in Wisteria Wonder and Chocolate Chip. For some nice texture I used my trusty Perfect Polkadot Textured Impressions Embossing Folder. The Tag Punch was used for… what else, the tag! I hope that you liked the card as much as Kim did. I wish her a very happy 30th year! Thanks for stopping by and have a great day!
Thanks – Sneak Peek
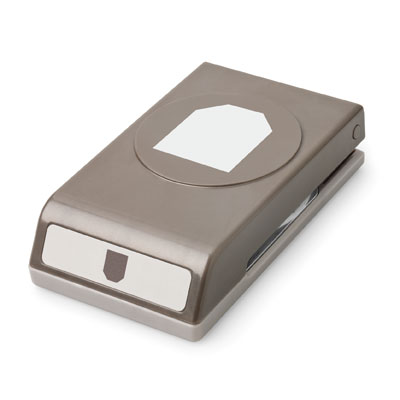
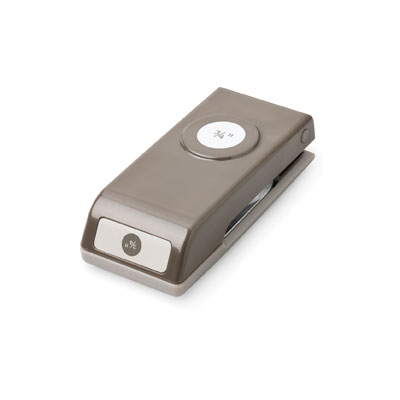
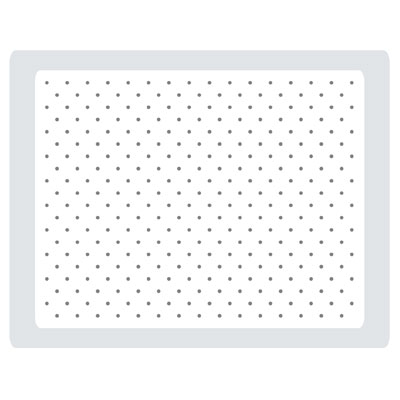
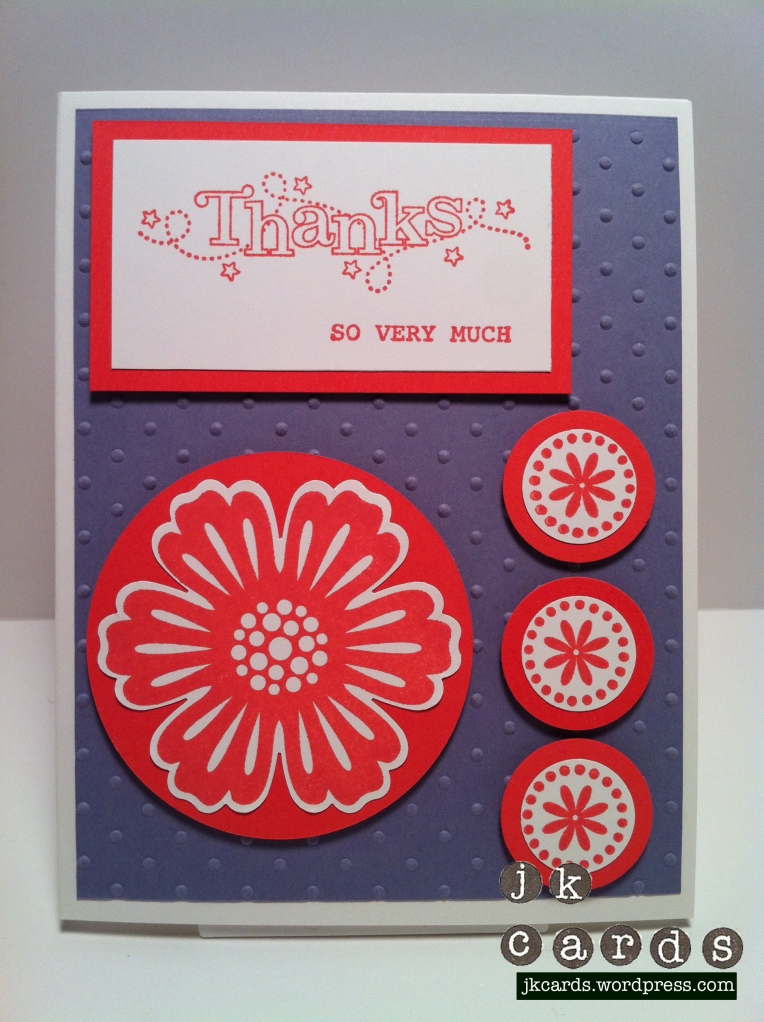
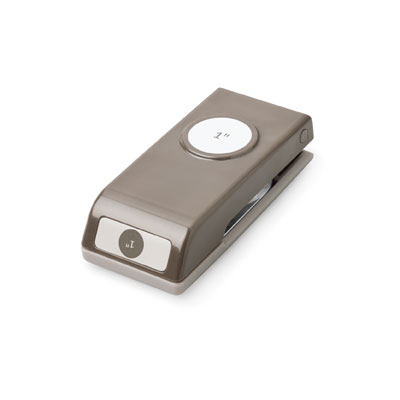
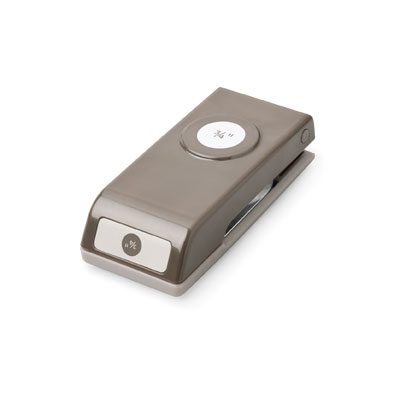
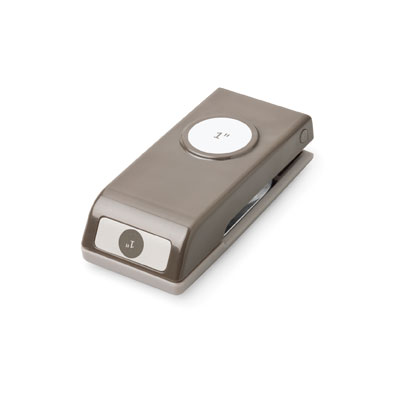
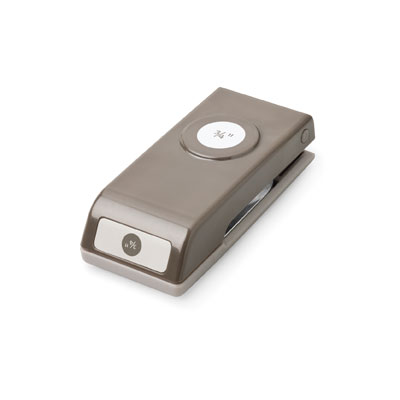
Only one week left to get all of your Christmas shopping done! I haven’t even started! But, it’s also a good time to start making thank you’s for all of those wonderful presents you will get. I recently got the 2011 to 2013 In-Color set and I really love the colors. I used some Wisteria Wonder and Calypso Coral Card Stock and some Calypso Coral Ink for this thank you card. The flower and the circle flowers are from the new Mixed Bunch Clear Mount Set that will be available January 4th in the Occasions Mini Catalog. The small circles were punched out using the 3/4″ and backed with the 1″ Circle Punches. I also used the new Blossom Punch also from the Occasions Mini. I backed it with a circle cut with the Circle Scissor Plus. I love stamp sets that coordinate with a punch. The greeting is from Outline Expressions in the Sale-A-Bration Catalog which will be out January 24th. For the background I used the Perfect Polkadots Texture Impressions Embossing Folder. I love all of the stuff in the new catalogs and I’m sure that you guys will too. Only a few weeks left until you can start ordering from the Occasions Mini. If you would like a catalog mailed to you email me and I’ll get one out to you. Thanks for stopping by and have a great night!
Stampin’ Up! products used:
Card Stock: Wisteria Wonder, Calypso Coral and Whisper White Smooth Card Stock
Ink: Calypso Coral Stampin’ Ink
Stamp Sets: Mixed Bunch (Occasions Mini 2012) and Outlined Expressions (Sale-A-Bration 2012)
Tools: Blossom Punch (Occasions Mini 2012), 3/4″ & 1″ Circle Punches, Perfect Polka Dots Textured Impressions Embossing Folder, Stampin’ Dimensionals and SNAIL
Contempo Ornaments
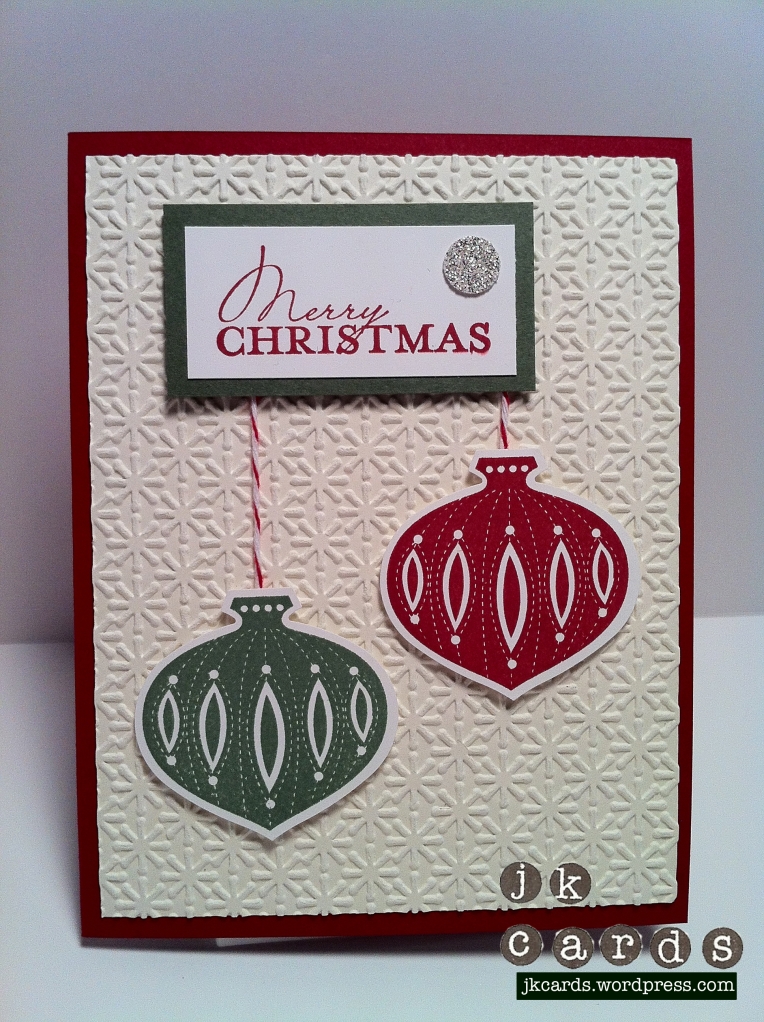
Hey everyone! Today’s card is one of the last few Holiday Cards that I have left to post. I got the Contempo Christmas Clear Mount Stamp Set a little later than I should have but I’m glad that I got it. I love the greeting and the ornaments are great. You can use the Ornament Punch like I did to punch out the image after you stamp it. I used some Cherry Cobbler Bakers Twine to hang them from the greeting. The Snow Burst Textured Impressions Embossing Folder makes a nice backdrop for everything. For a little bust of sparkle I punched out a piece of Silver Glimmer Paper with the 1/2″ Circle Punch. It’s a nice simple card with a classic look. Thanks for stopping by and have a great day!
Stampin’ Up! products used:
Card Stock: Cherry Cobbler, Alway Artichoke, Whisper White and Very Vanilla Smooth Card Stock
Specialty: Silver Glimmer Paper
Ink: Cherry Cobbler Classic Stampin’ Ink
Stamp Set: Contempo Christmas Clear Mount
Tools: Ornament Punch, Snow Burst Textured Impressions Embossing Folder, Stampin’ Dimensionals and Snail
Always Artichoke Winter Post
I have to say that I have liked the Winter Post Wood Mount set since I first saw it in the Idea Book & Catalog back in September (which was when I had my first look at Stampin’ Up!). How happy was I when It was on sale in the Online Extravaganza… VERY! This card is nice and simple for those last minute Holiday Cards that you may have forgotten to make. I used Always Artichoke and Very Vanilla Smooth Card Stock. I stamped the background with the snowflake stamp and stamped two images and mounted them. The greeting is from Petite Pairs, which is a great addition to your arsenal as it has an inside and outside one for a bunch of different occasions. The card took just a few minutes to put together but looks good enough to send out to anyone! Thanks for stopping by and have a great night!
Stampin Up! products used:
Card Stock: Always Artichoke and Very Vanilla Smooth Card Stock
Ink: Always Artichoke Stampin’ Ink
Stamp Sets: Winter Post Wood Mount and Petite Pairs Clear Mount
Tools: Paper Cutter and SNAIL
PPA 123 & Sneak Peek
Hello everyone! This weeks Pals Paper Arts Challenge was to get dressed up like Fred Astaire…
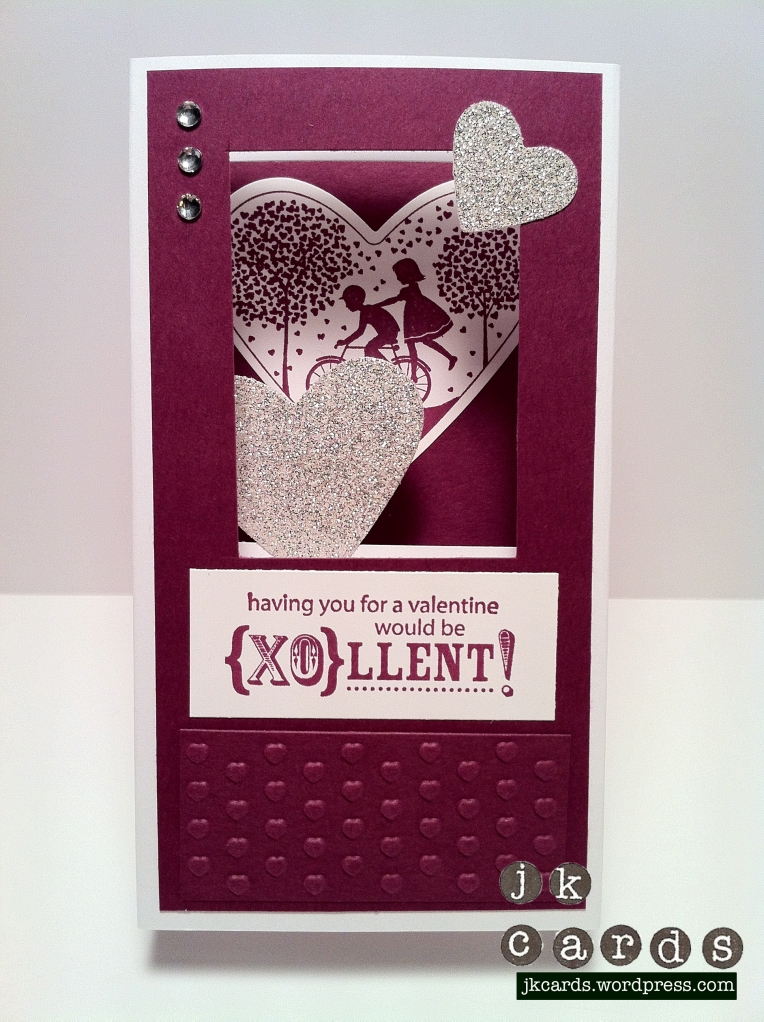
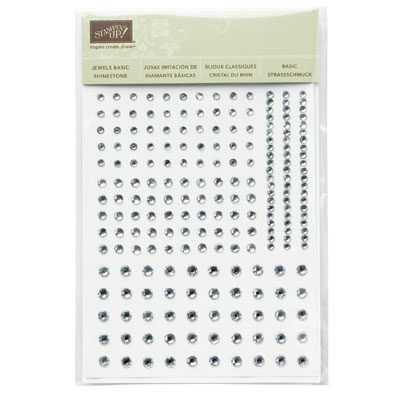
I decided that I would do a Valentine’s Day card in a rich color, but not your typical card. I give you the 3D box card. The card is cut from a 12 x 5 1/2 piece of Whisper White Card Stock. The windows were cut out using my trusty Paper Cutter. It folds flat and can be put in a standard A2 envelope. I used the new Take It to Heart Set for the far image from the Occasion Mini Catalog that you can order from starting January 4, 2012. I stamped it in Rich Razzleberry and also used the same color Card Stock. The Silver Glimmer Paper was cut out using the new Framelits Hearts Collection also from the new Occasions Catalog along with the sentiment from the P.S. I Love You Stamp Set. Finally I used the new Adorning Edge Textured Impressions Embossing Folder for the hearts along the bottom of the card. For the perfect finishing touch I added some Basic Jewel Rhinestones to the top left corner. I am very happy with the way this card came out and hope that you like it too! Thanks for stopping by.
Stampin’ Up! products used:
Card Stock: Whisper White 12 x 12 Smooth Card Stock and Rich Razzleberry Smooth Card Stock
Ink: Rich Razzleberry Classic Stampin’ Ink
Stamp Sets: Take It to Heart and P.S. I Love You (2012 Occasions Mini Catalog available January 4, 2012)
Tools: Framelits Hearts Collection, Adorning Accents Textured Impressions Embossing Folder (2012 Occasions Mini Catalog available January 4, 2012), Big Shot, Sticky Strip and SNAIL
Mojo 218
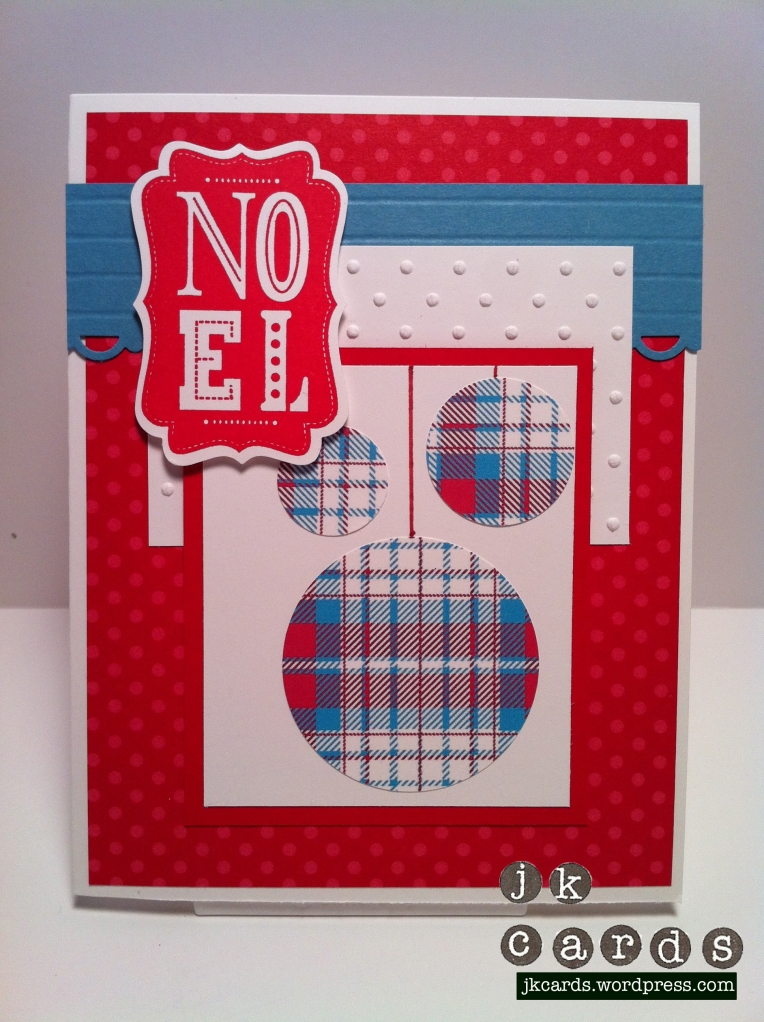
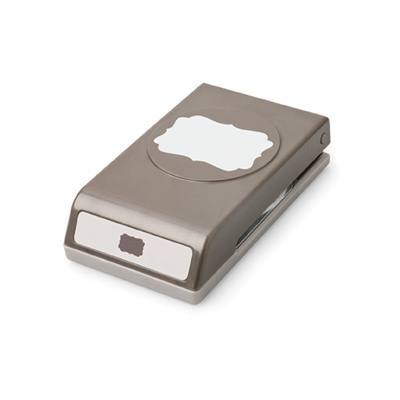
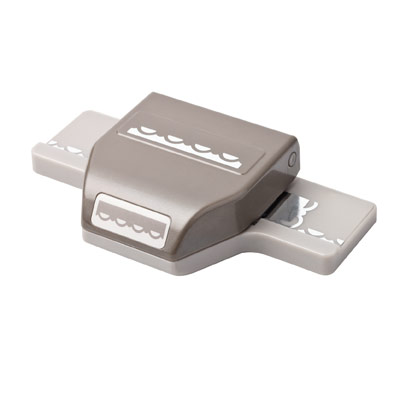
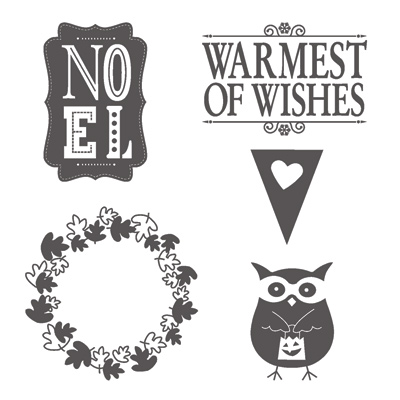
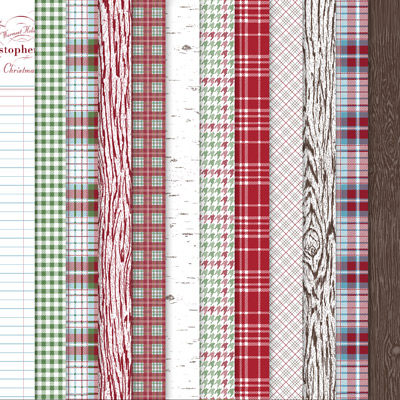
For this weeks Mojo Monday Sketch Challenge I decided to do yet another Holiday card. I’m actually kind of upset that Christmas is almost upon us and soon we will be making Valentine’s cards instead. I’m sure that I’ll get over it quickly though, especially with all of the cool new stuff in the Occasions Mini Catalog! For this card I used some Brights Stack Designer Series Paper for the background. I punched the edge of some Marina Mist Smooth Card Stock with the Scallop Edge Punch and the scored some lines in it using the Simply Scored. On top of that I used the Perfect Polkadots Textured Impressions Embossing Folder on some Whisper White for some dimension and to tie it in with the dots on the background. I stamped the Noel from the Warmest of Wishes Clear Mount Hostess Set in the Holiday Mini Catalog and then punched it out with the Decorative Label Punch and popped it up on Some Stampin’ Dimensionals. I punched out some circles from the Frostwood Lodge Designer Series paper and used a Stampin’ Marker to put in the “string”. I love playing along each week and hope you enjoy the card. Thanks for stopping by!
Stampin’ Up! products Used:
Card Stock: Marina Mist, Real Red & Whisper White Smooth Card Stock
Ink: Real Red Stampin’ Ink
Designer Series Paper: Brights Stack & Frostwood Lodge
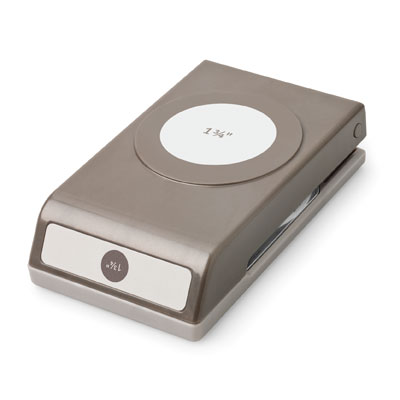
Tools: Decorative Label Punch, Perfect Polkadots Textured Impressions Embossing Folder, Simply Scored, 1 3/4″, 1″ & 3/4″ Circle Punches, Stampin’ Dimensionals and SNAIL
Merry & Type Pop-Up Gift Card Holder
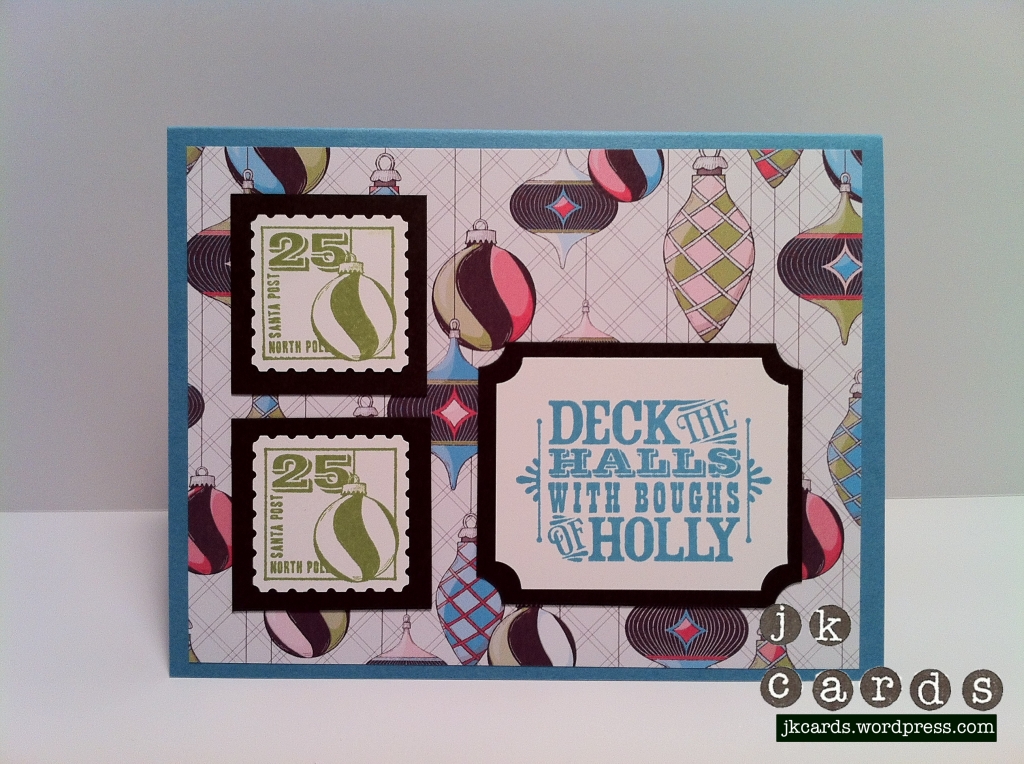
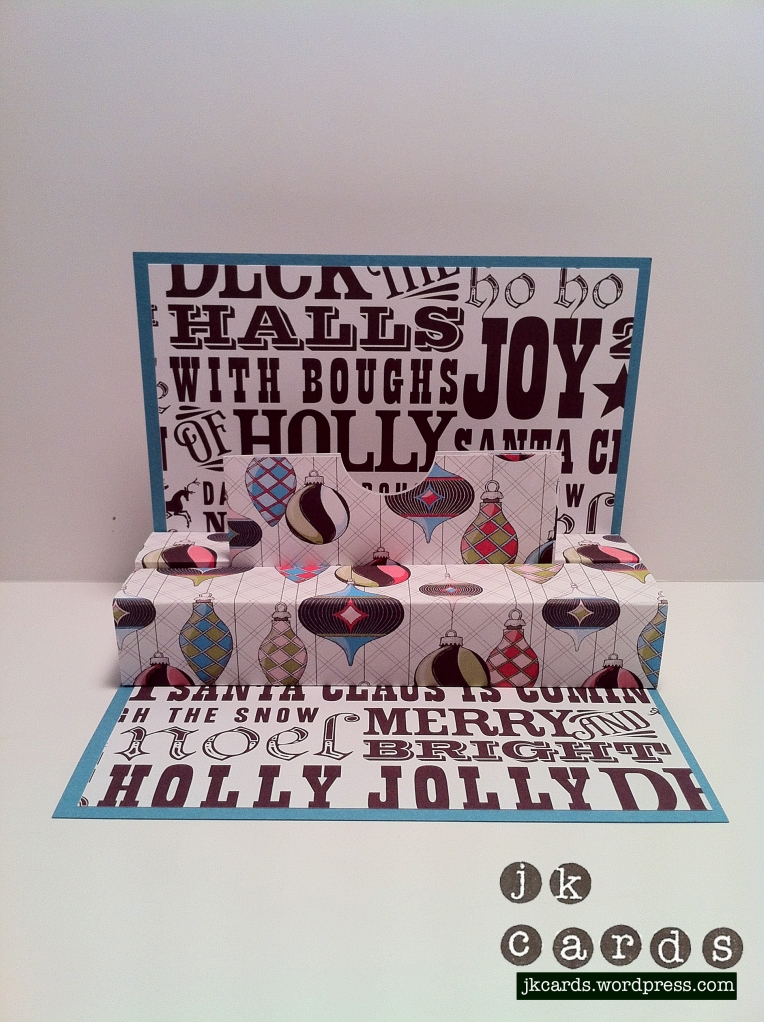
A few weeks ago my friend Kim asked me if I would make a gift card holder for her to give to her dad for Christmas. I had found a tutorial on Splitcoast Stampers for one and decided to give it a try. The tutorial, which can be found here: http://www.splitcoaststampers.com/resources/tutorials/pop-upgiftcardholder was originally done with Holly Berry Bouquet Designer Series Paper but I decided to use some Letter to Santa Designer Series Paper because it has a bit more of a manly feel to it. I also used the Merry & Type Stamp Set on the front of the card. I love the way it came out and I wish I had put a gift card in it so you could see the holder a little better. Kim liked it so I was happy. I love it when my friends ask me to make things for them. Thanks for stopping by and have a great day!
Stampin’ Up! products used:
Card Stock: Marina Mist, Early Espresso and Whisper White Smooth Card Stock
Designer Series Paper: Letters to Santa
Stamp Sets: Merry & Type
Ink: Marina Mist & Old Olive Classic Stampin’ Ink
Plant Christmas
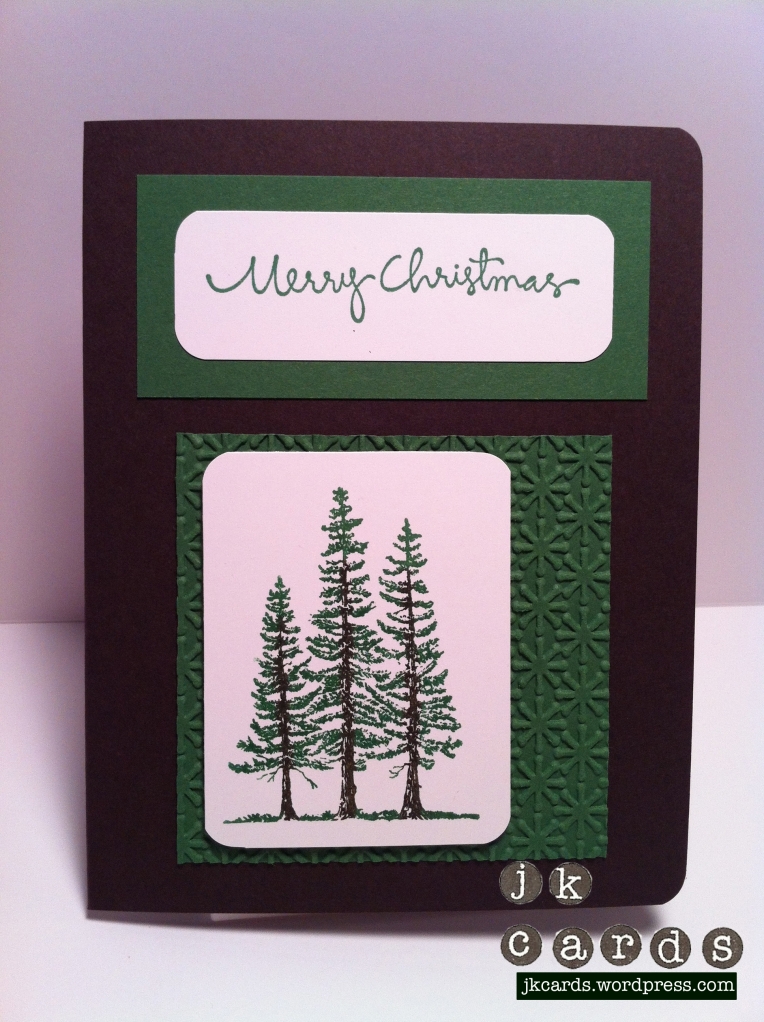
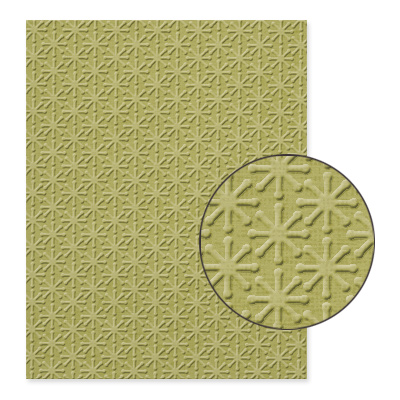
Good morning everyone! I hope that everyone is having a nice weekend. It’s a little chilly here in Blue Springs, MO today! For today’s card I used the Plant Hope Stamp Set with Early Espresso, Garden Green and Whisper White Card Stock. The set comes with three images and a saying. The three trees together are perfect for a Christmas card. I used markers in Garden Green and Early Espresso to color in the stamp. It’s one of my favorite techniques, it’s simple and the results are really nice. The Snow Burst Texture Impressions Embossing Folder gives a nice little punch of texture and I finished the card off with the Christmas Greetings Wood Mount Stamp Set. You don’t always need a holiday stamp set to make some nice holiday cards. I hope you enjoyed the card and that you have a nice day!
Stampin’ Up! products used:
Card Stock: Garden Green, Early Espresso and Whisper White
Ink: Garden Green Classic Stampin’ Ink
Markers: Garden Green and Early Espresso
Tools: Corner Rounder Punch, Snow Burst Textured Impressions Embossing Folder, Stampin’ Dimensionals and SNAIL
The Arch
As promised, here are some pictures from the top of the St. Louis Arch. Luckily it was a pretty clear day and we didn’t have to wait at all to get to the top. You ride up in this little tiny bubble to the top. If you are claustrophobic it’s definitely not for you! The view is amazing and you are 630 feet up in air at the top. I am having a great time with the Doi sisters but looking forward to getting back to my crafting desk! Have a great day!
Merry Winter 1/2 Top Note
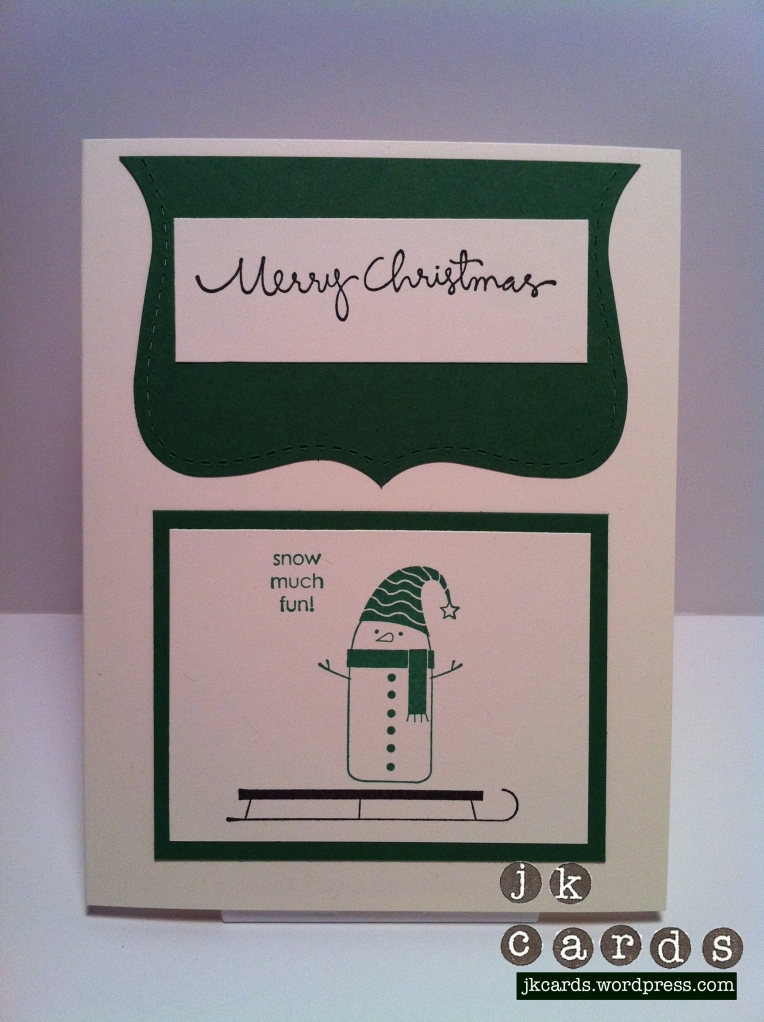
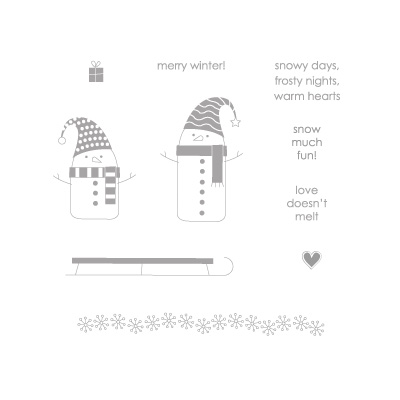
Hello everyone! I hope you all had a good day, I did! We went to the St. Louis Arch and Union Station today. The view from the top of the Arch was great. I’ll post some pictures tomorrow. My card for today is a very simple Holiday card made using the Merry Winter Stamp Set. The set includes a short and tall snowman, sled and a few different sayings. I used Garden Green and Vary Vanilla Card Stock and some Garden Green and Early Espresso Ink. I cut a Top Note with my Big Shot and cut it in half. The greeting is from the Christmas Greetings Wood Mount Set. I love the card and it’s a very easy one to duplicate. Thanks for stopping by and have a great night!
Stampin’ Up! products used:
Card Stock: Garden Green and Very Vanilla Smooth Card Stock
Ink: Garden Green and Early Espresso Classic Stampin’ Ink
Tools: Top Note Bigz Die, SNAIL

