Happy Monday… NOT! LOL! Poor Monday always has a bad rap because it starts another work week. I had a great weekend and the weather was almost perfect. I did a little running around yesterday morning and had some lunch with Maureen. I also started to organize my craft area which has become quite large, soon the bed will have to leave! Some cards were made and then I found a 16 Handles Froyo not far from here so I alerted my peeps and off we went. My friend Kim’s two little girls are just the cutest, Izzy says my name now and I melt! I even got to see the child last night, a great way to cap off any evening. 🙂
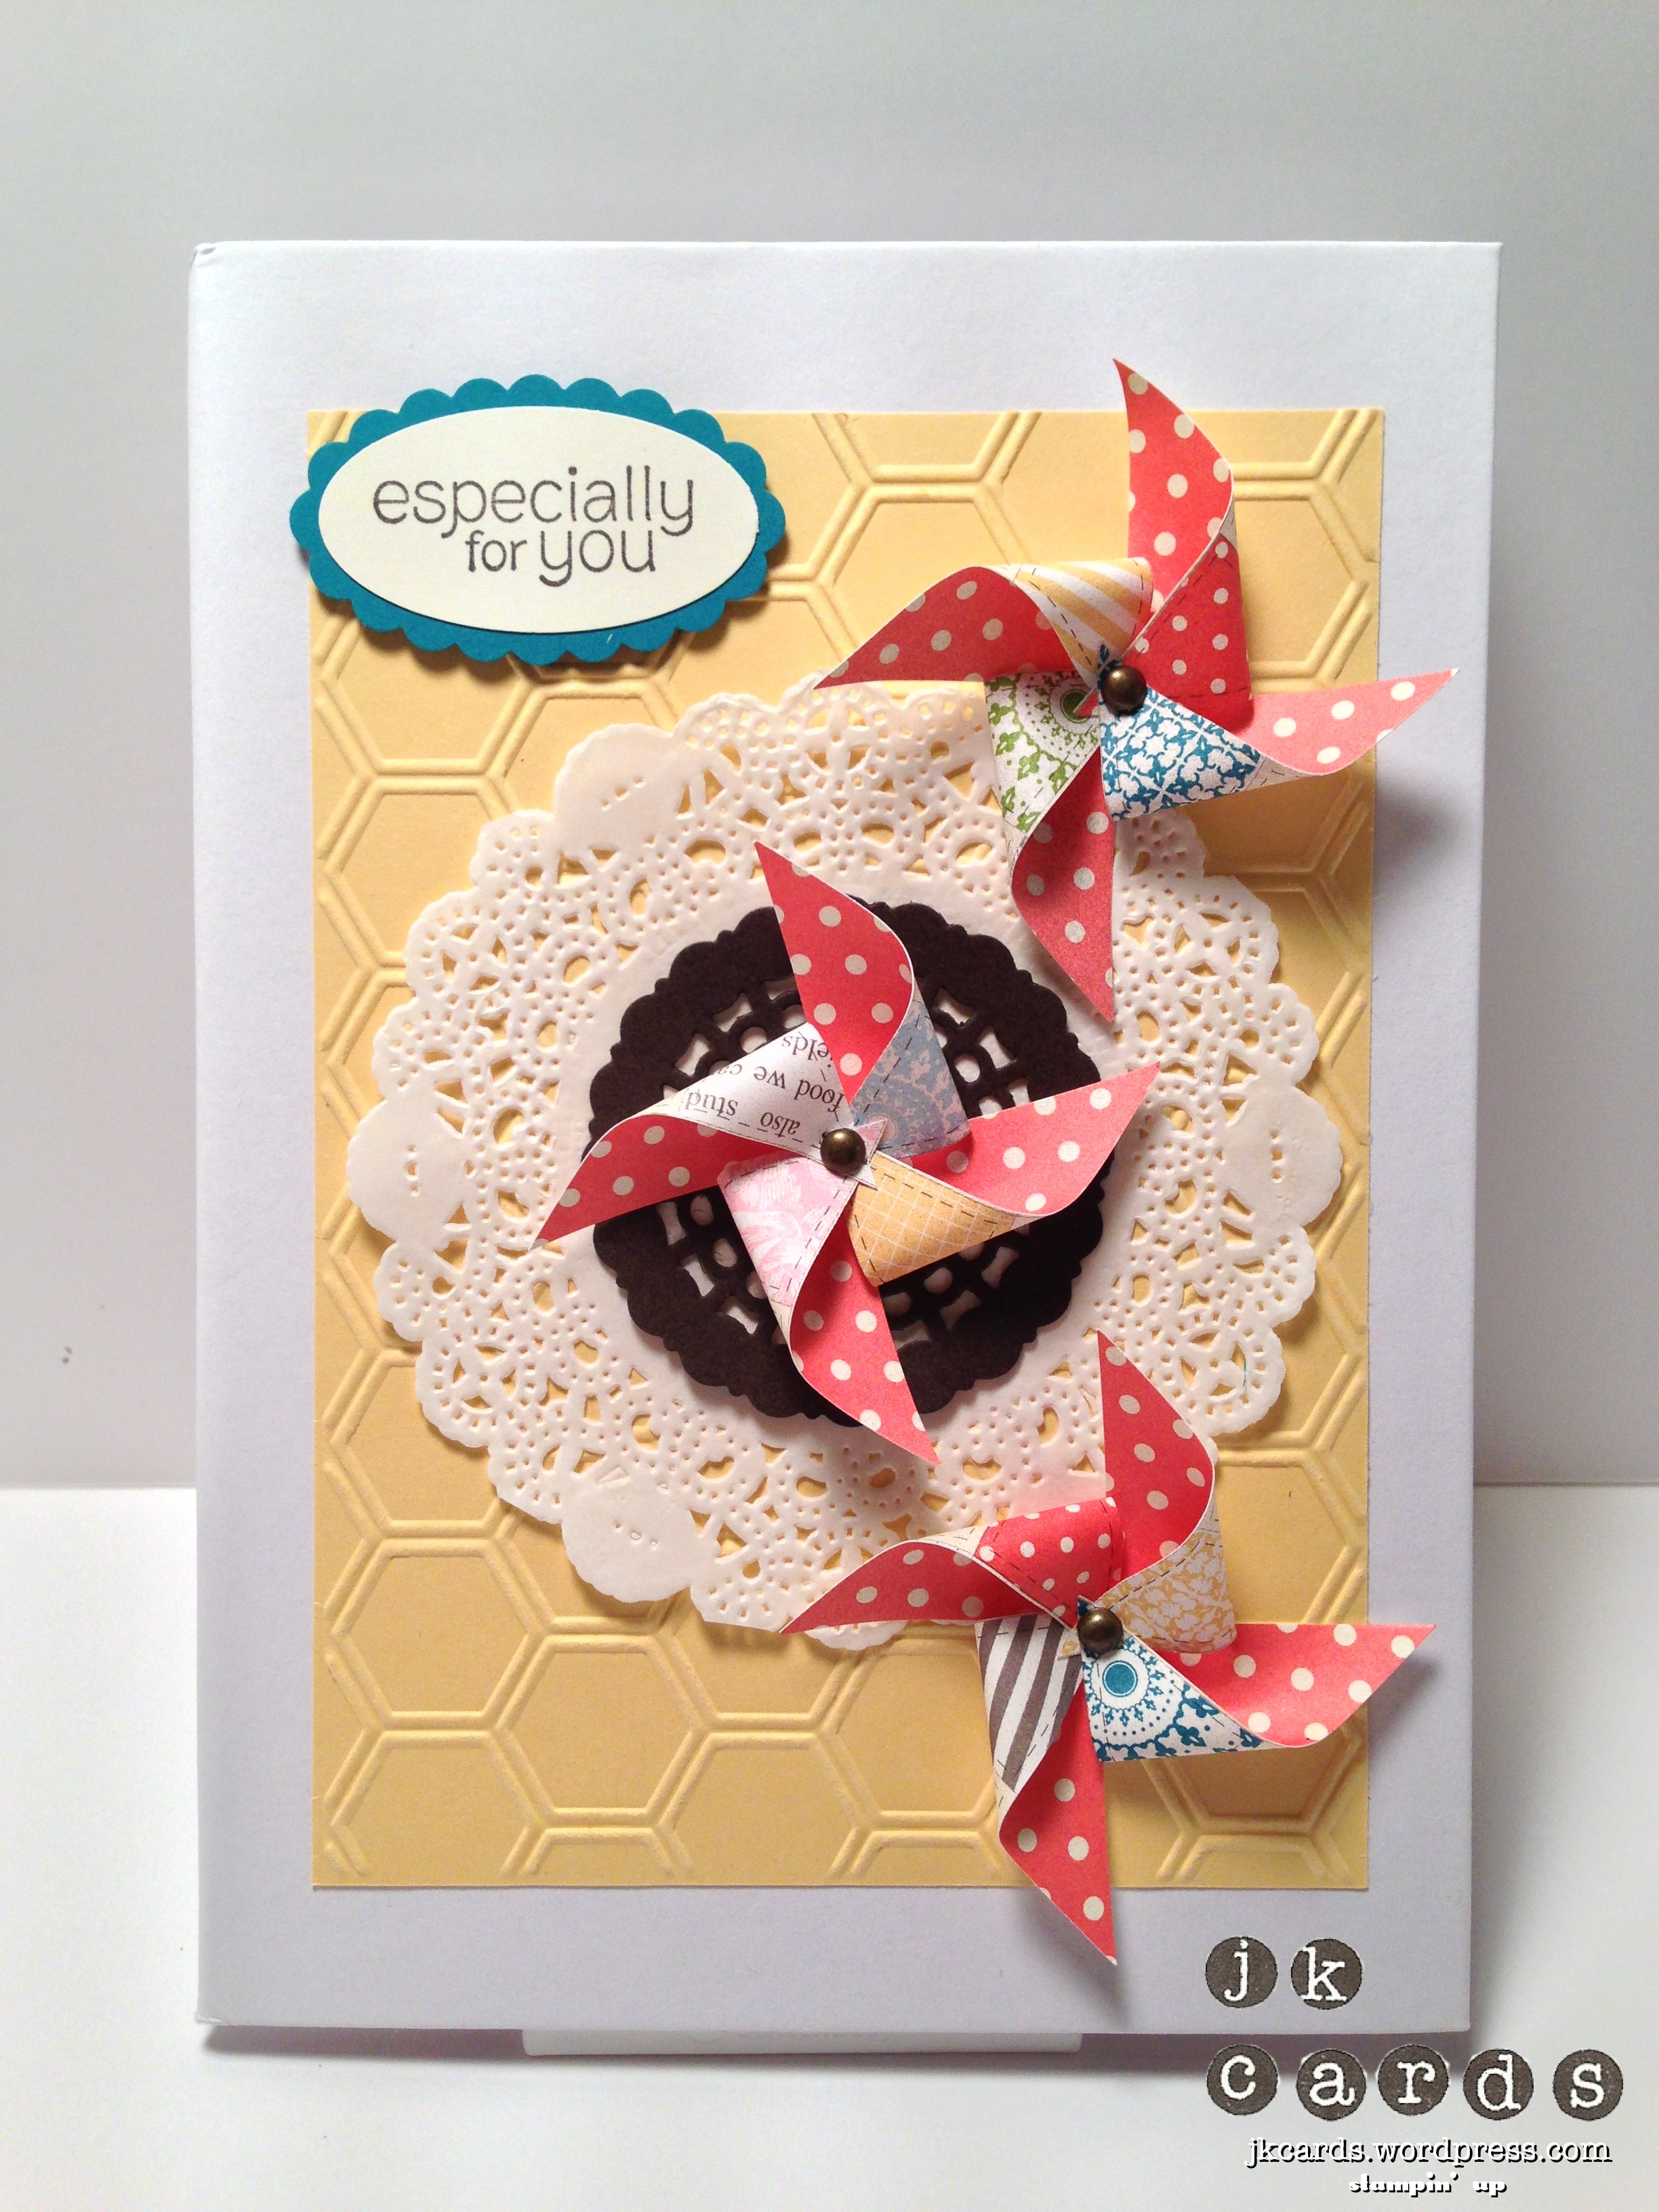
Today’s card – A CASE – from Stampin’ Success…
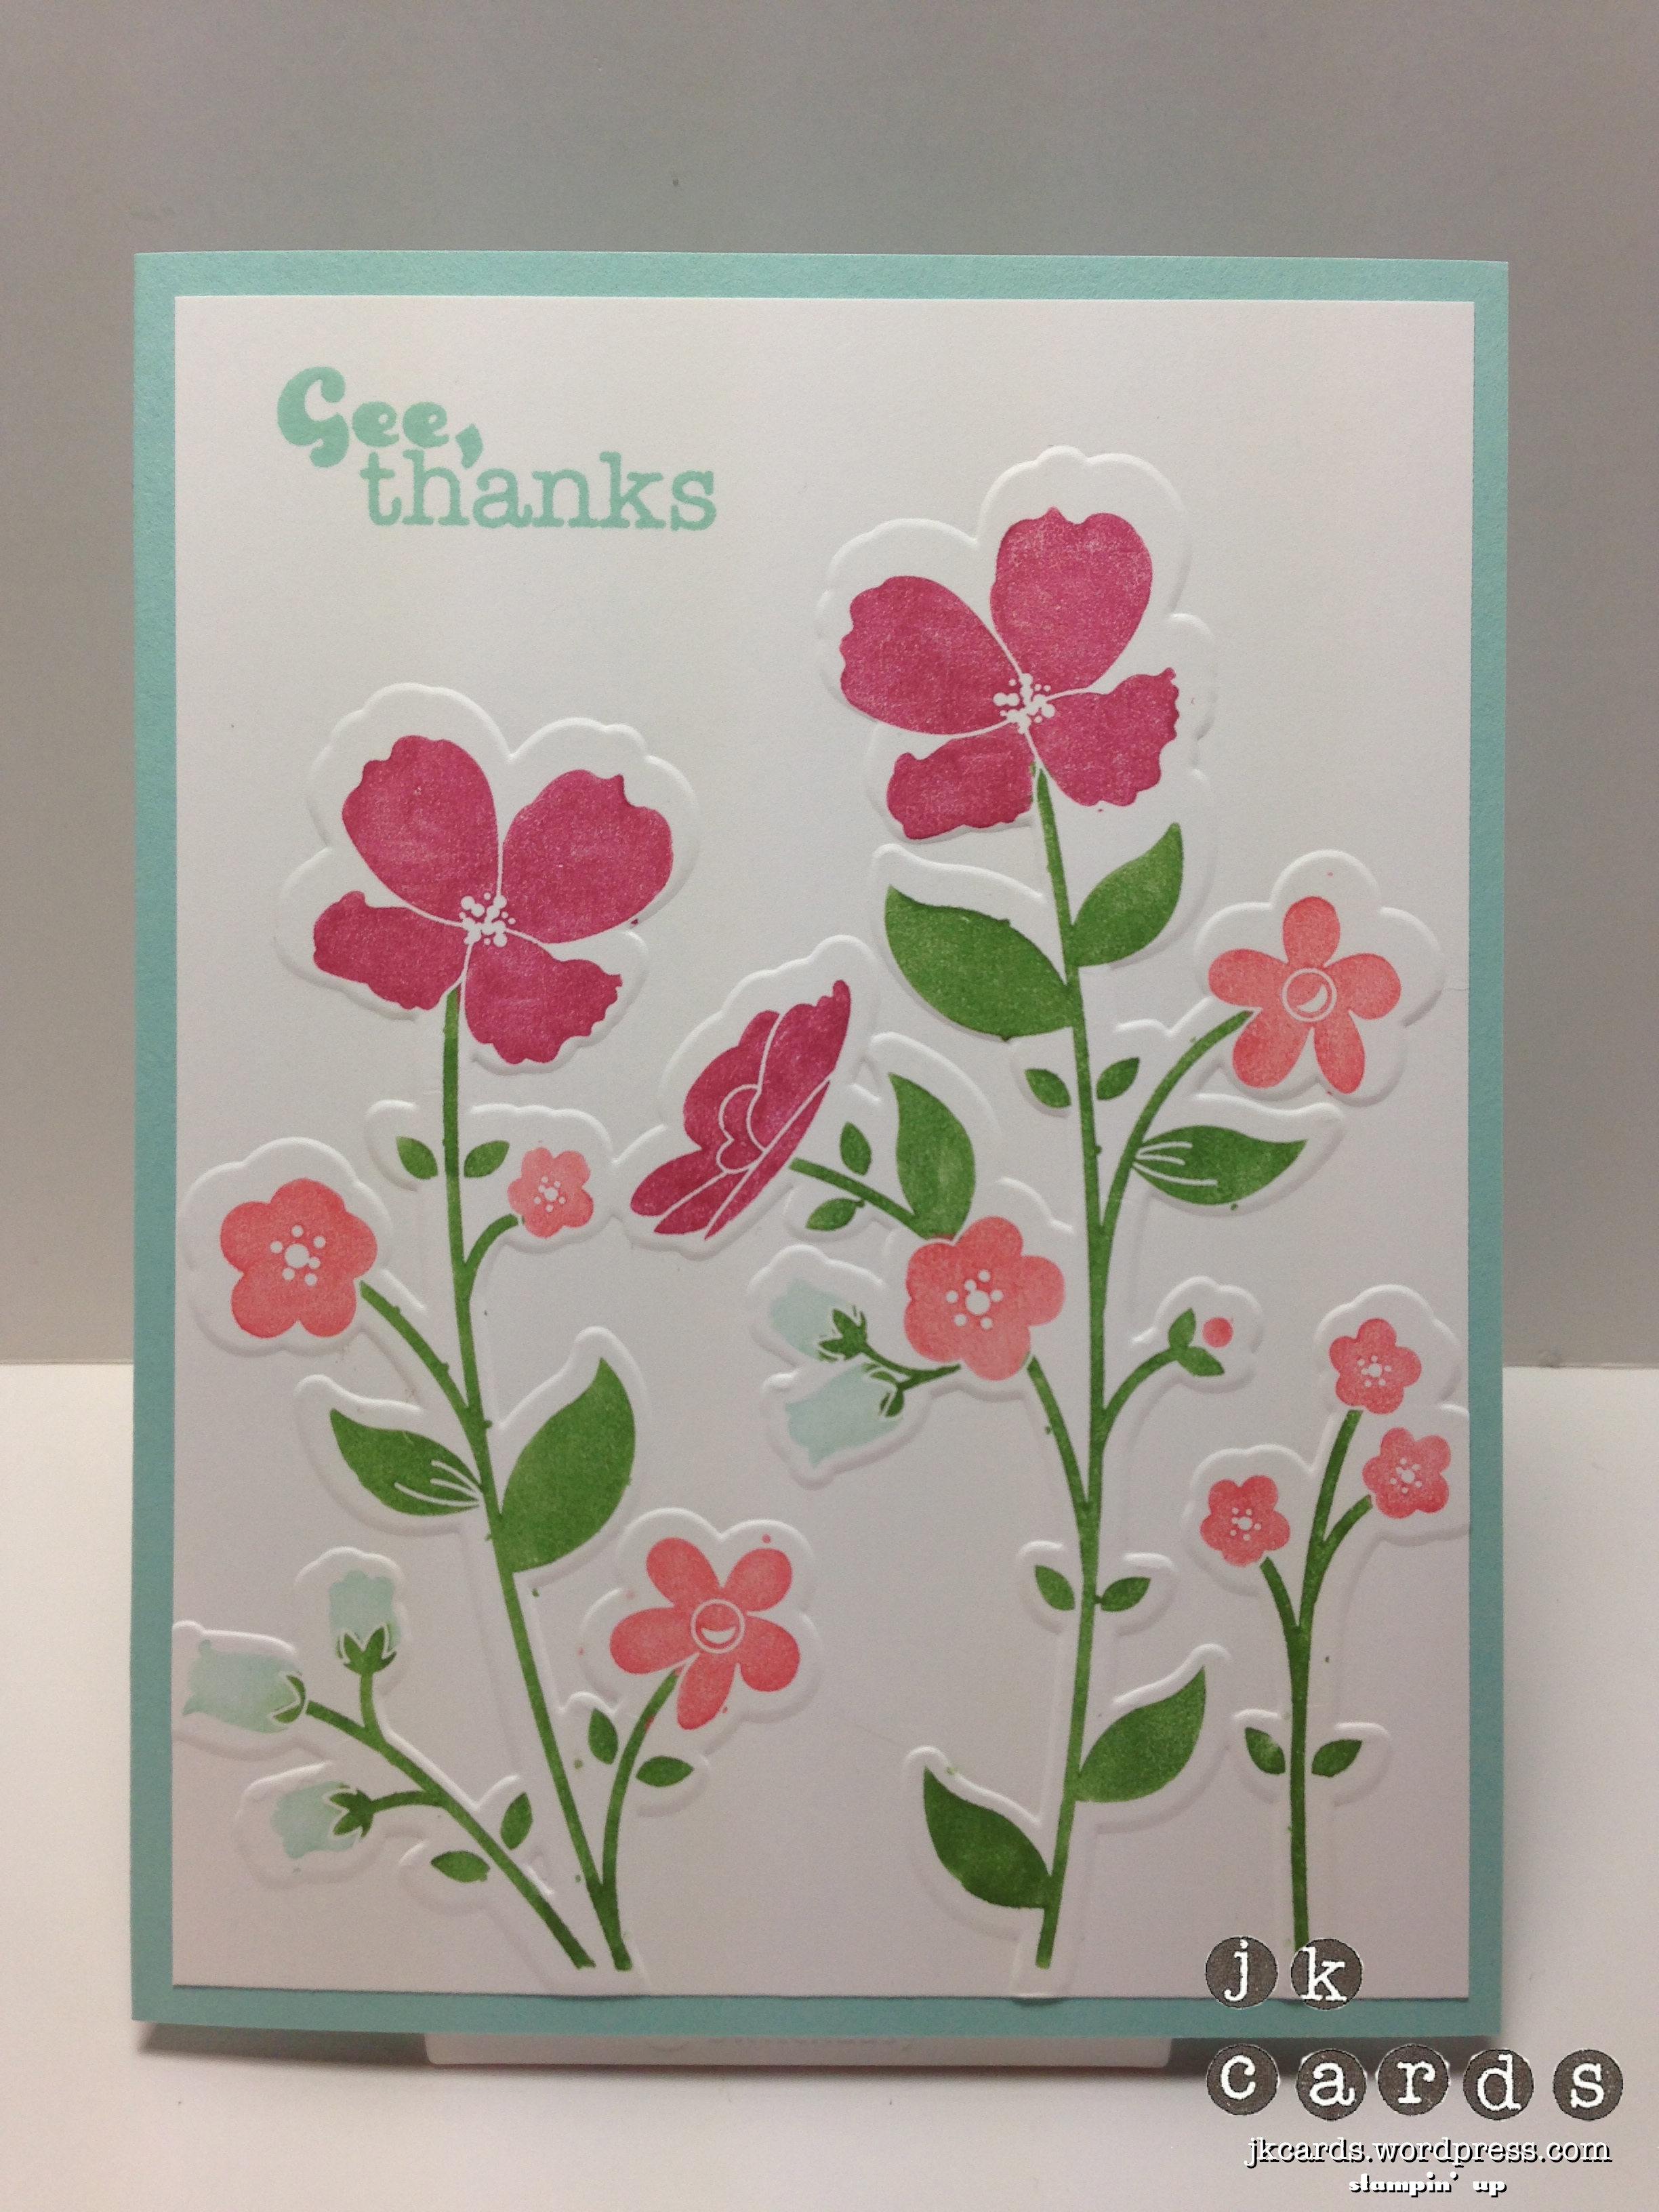
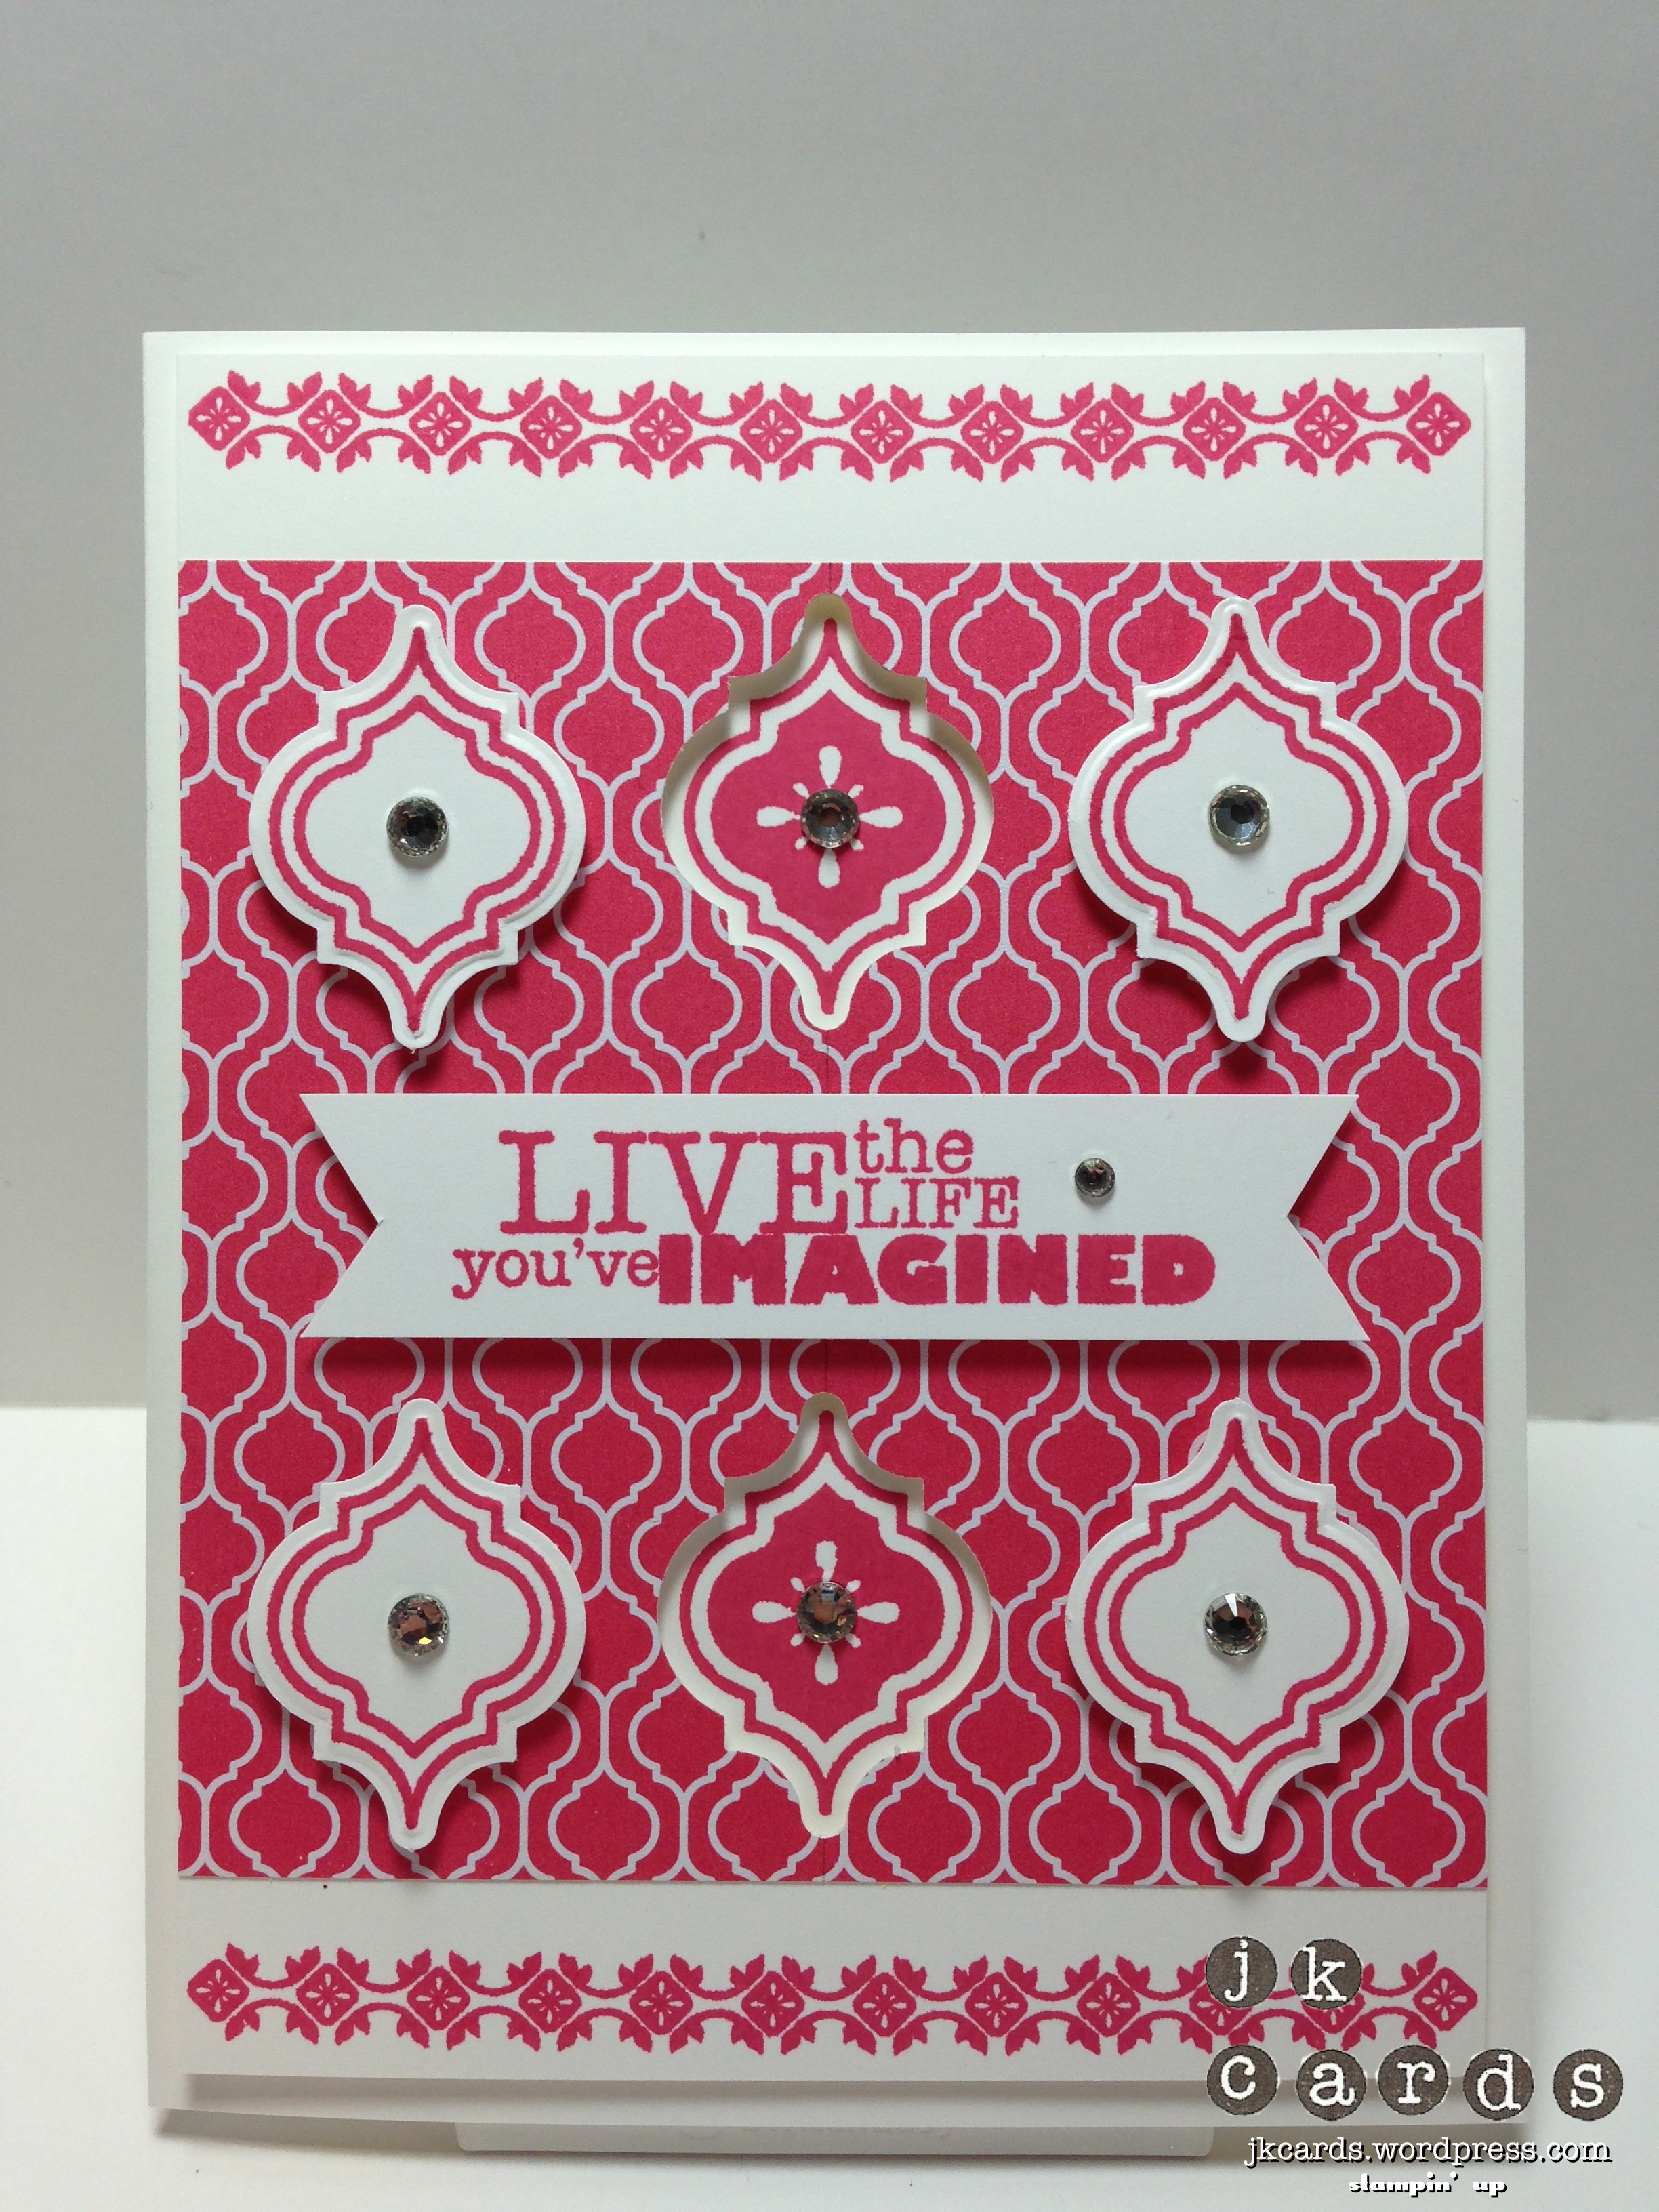
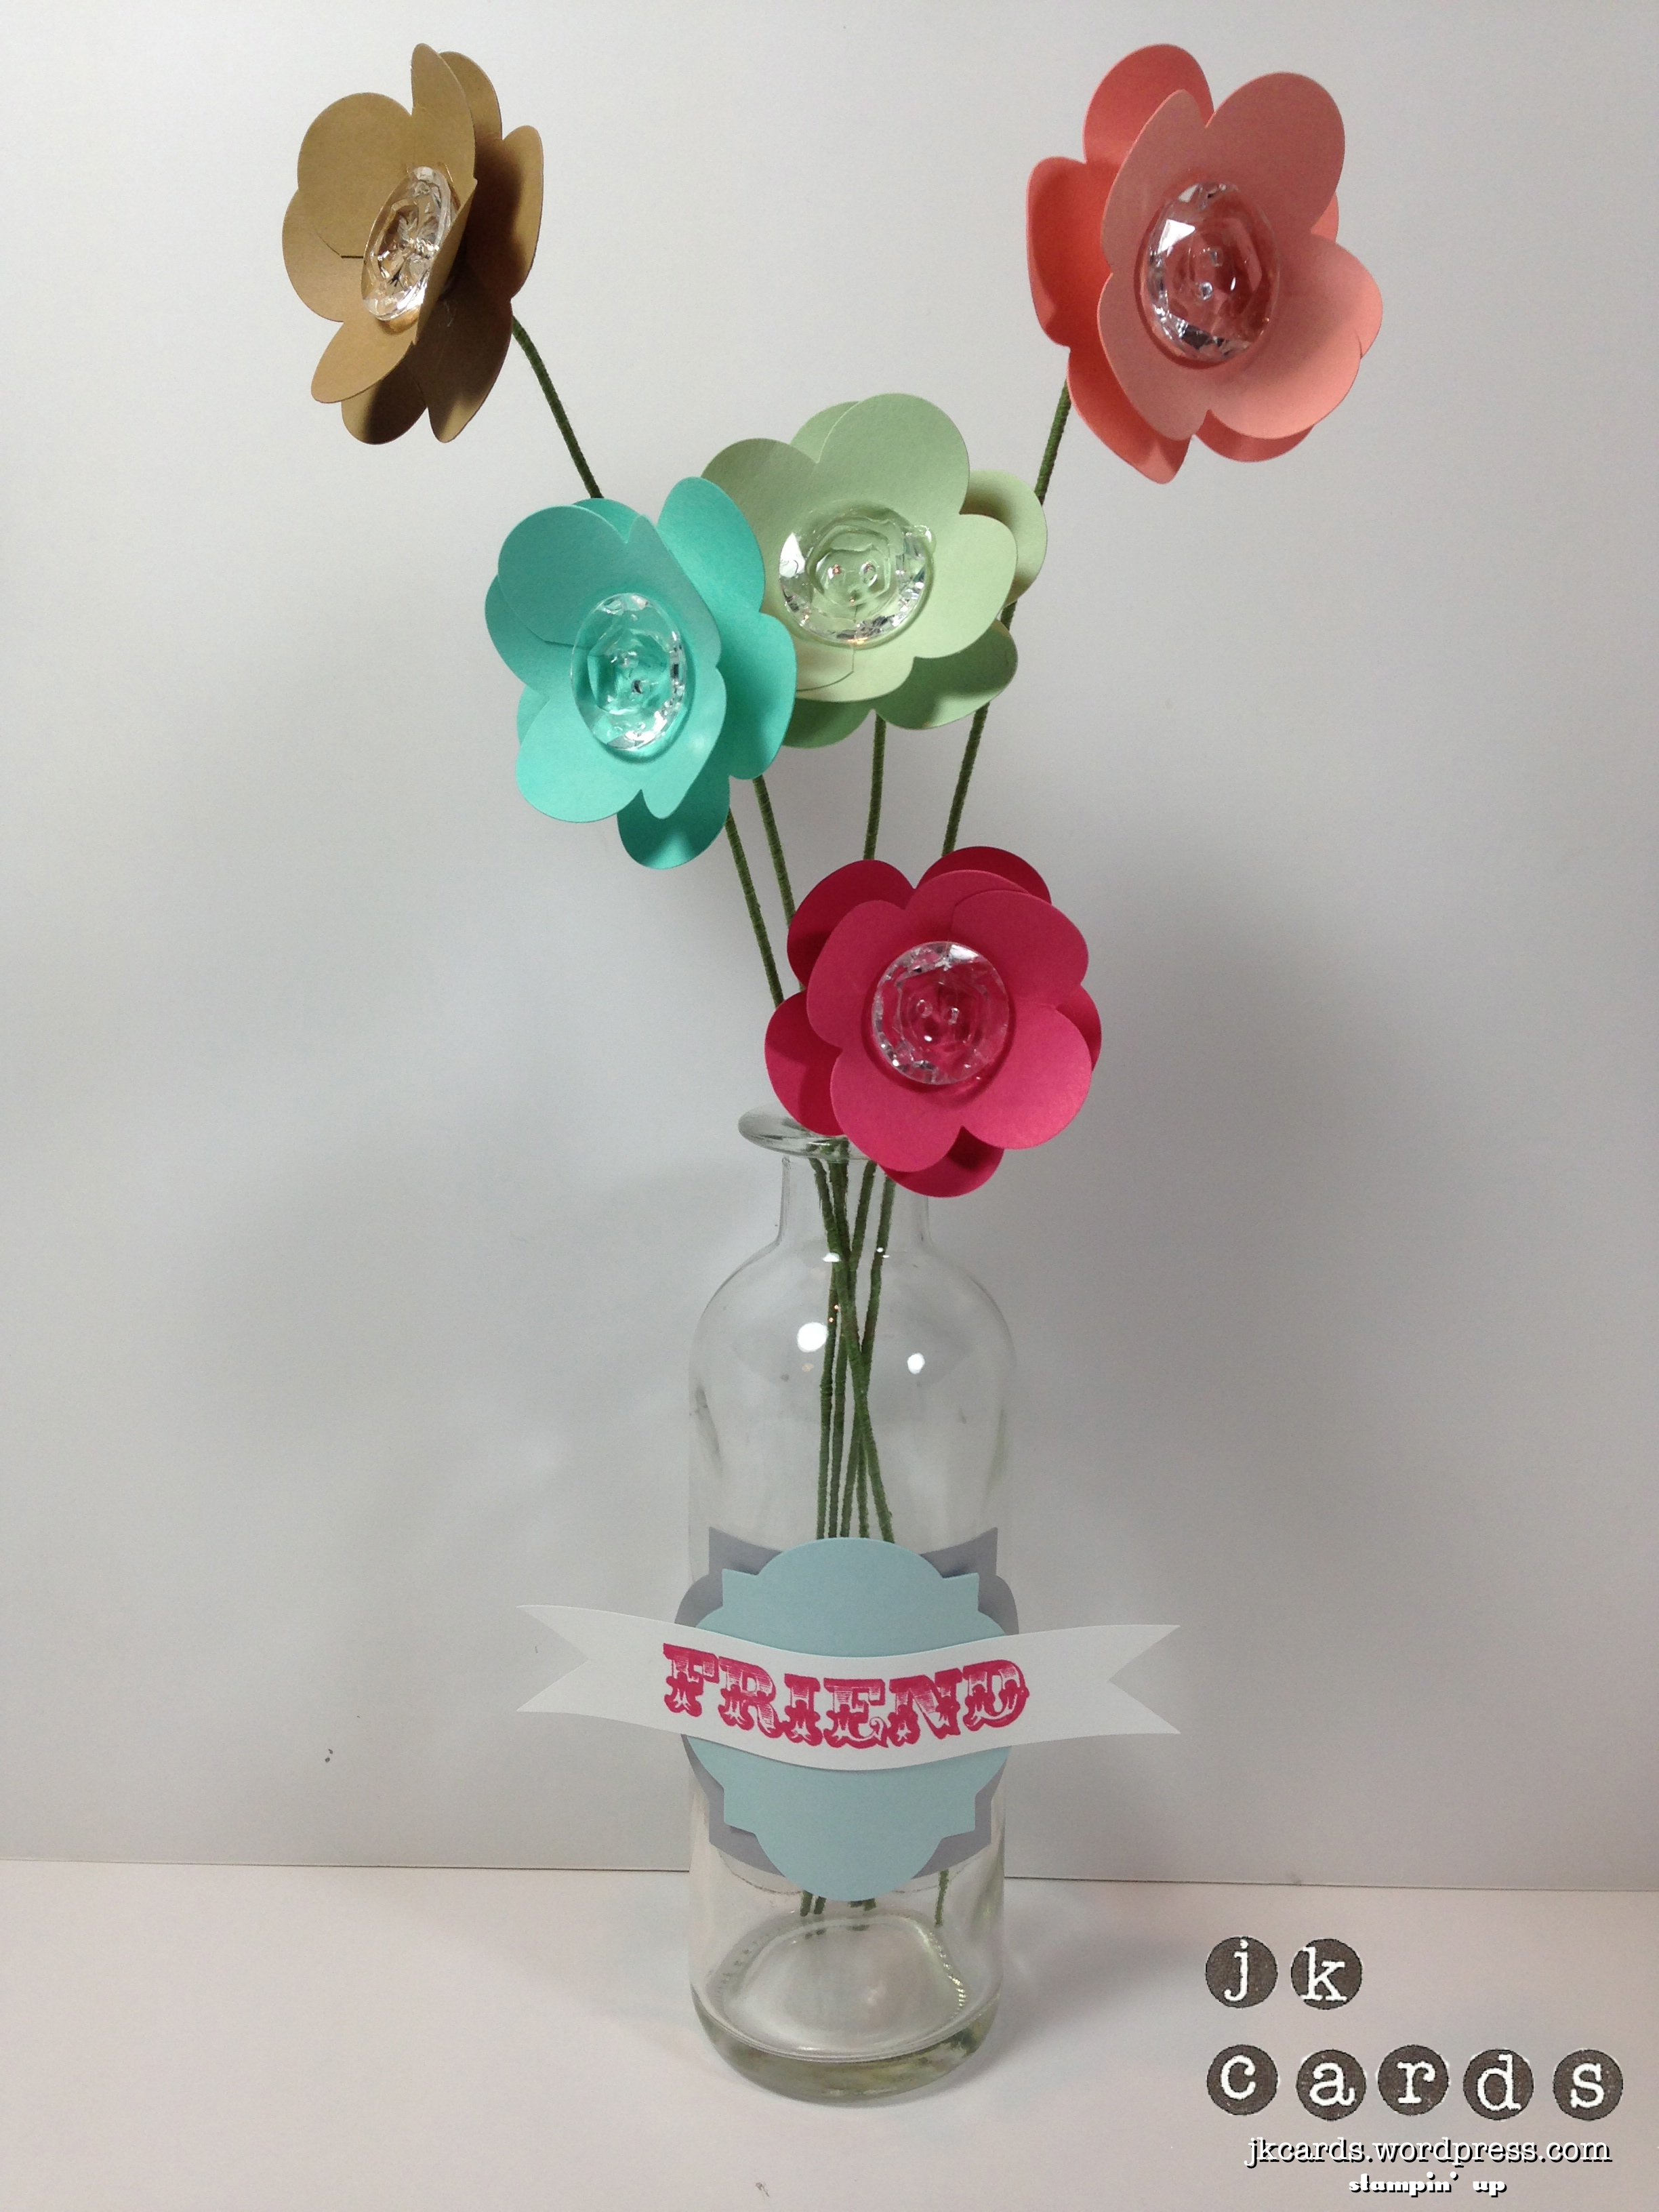
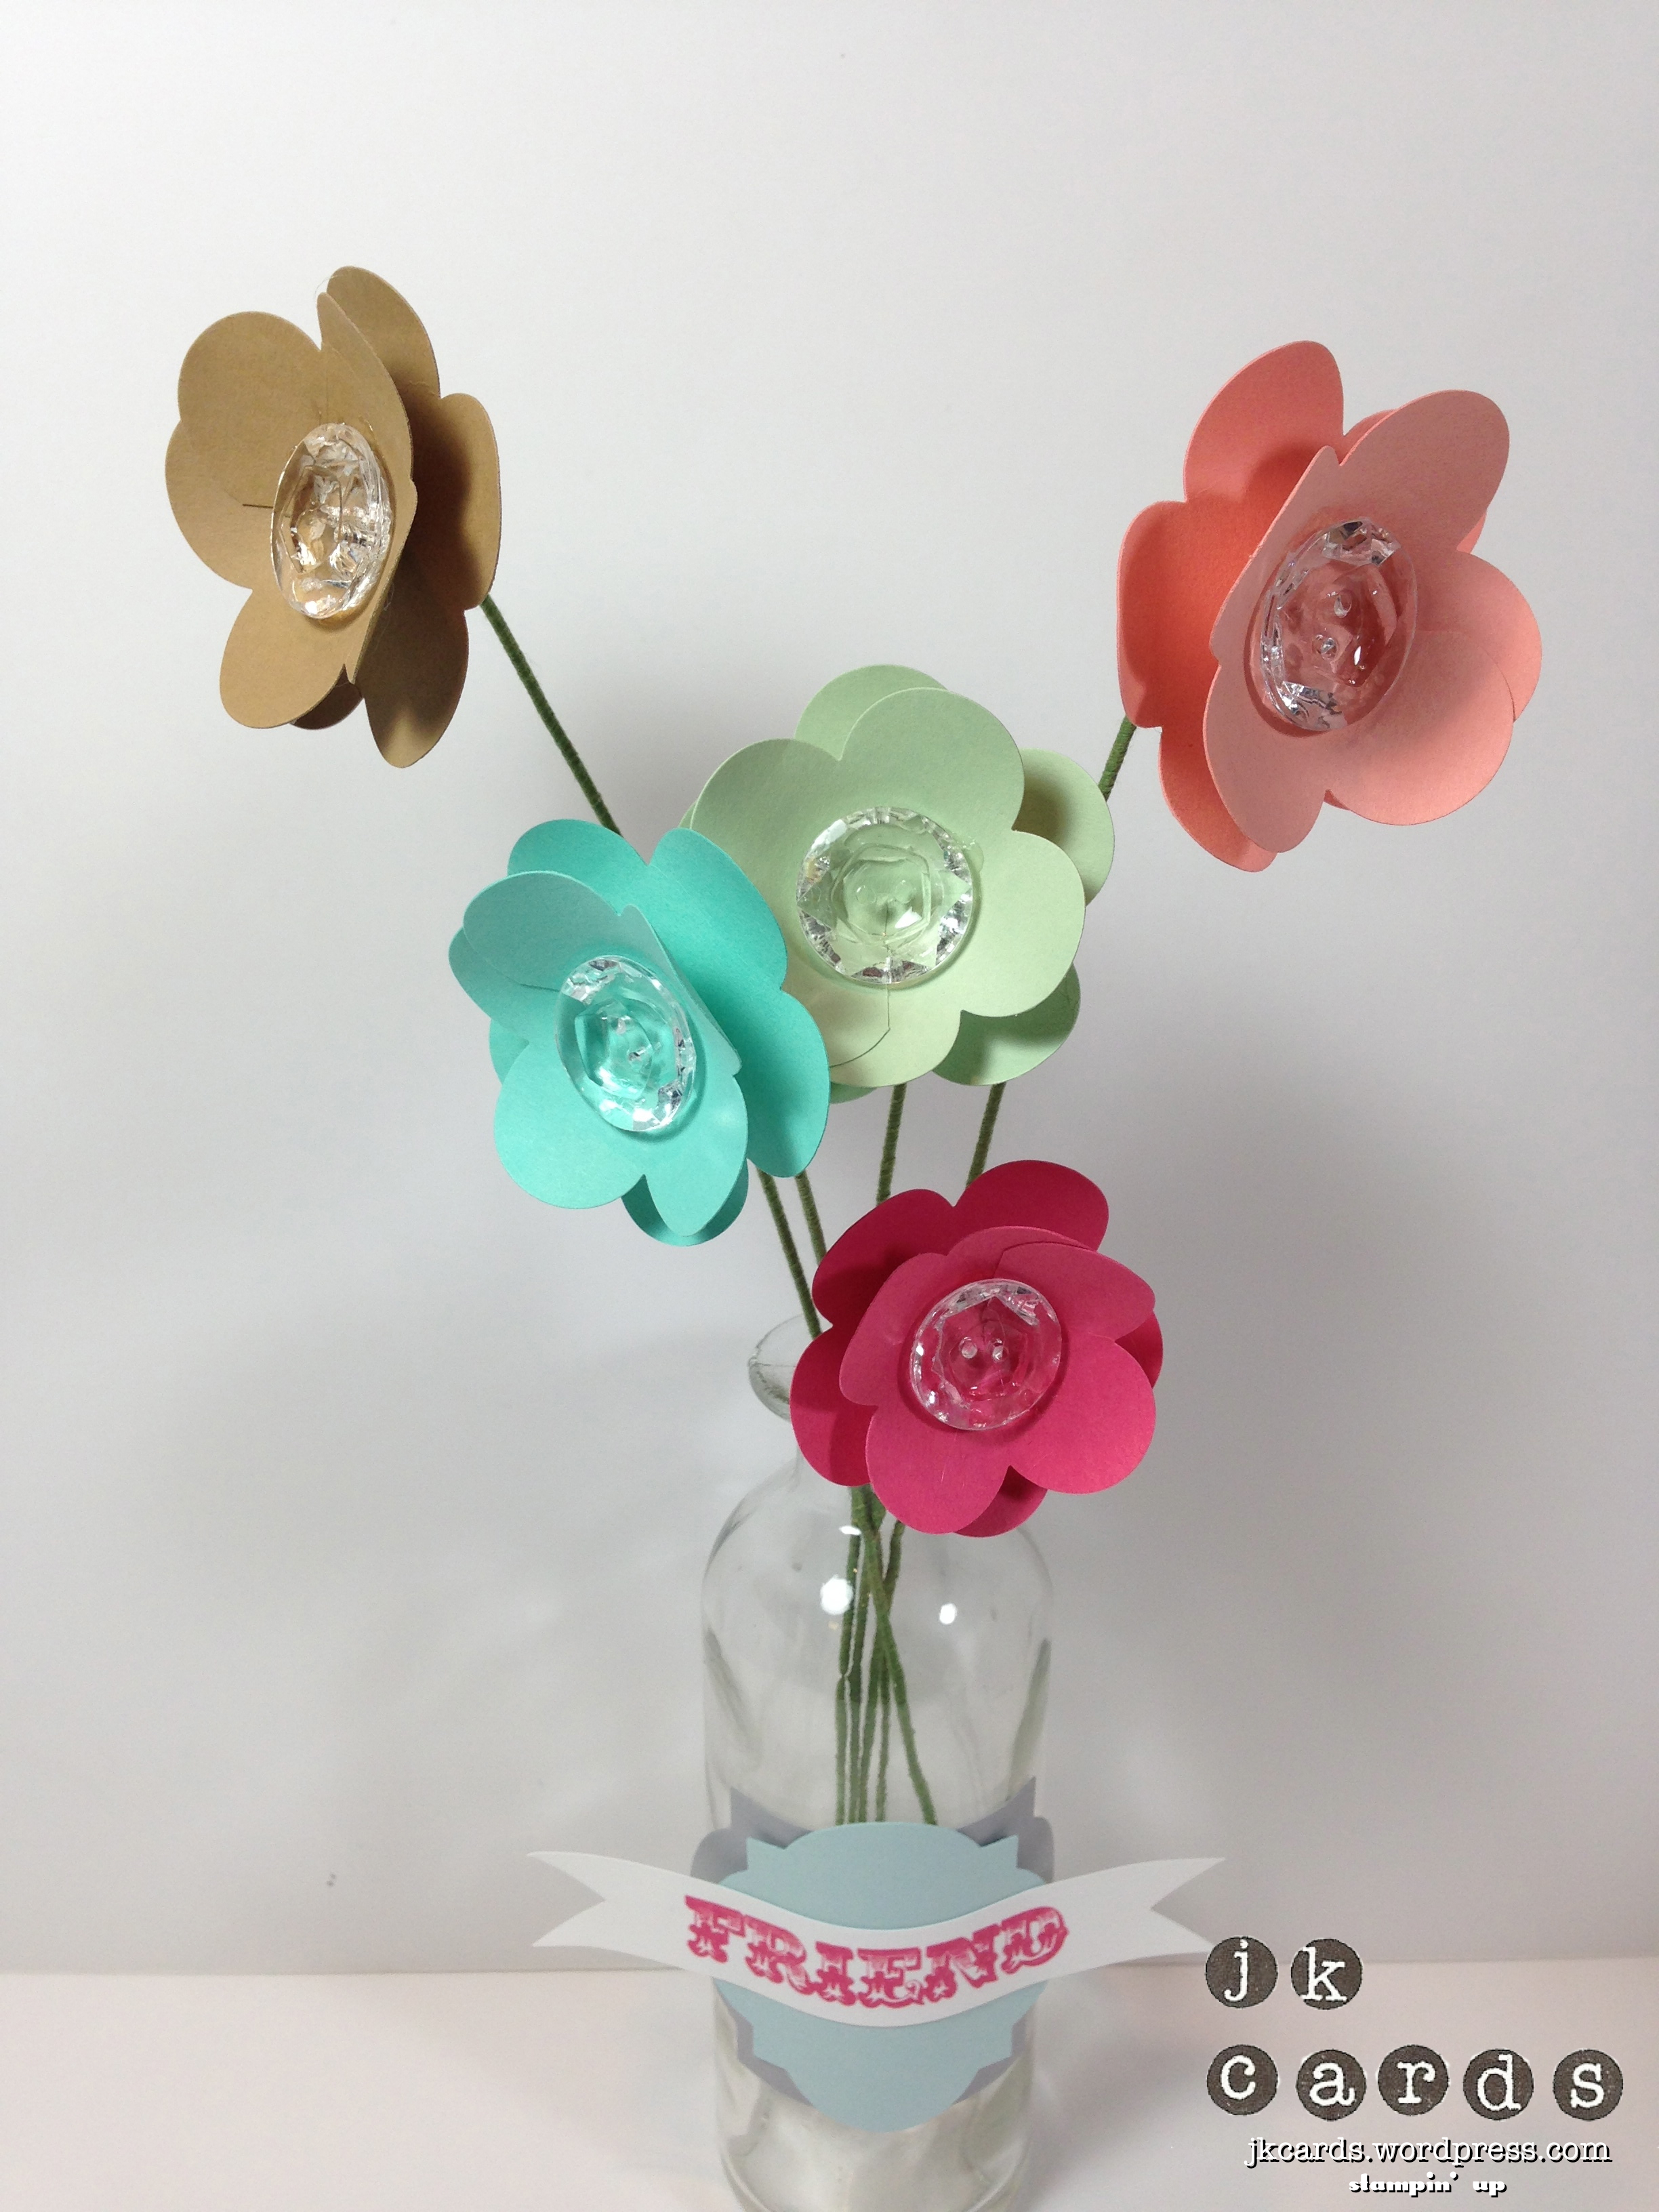
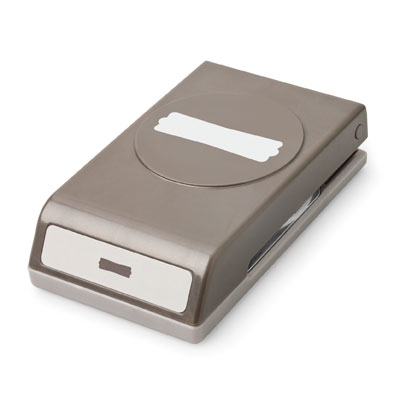
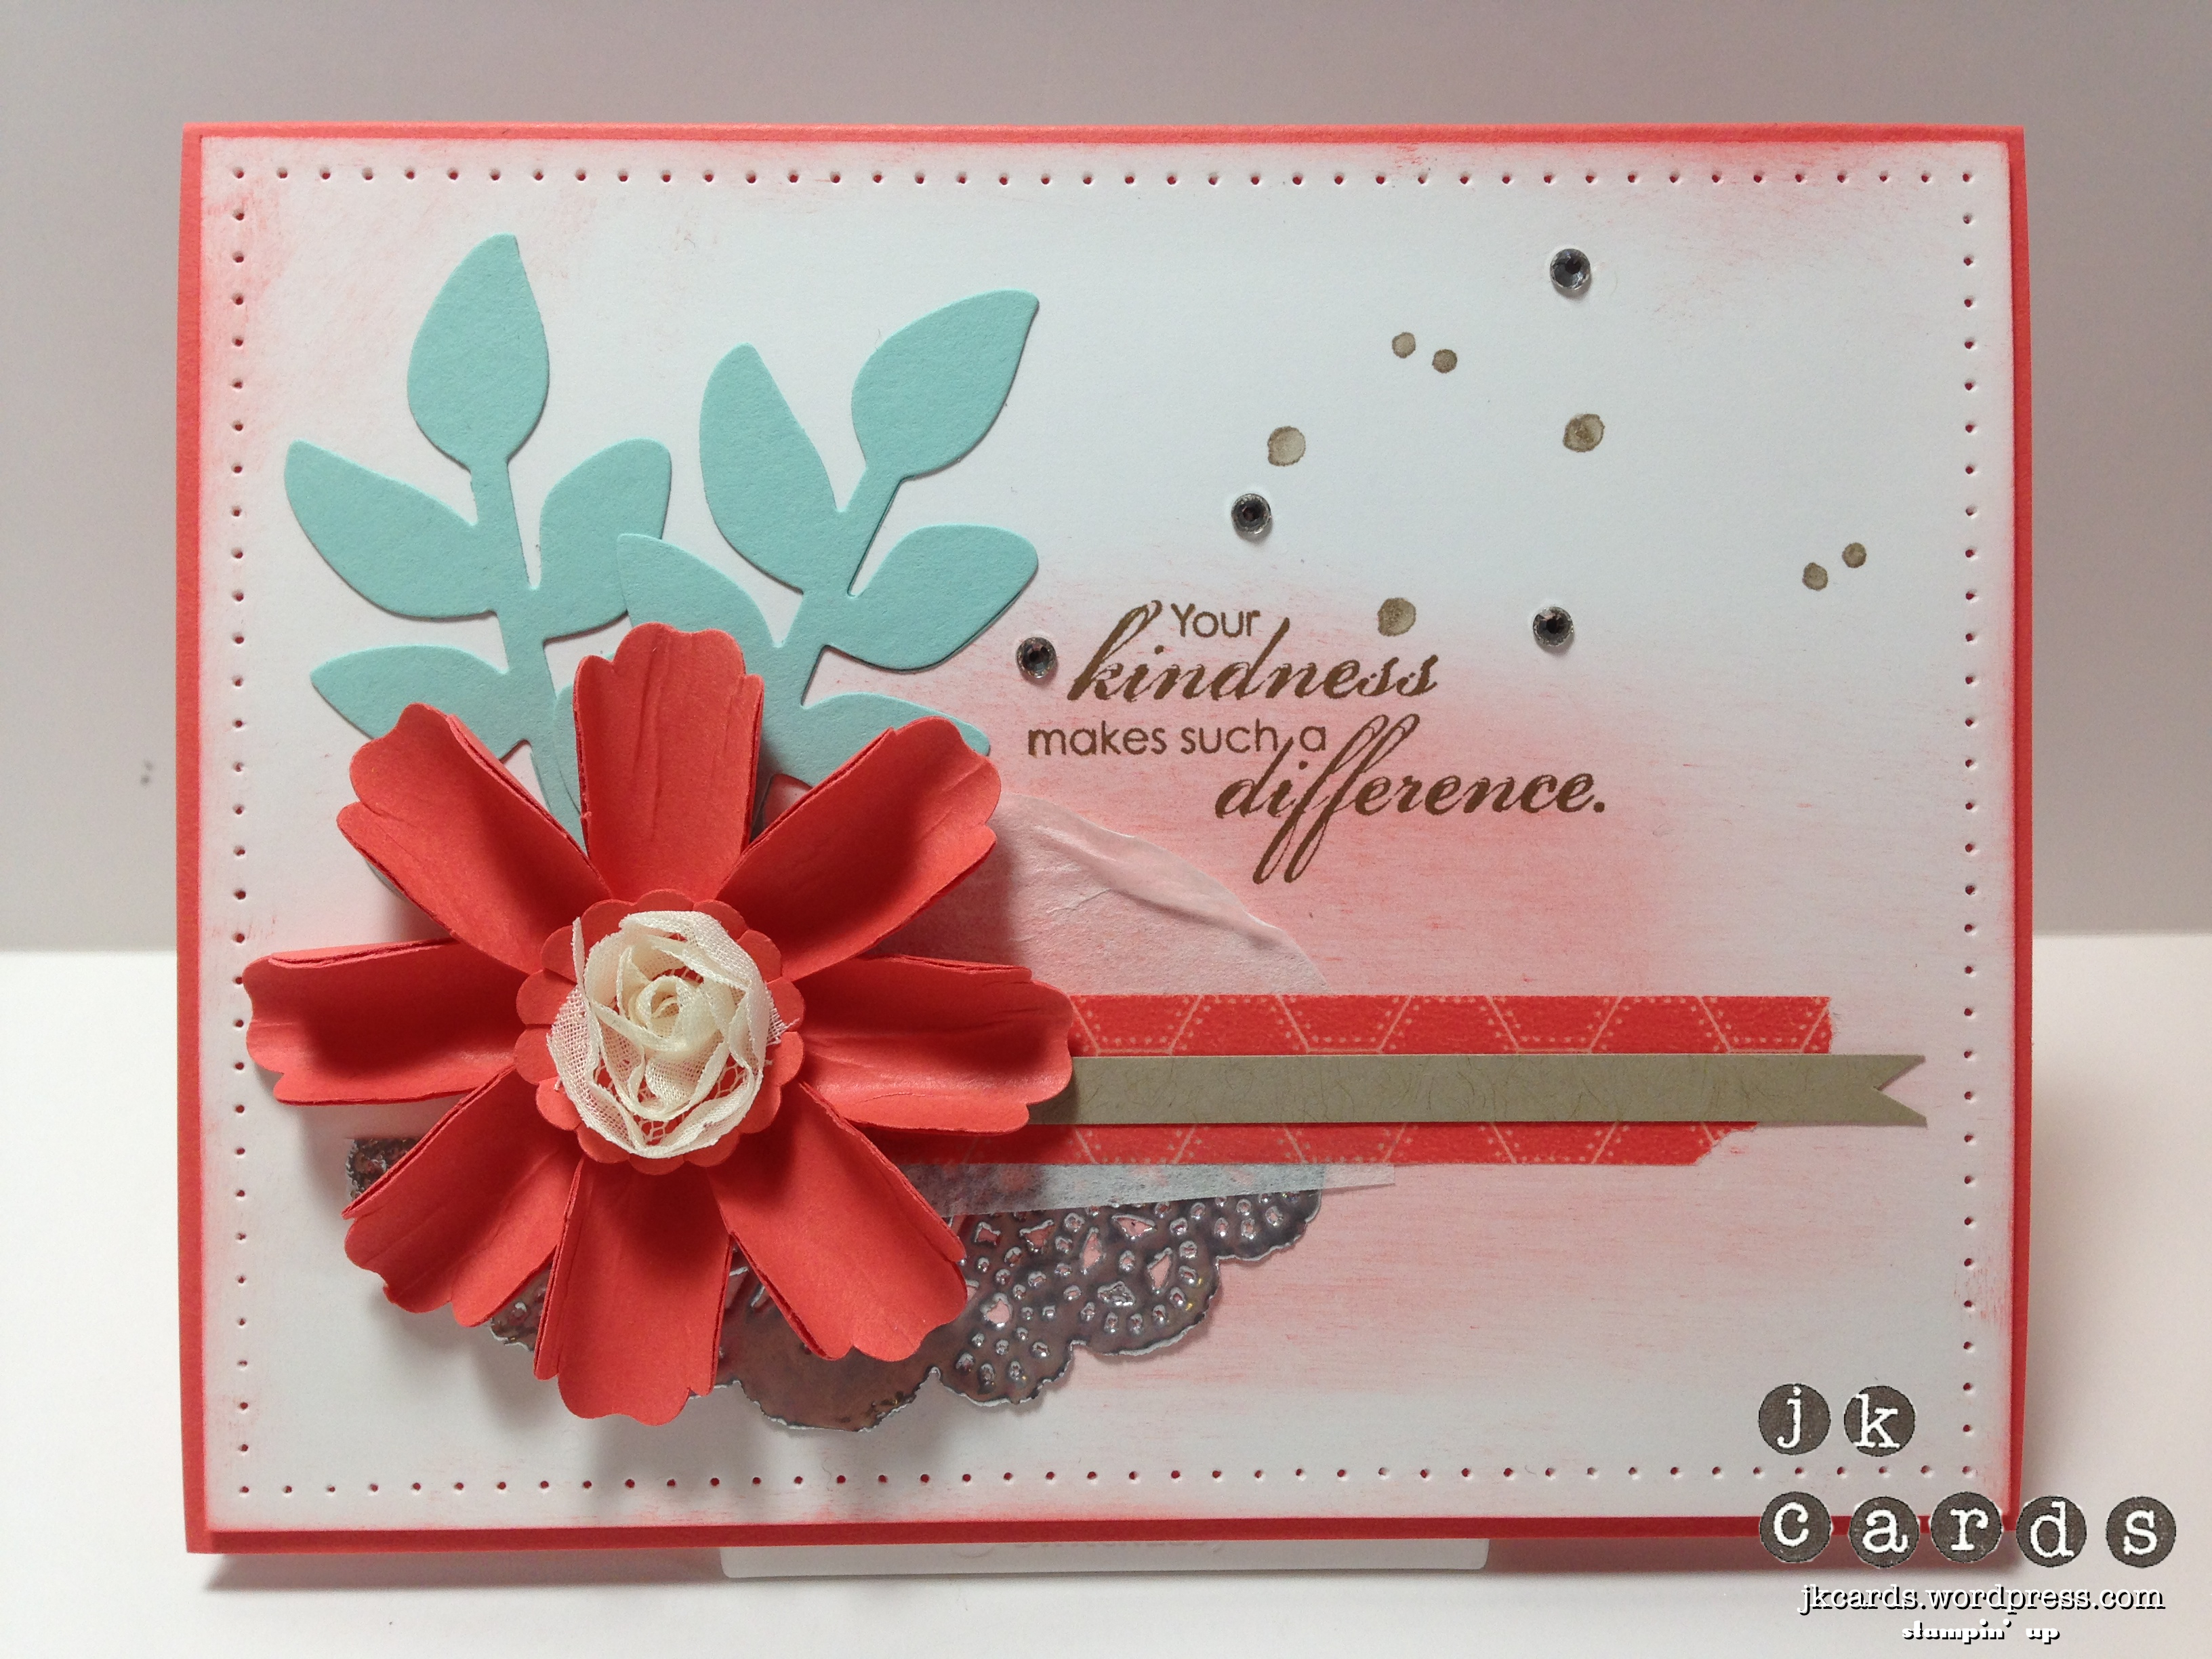
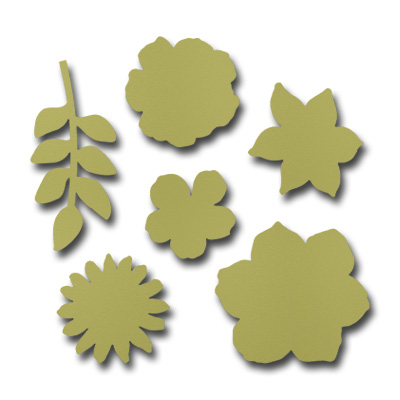
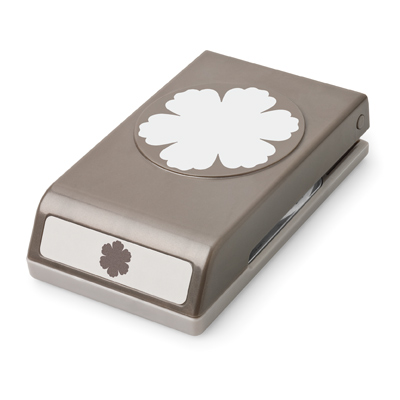
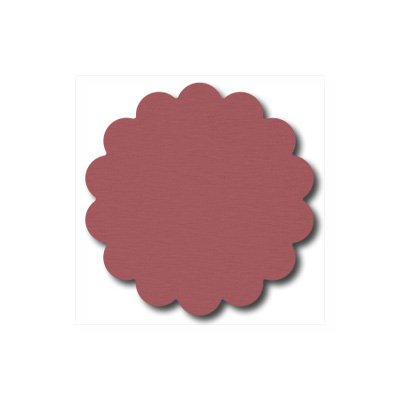
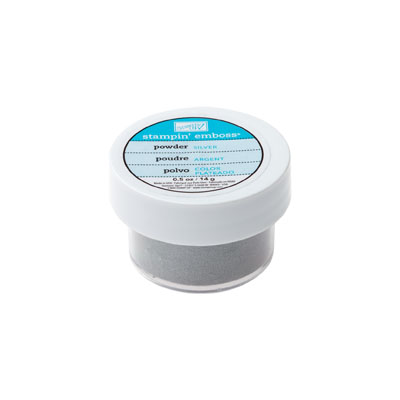
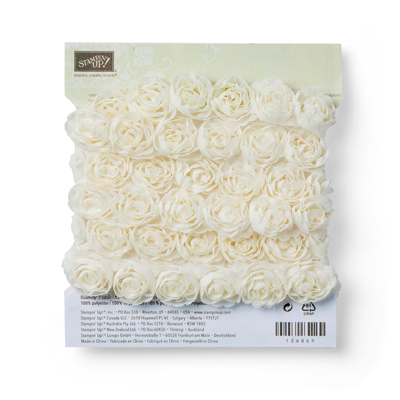
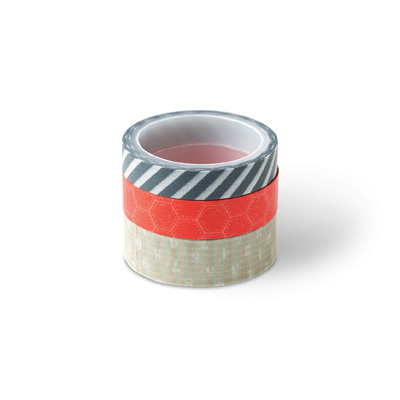
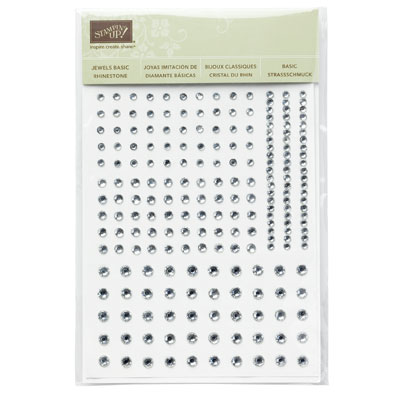
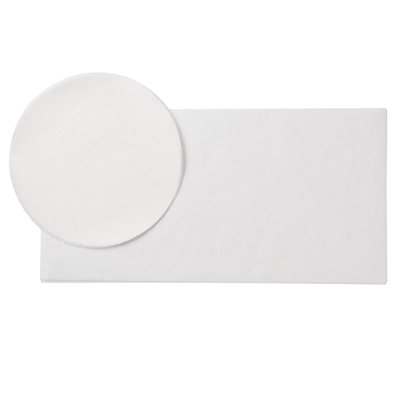
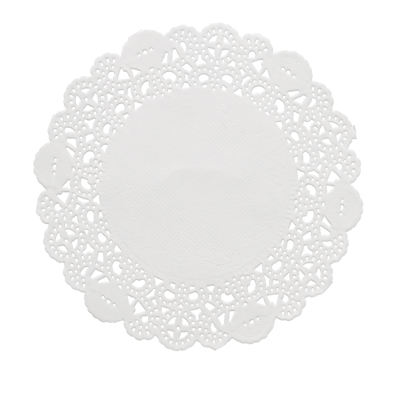
I know that most of you know that us Demonstrators get this great magazine every two months (used to be every month, I miss it!) and on the front cover and inside were these great flowers and one was made into a card. I did a little CASE of the card, I did change a few things, but I really like the way it came out. The base of the card is Calypso Coral and the background is a piece of Whisper White. I sponged some Calypso Coral on the front and along the edges. Some paper-piercing is done around the perimeter and the greeting is stamped from the Blooming with Kindness Stamp Set in Soft Suede. The doily is heat embossed with Silver Stampin’ Emboss Powder and there is some Creped Filter Paper and This and That Washi Tape on there too. The flower is created using the Blossom Punch and some distressing with my Bone Folder and the Stampin’ Pierce Mat. Some leaves from the Secret Garden Framelits and a piece of 5/8″ Flower Trim in the middle. A few spots and Basic Jewels Rhinestones finish off the card. I hope you enjoyed my CASE today. Please let me know what you think by leaving me a comment. Thank you so much for your time and I hope that you have an enjoyable day!
Stampin’ Up! products used:
Card Stock: Calypso Coral, Whisper White, Pool Party and Crumb Cake
Specialty paper: Creped Filter Paper
Ink: Calypso Coral and Soft Suede Classic Stampin’ Ink
Specialty Ink: Versa-Mark
Stamp Sets: Blooming with Kindness and Spots from Paper Pumpkin Kit 1 Clear Mount
buynoprescriptionrxxonline.com
buynoprescriptionrxxonline.com/buy_aciphex.html
buynoprescriptionrxxonline.com/amitriptyline_no_prescription.html
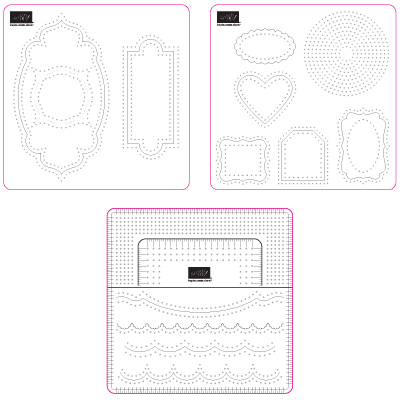
Framelits: Secret Garden
Stampin’ Emboss Powder: Silver
Embellishments: Tea Lace Paper Doilies, Basic Jewels Rhinestones, 5/8″ Flower Trim and This and That Epic Day Washi Tape
Tools: Big Shot, Heat Tool, Essentials Paper-Piercing Pack, Paper-Piercing Tool, Stamp-a-ma-jig, Paper Snips, Bone Folder, Stampin’ Pierce Mat, Glue Stick, Mini Glue Dots, Stampin’ Dimensionals and SNAIL

Stampin’ Up! released a new Photopolymer Stamp Set called Birthday Bombs Away! There are some great greeting and they will work well for any type of card. You can see them below or click here for a PDF of the flyer.
Woo hoo! The color renovation has been announced! I’m so happy that they have kept four of the five 2011-2013 In-Colors! I’m a little sad to see that Lucky Limeade didn’t make the cut but we also got some former In-Colors back too! Bermuda Bay, Soft Sky, Crushed Curry, Pear Pizzaz and Blushing Bride along with a new color Smokey Shadow. They have also moved some colors to different families and of course they are retiring some colors. Say so long to Regal Rose, Pretty in Pink, Bashful Blue, Certainly Celery, Baja Breeze, Riding Hood Red, Bravo Burgundy, Not Quite Navy, More Mustard and River Rock. Change is a good thing!
Stampin’ Up! has a great new on-the-go journaling set for you. It’s called This and That Epic Day. You can get a journal, stickers, washi tape, designer series paper, and a rotary phrase/date stamp. Perfect for capturing life’s special moments and it’s small enough to take with you! You can get a bundle of all of the products for a limited time for a special price. Visit my on-line store to find out more! Make today an Epic Day!
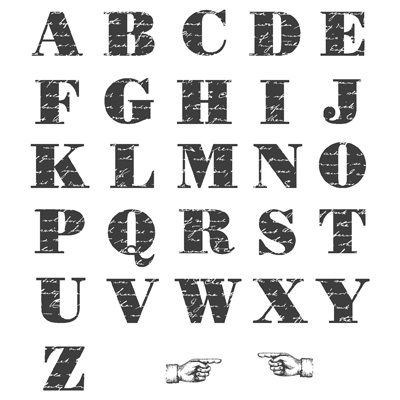
Breaking News! Stampin’ Up! has released their first Photopolymer Stamp Set! It’s called Designer Typeset! The great thing about Photopolymer Stamps is that they are completely clear so you can see exactly where you are going to stamp. They work amazingly with our new Firm Foam Stampin’ Pads for great ink coverage. You are going to love them! This is a limited release so make sure you get one before it’s gone!
Stampin’ Up! has a sneak peek for you from the 2013-2014 Annual Catalog and the best part is you can get it right now! It’s called A Round Array and you can get it as a bundle with the 7/8″ Scallop Circle Punch for $23.95 or just the Stamp Set for $14.95. You can purchase this now through May 30th. Click here or on the photo below to get a PDF of the flyer.
For a limited time you can get the Sent with Love Bundle now through April 30, 2013. It comes with the Sent with Love Clear Mount Stamp set, Sent with Love Designer Series Paper and a package of Calypso Coral Bakers Twine for only $25.50. That’s 20% off the price if you bought them individually!
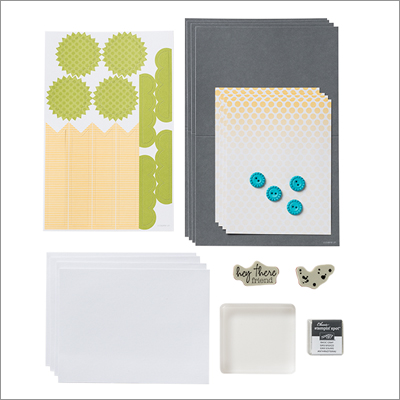
Do you ever feel the need to make something that means something but don’t think you have the time? Or you like to be creative but don’t want to buy a ton of supplies? Well, you don’t have any excuses anymore! Introducing Paper Pumpkin from Stampin’ Up! Each month you will receive a kit that contains all of the items (except adhesive) that you need to make a project, all for just $19.95. Each kit will ship out on or around the 15th of each month. You can cancel at any time, but who would want to?! Go ahead, sign up and get some crafting therapy for only $19.95 including shipping! Click here now! Don’t forget to choose me as your Demonstrator, Justin Krieger – Bethpage, NY! 
Don’t forget to check out the Anchor Rewards tab at the top. Earn 10 Anchors and get a FREE Stamp Set of your choice from any current catalog. If you purchase $150 worth of product you will be eligible for $25 in Host(ess) dollars to get one of the great new Host(ess) Sets or any other items from the NEW 2012-2013 Catalog or the NEW Spring Catalog!