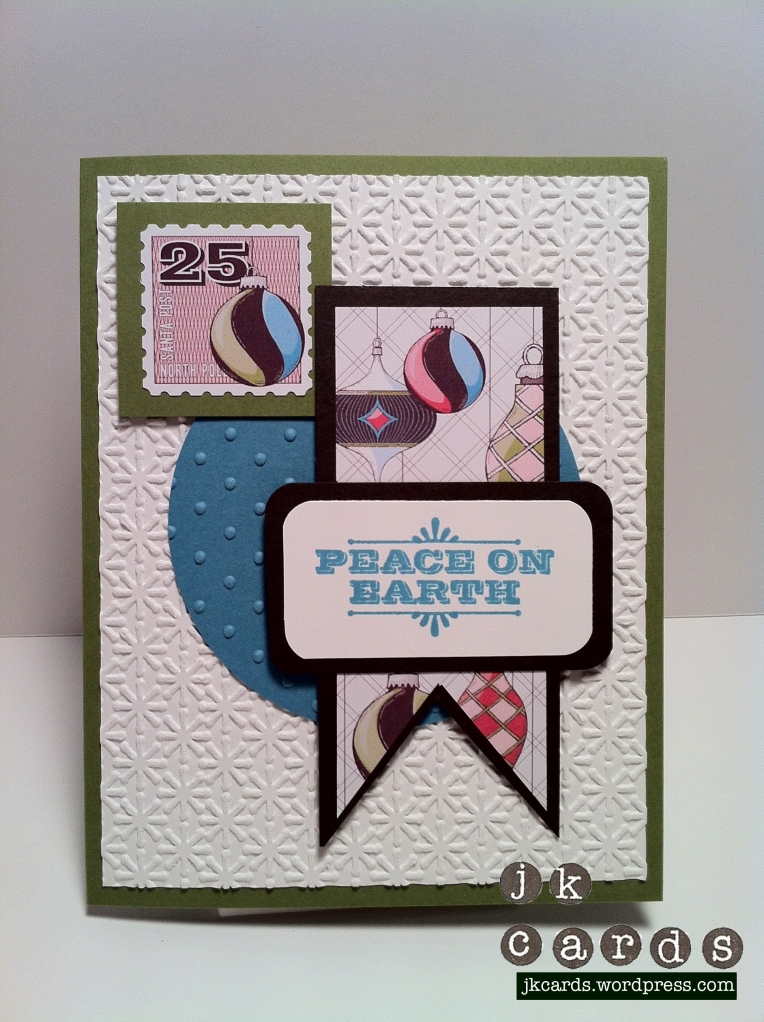
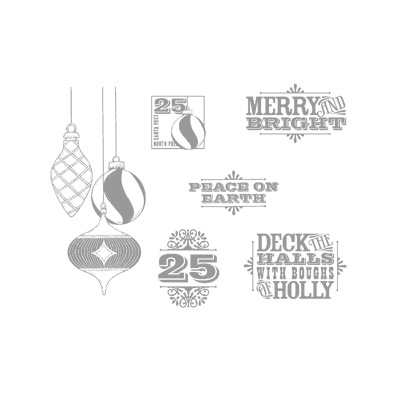
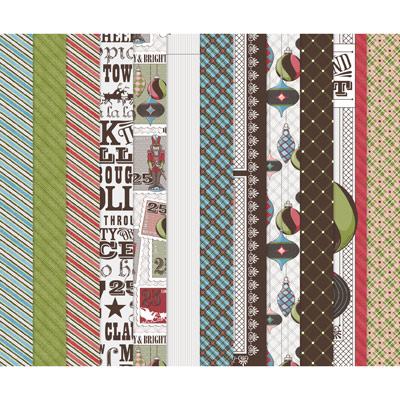
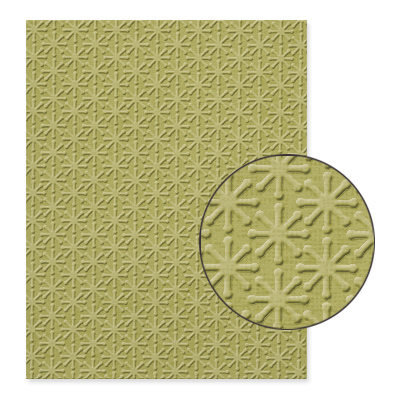
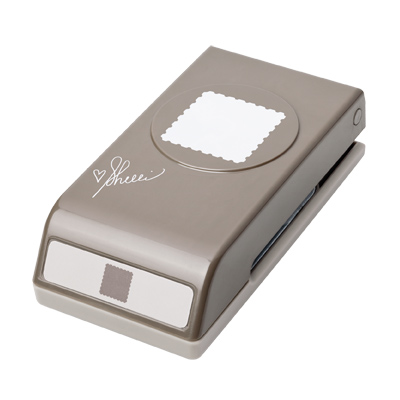
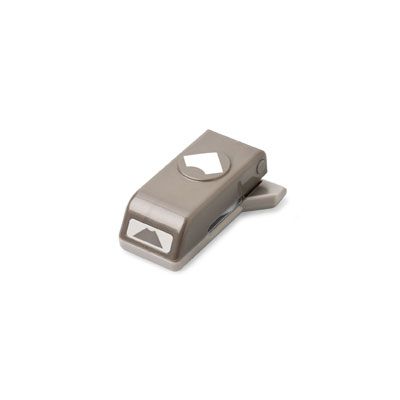
This weeks Mojo Monday Sketch Challenge Was perfect for a Christmas card. I used the Snow Burst Textured Impressions Embossing Folder from the Holiday Mini Catalog for my background and placed a Perfect Polkadots Texture Impressions Embossing Folder circle on top of that. The Designer Series Paper, Letters to Santa, is so versatile. It’s especially good for making “masculine” cards. I love the ornaments and the colors. I used the Postage Stamp Punch to punch out one of the stamp images for the paper. The greeting is simple and looks great in Marina Mist. Thanks for taking a look and have a great weekend!
Sam’s Birthday
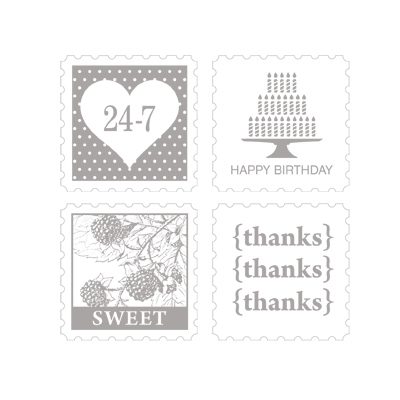
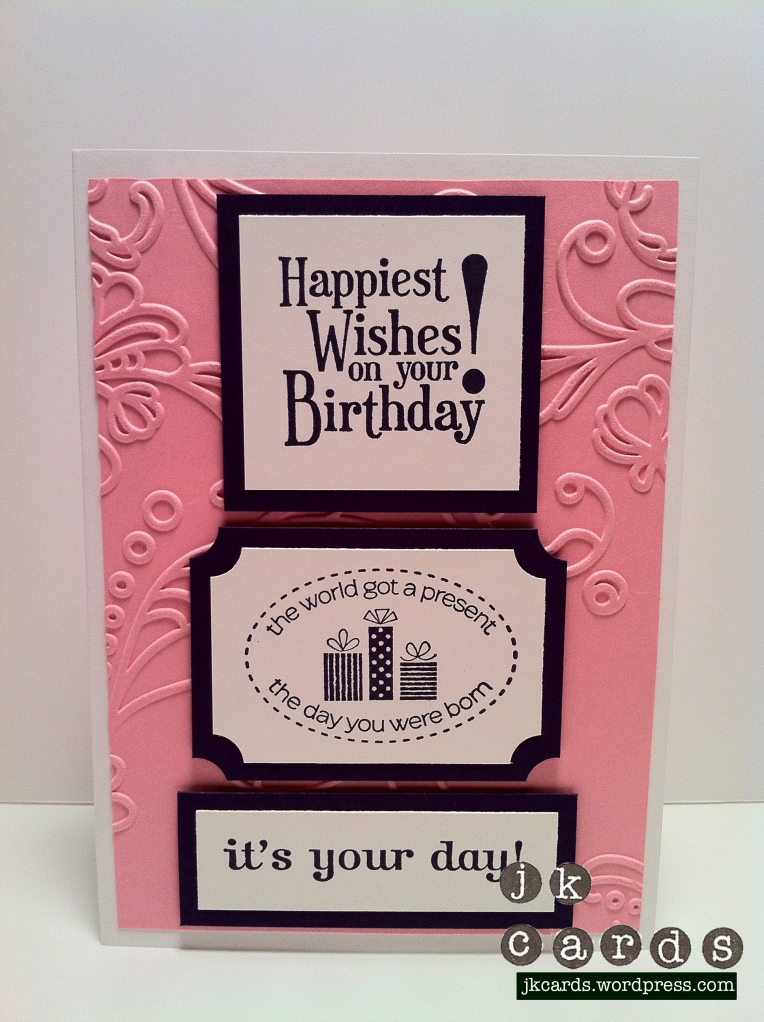
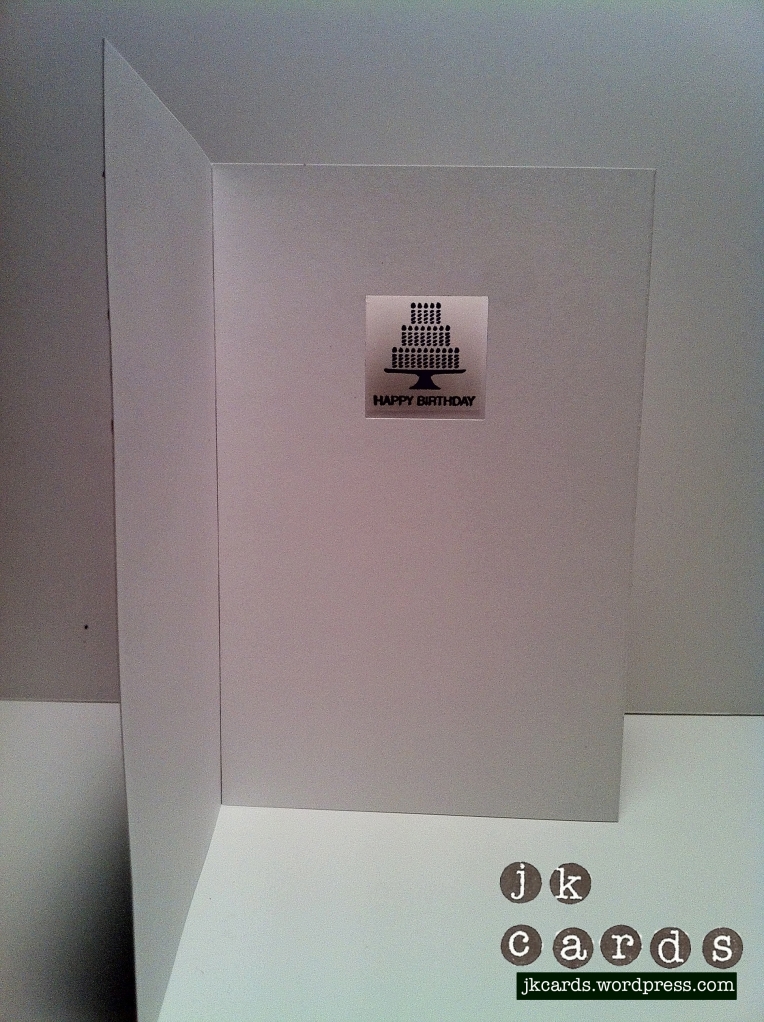
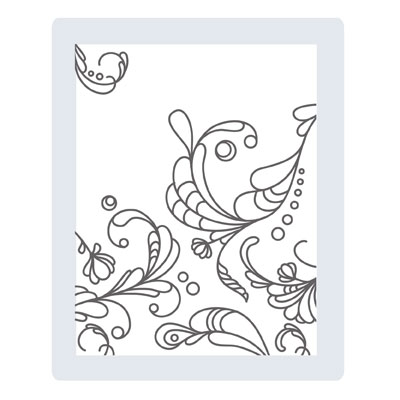
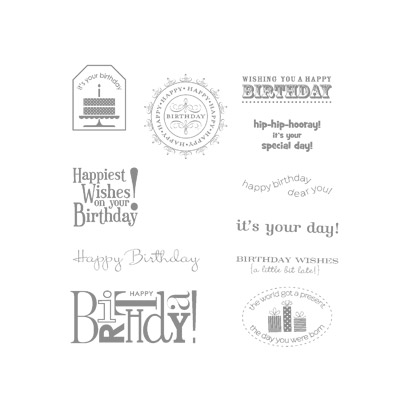
Yesterday was my friend Sam’s Birthday. She has finally left her 20’s and moved on into the next decade of her life. She is a dear friend and I have made a few cards for her. When I took out the envelope to give it to her yesterday she said “Oh, a homemade card!!”. When she opened it she said that she really liked it and the 3D window was cool. I used the Elegant Lines Textured Impressions Embossing Folder for the background. Three sentiments from The Happiest Birthday Wishes stamp set are perfect on the front. Inside I used the 1″ Square Punch from the Holiday Mini to punch out the window and then I Stamped the piece with Happy Birthday from Pretty Postage. I love the 3D window and will be making a few more cards using this technique. Thanks for stopping by and enjoy your day!
PPA 119
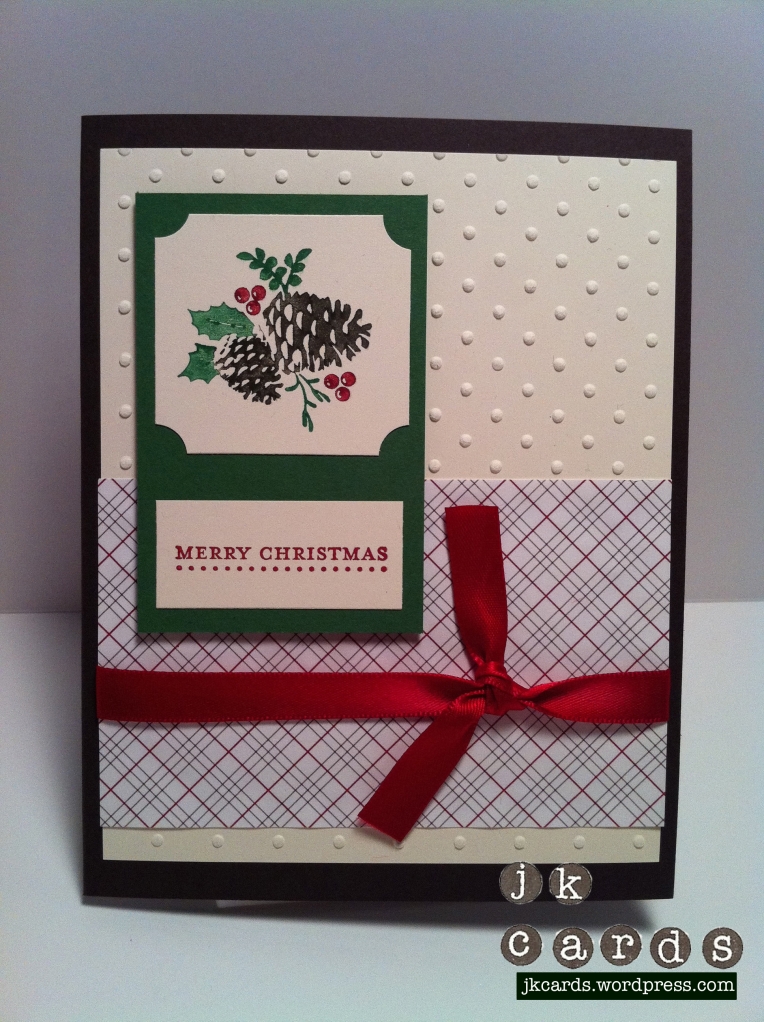
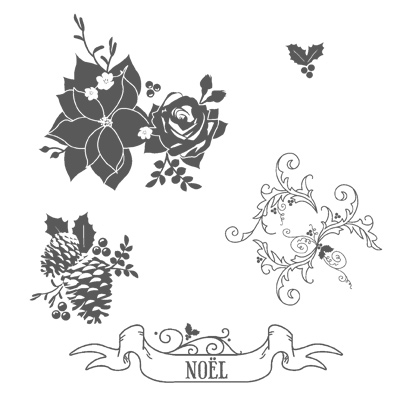
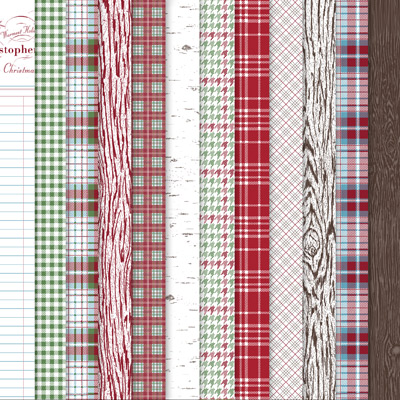
This weeks Pals Paper Arts Challenge is to make a Christmas Card. I have made quite a few over the past couple of weeks. For inspiration you get to use this image of a woman in front of a tree on the site. It has greens, reds and golds as the primary colors. The card I came up with uses my old standby stamp set Pines & Poinsettias (Etoile de Noel). I love the markered image, it makes for such a nice holiday card. I used the Perfect Polkadots Embossing Folder for a little depth and popped up the Ticket Corner punched image with some Stampin’ Dimensionals. Teeny Tiny Wishes is a must have stamp set as it pretty much covers any sentiment that you may need. Some Frostwood Lodge Designer Series Paper and little bit of ribbon across the center of the card gives it a nice finishing touch. It’s a nice easy and quick card to make. I hope that you got some inspiration and enjoy your day!
Holiday Cards 1
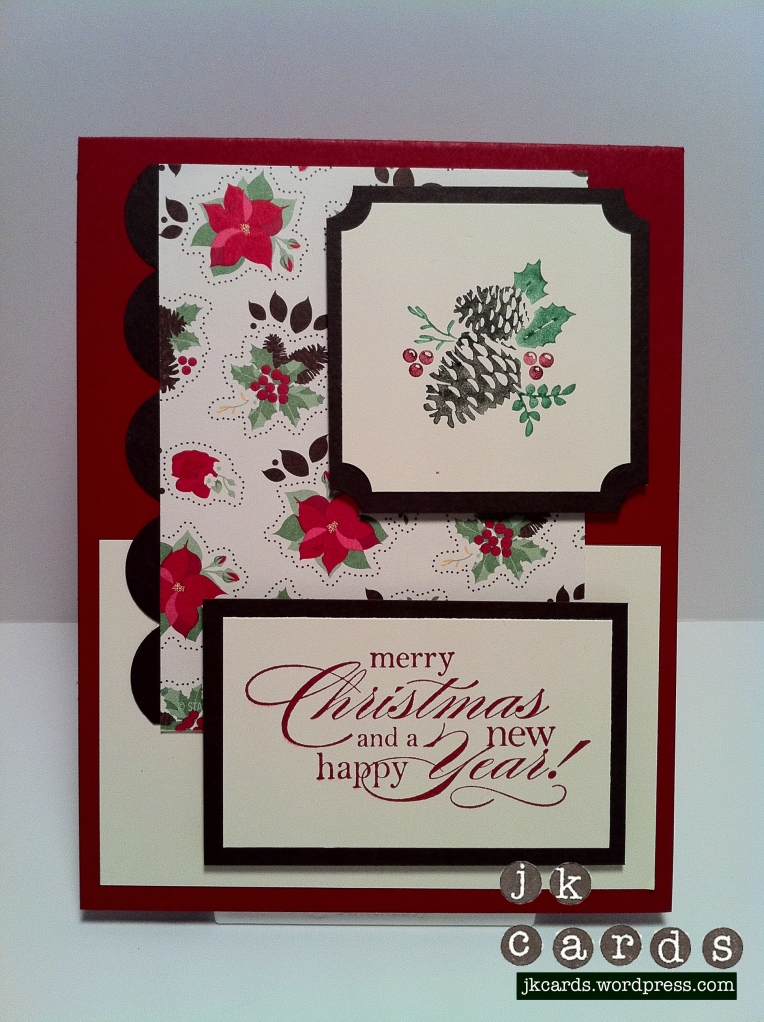
I have been making a lot of Holiday Cards for the past two weeks. I am doing some craft fairs so I need some product! I am also making some 3D projects. I’ll be posting all of the cards here over the next few weeks. I get inspiration from all of the different blogs that I read every day. One of my favorites is Stampin’ Pretty by Mary Fish (www.stampinpretty.com). I’m a big fan of hers, she has really great cards and I love her tutorials. I watched one the other day about using the Fancy Flower Punch to make a chubby scalloped border. That was the starting point for today’s card. It kind of just made itself. The pieces came together so easily. I used some Holly Berry Bouquet Designer Series Paper and the stamps are from the Delightful Dozen and Etoile de Noel (Pines & Poinsettias) sets. It’s one of my favorites that I have made so far and I hope you like it too. Thanks for stopping by. 🙂
Stampin’ Up! products used:
Card Stock: Cherry Cobbler, Very Vanilla & Early Espresso
Designer Series Paper: Holly Berry Bouquet
Ink: Cherry Cobbler
Stampin’ Write Markers: Early Espresso, Cherry Cobbler & Garden Green
Punches: Fancy Flower & Ticket Corner
PPA 118
I’m a little late getting my Pals Paper Arts Challenge card in this week but I’ll just make the deadline! This weeks challenge is a color challenge with Early Espresso, Soft Suede and River Rock. I had the first two but no River Rock but I figured that I would just substitute Vary Vanilla. The card is a nice easy one to make. I love any stamp set that coordinates with a punch. Stampin’ Up! has quite a few of them and I would like to one day have them all! I used the Posy Punch Host(ess) set with the Fancy Flower Punch. The center of the flower is made within the same set using the 1″ Circle Punch. The bird is from The Language of Friendship set and punched out with the Bird Builder Punch. I am big fan of browns so I love the color combination. I hope that you like the card and have a great day!!
Noel Workshop
My good friend Chantal hosted a Workshop for me on Saturday night. When I placed my last order with Stampin’ Up! I ordered the Etoile de Noel Clear Mount stamp set because I like the Noel better than Christmas on the set. It just so happens that my friend Chantal is French so it worked out perfectly. The card that I came up with for the Make & Take is below. I used Cherry Cobbler Smooth Card Stock and Stampin’ Ink. The Holly Berry Bouquet Designer Series Paper is a beautiful set of papers that coordinate perfectly with the Pines & Poinsettias Stamp Set. The card is very simple but looks quite elegant. All of the attendees of the workshop enjoyed making the card and were very pleased with the way theirs came out. I had a great time and I’d like to thank Chantal for hosting the Workshop. I can’t wait for all of the people to get their supplies so they can make their own beautiful Christmas cards this year. Thanks for stopping by and have a great day!
Techniques Class Take 3
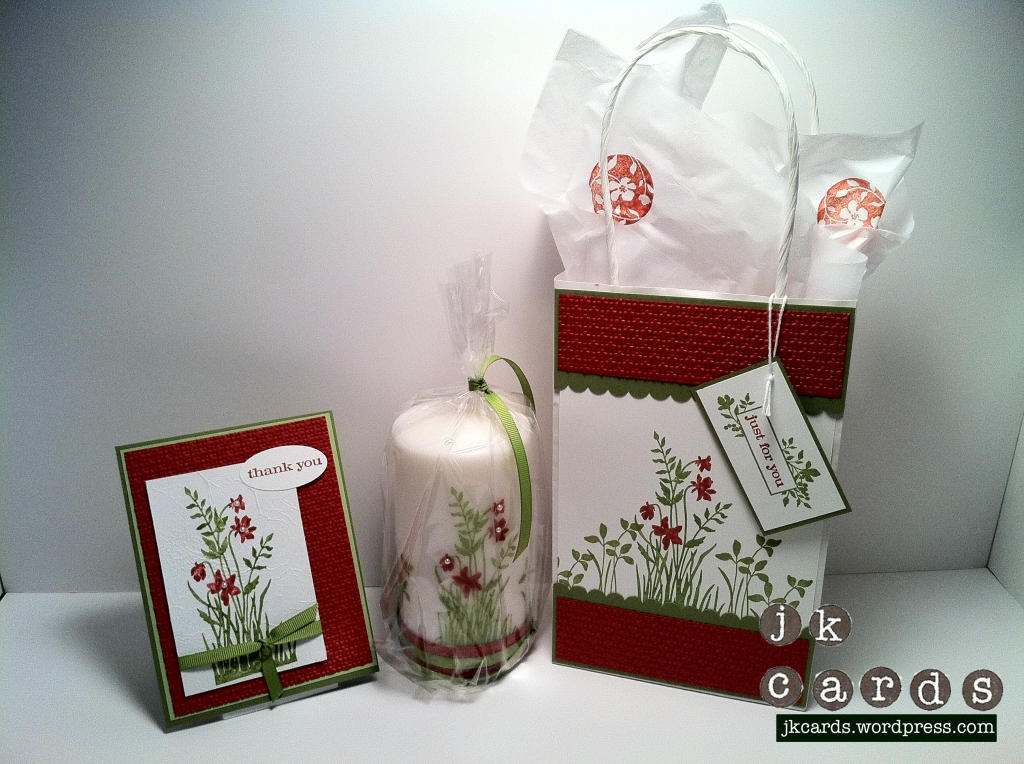
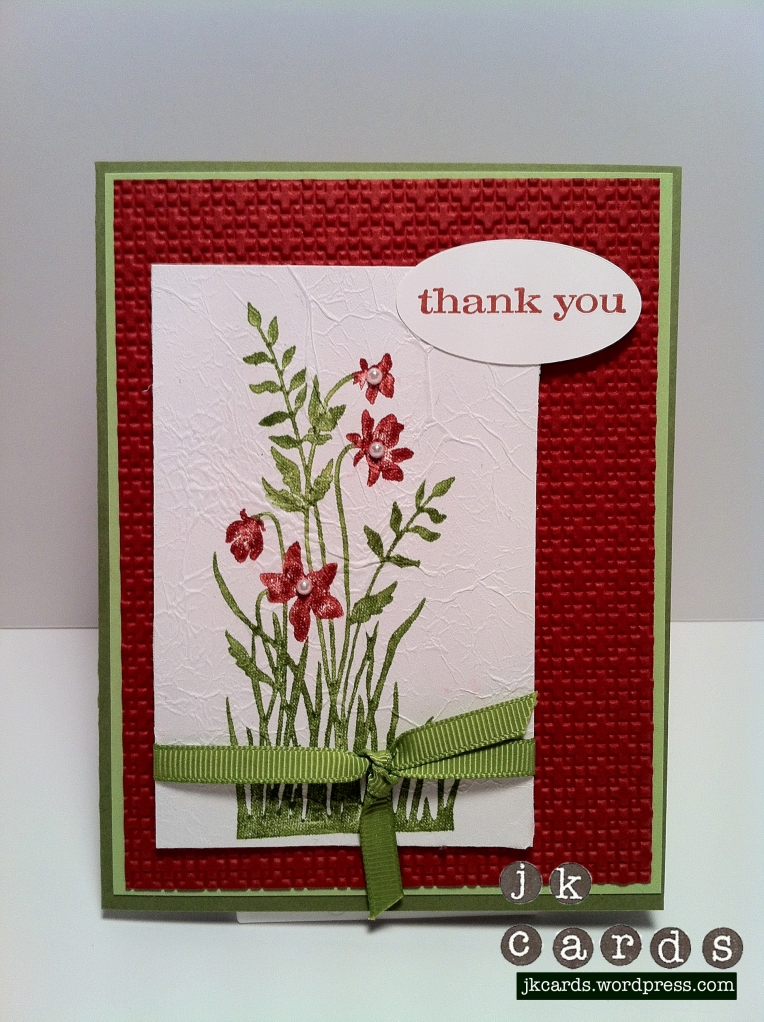
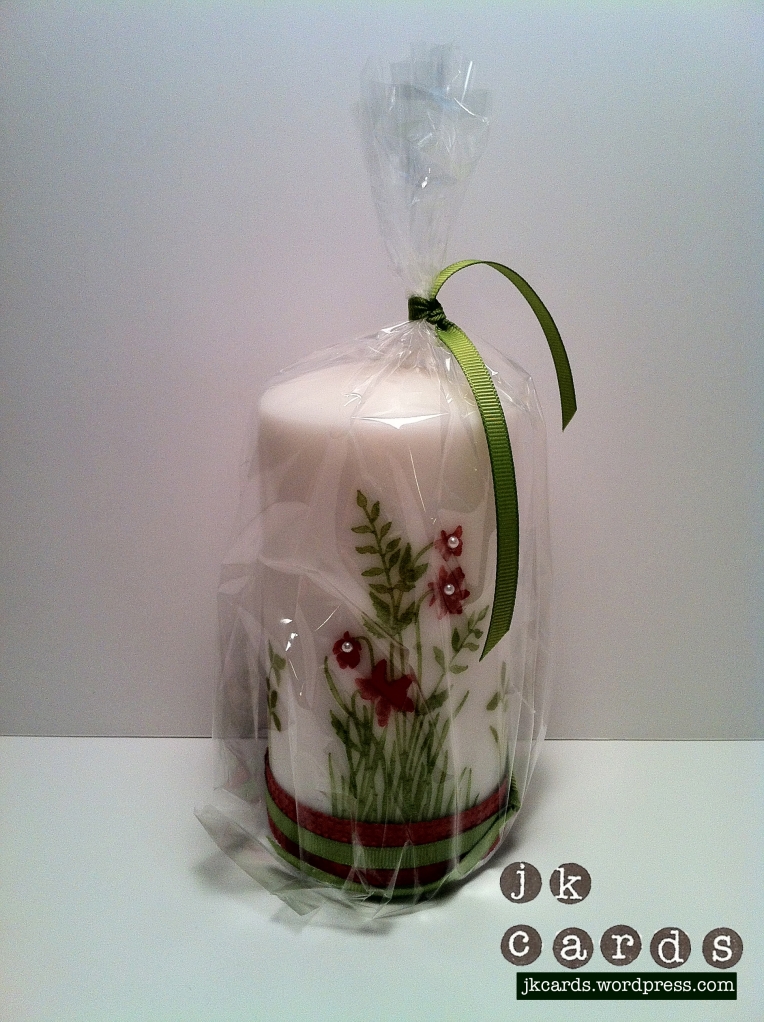
Last night was my favorite night of the month, Techniques Class! Sandy had a great trio of projects for us again last night. The theme of the class was tissue paper. We did a faux silk card which looks amazing, a stamped candle which looks so complicated but it’s really easy and a stamped tissue paper bag decorated to match the projects. We used a great Stampin’ Up! stamp set called Just Believe. It has 9 stamps, all of them beautiful. Card Stock colors are Cajun Craze, Old Olive, Certainly Celery and Whisper White. The ink was Cajun Craze and Old Olive. I love to learn new techniques and Sandy is a great teacher. We have an awesome time at the class and I can’t wait for next month! You can visit Sandy’s blog at www.stampwithsandy.com. Thanks for stopping by and have a great day!
Hello Baby Boy Booties
I went to a Stampin’ Up! team meeting with my good friend Sandy last Saturday. It was in Washingtonville NY. We had a great time and I got all kinds of new ideas. The fact that it snowed and it took 3.5 hours to get home only made it more of an adventure. I also won the Stitched Stocking Clear Mount Set. I didn’t really think about using it for anything else besides Christmas and then I saw a card where it was used for baby booties. What a great idea! Here is my take on the card below. I used Marina Mist ink and card stock and the Perfect Polka Dots Embossing Folder. I love the way the card came out and hope you like it too. Thanks for visiting and have a great day!
Stampin’ Up! products used:
Card Stock: Marina Mist and Very Vanilla
Ink: Marina Mist
Stamp Set: Stitched Stockings
Tools: Stocking Builder Punch, Perfect Polkadots Textured Impressions Embossing Folder, Stampin’ Dimensionals, SNAIL.
Nature Walk Sahara Birthday
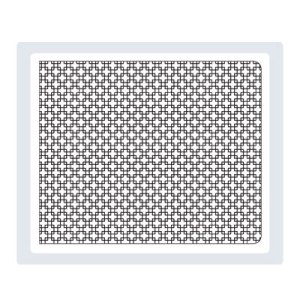
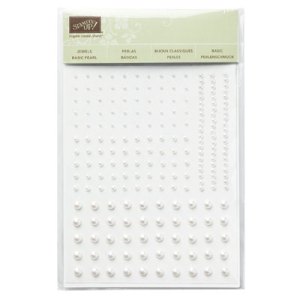
You can never have enough Birthday cards. I make them all the time and always need to make more. I recently acquired some new stamp sets. The Nature Walk set is so versatile because it comes with a bird, eggs, cage, bee, butterfly and plant. I love the vintage feel that the set has. I decided that I wanted to use Sahara Sand Card Stock with Very Vanilla. I forgot to get the Sahara Sand Stampin’ Pad but not to worry because I have the Neutrals Stampin’ Marker set. I use the marker to stamp technique and it worked great. I also used the Square Lattice Texture Impressions Embossing Folder. I think it keeps in line with the natural theme of the card. For a little bling I added 3 little pearls. I like the card so much that I’m going to make it in a bunch of different colors!I’ll post those as soon as I can. Thanks for taking a look and have a great day!
Stampin’ Up! products used:
Card Stock: Sahara Sand and Very Vanilla
Markers: Sahara Sand
Stamp Set: Nature Walk Clear Mount
Tools: Square Lattice Textured Impressions Embossing Folder, Stampin’ Dimensionals, SNAIL
PPA117 – CAS Element of Style – Ribbon
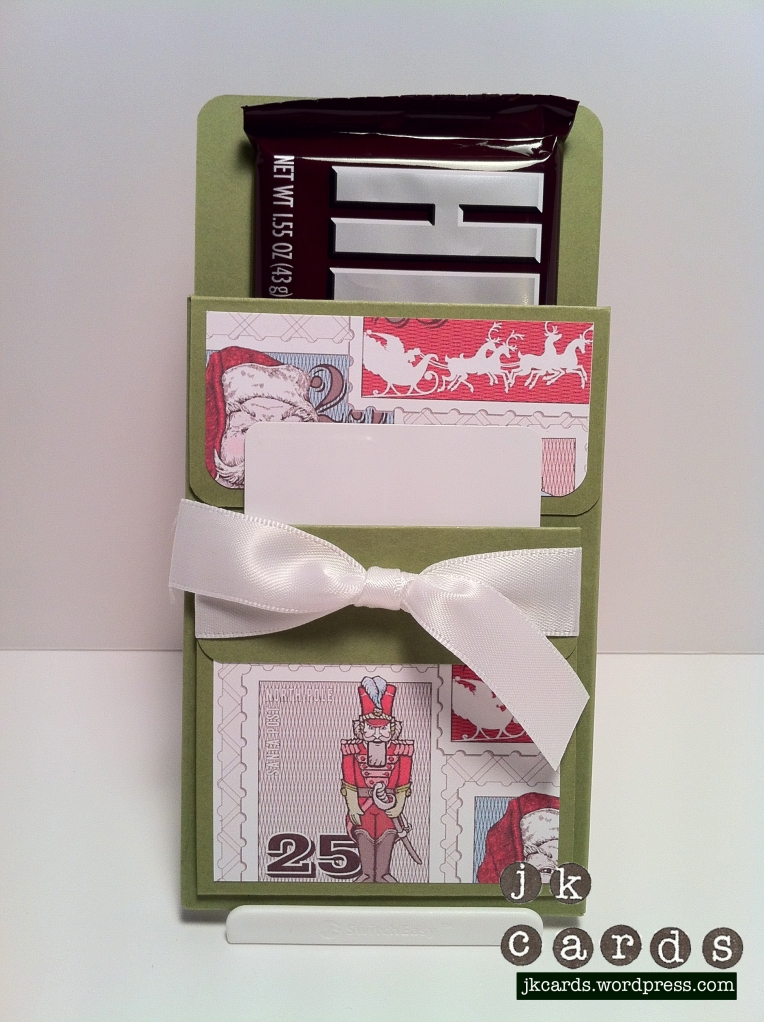
This weeks Pals Paper Arts Challenge is to use some ribbon. I’m not a huge fan of ribbon. I have some but I only usually use it as an accent border. I do however really like 3D projects! I recently came across a new web site, Inking Idaho (http://www.inkingidaho.blogspot.com/). Becky has some great 3D projects and she offers up the Twelve Days of Christmas for you to download for $12.95. It features 12 great projects and instructions on how to make all of them. I made the candy bar gift card holder in Old Olive and used some Letters to Santa Designer Series Paper. I made a few modifications to the top but for the most part it’s exactly as Becky made hers. A piece of Whisper White 5/8 inch Satin Ribbon wrapped around the holder completes the project. Thanks for stopping by and have a great night!
Stampin’ Up! Products used:
Card Stock: Old Olive
Designer Series Paper (My Digital Studio): Letters to Santa
Ribbon: Whisper White 5/8 inch Satin
Tools: SNAIL, Multipurpose Liquid Glue

