Garden Blossom Elegance

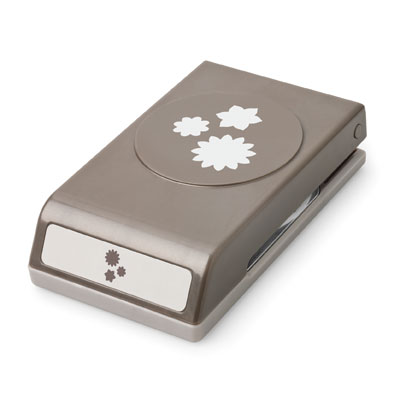
Good morning peeps! It’s Friday! Saying that always makes me happy! So, yesterday morning I was looking at all of my blogs that I read and that clever Mary Fish (www.stampinpretty.com) had a great tip. Save the leftover rubber from your stamp sets because the pieces can be used for other things. Her video yesterday showed you how to use a piece from the Elementary Elegance Clear Mount Set (Sale-A-Bration 2012) for color blocking. I had to try it and I just so happen to have the same set. It worked like a charm! I used some Not Quite Navy Card Stock with some Very Vanilla. Mary’s technique is used on the greeting with Pool Party Ink for the color blocking. It is then punched out with the Curly Label Punch. The background is embossed using the Flower Garden Textured Impressions Embossing Folder. I used the Language of Friendship Set for the blossoms and punched them out with the Boho Blossoms Punch. The cute little border across the bottom uses the Scallop Edge Border Punch and another stamp from Elementary Elegance. My trusty Stamp-A-Ma-Jig helped me line up the butterflies perfectly. Check out Mary’s video to see how quick and easy this technique is. Thanks for stopping by and have a great day!

Stampin’ Up! products used:

Card Stock: Very Vanilla and Not Quite Navy Smooth Card Stock

Ink: Pool Party and Not Quite Navy Classic Stampin’ Ink

Stamp Sets: Elementary Elegance (Sale-A-Bration 2012) and Language of Friendship Clear Mount Sets

Tools: Curly Label Punch, Scallop Edge Border Punch, Boho Blossoms Punch, Stamp-a-ma-jig, Paper Snips, Glue Dots, Stampin’ Dimensionals and SNAIL


Don’t forget that you can order from the NEW Occasions Mini Catalog. Click over to the right on the catalog to place an order!

Abby’s First Birthday

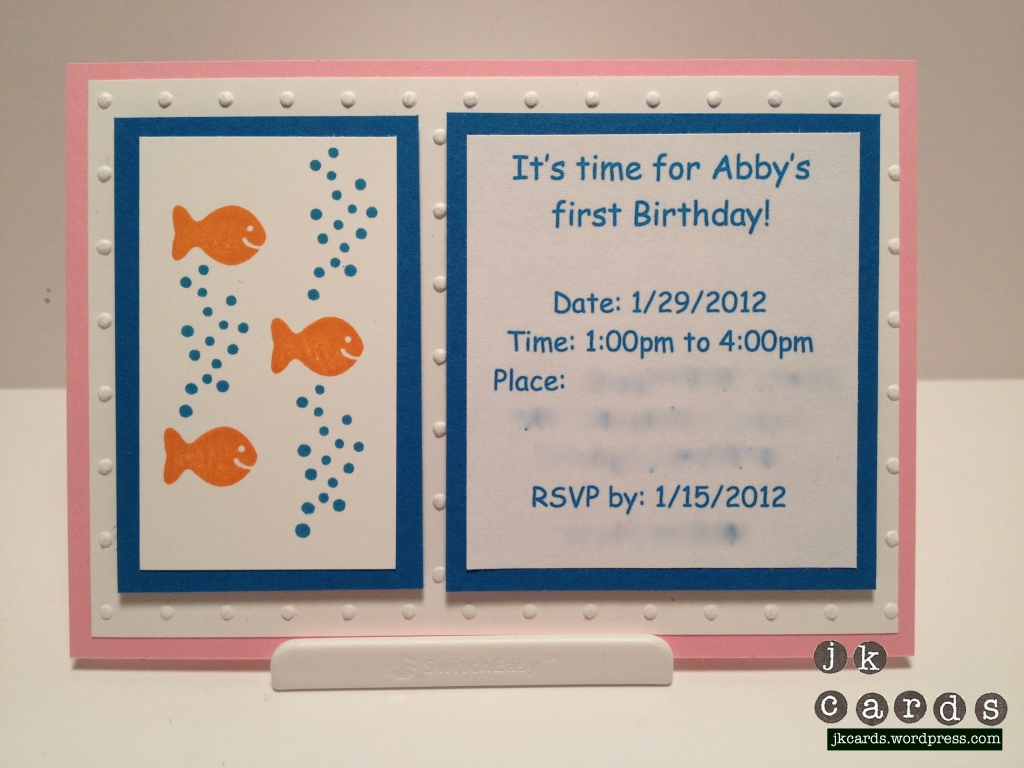
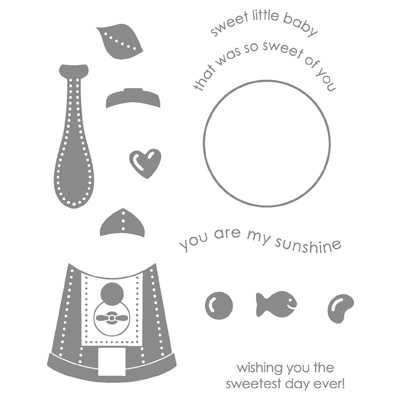
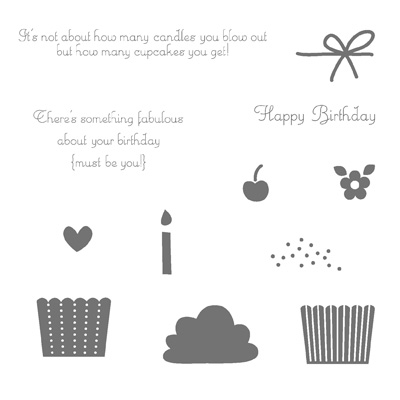
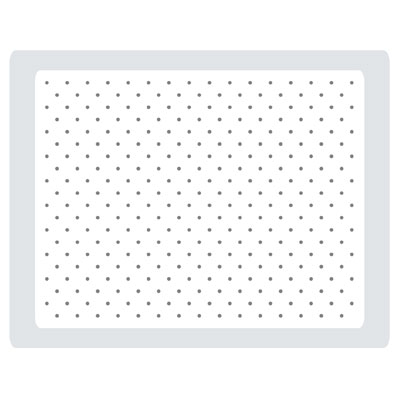
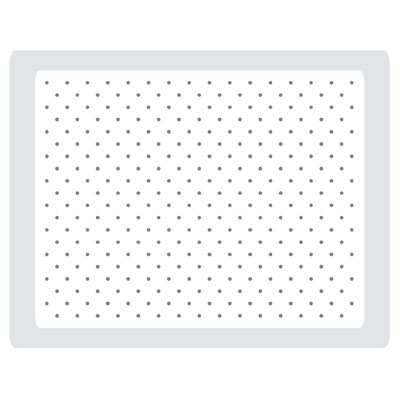
I love making invitations. When my friends Adam and Erin asked me if I would make the invitations for their little girl Abbygail’s first birthday I was thrilled to. They picked out the colors and told me it was a Bubble Guppies theme. The Card Stock colors I used are Pretty In Pink, Pacific Point and Whisper White. I used My Digital Studio to create the printed part of the invite and printed it in Pacific Point on HP Everyday Photo Paper. I have tried printing things out on Whisper White Card Stock and it comes out a little lighter than it should but the HP Paper seems to work a little better. The goldfish are from the Something Sweet Set and they are stamped in Pumpkin Pie. The “bubbles” are actually the sprinkles from the Create A Cupcake set, but they look pretty good as bubbles. The Perfect Polkadots Textured Impressions Embossing Folder give it a nice simple background. I mounted all of the framed pieces with Stampin’ Dimensionals for a little extra pop. I hope you like them as much as they did and thanks for stopping by!

Stampin’ Up! products used:

Card Stock: Pretty In Pink, Pacific Point and Whisper White Smooth Card Stock

Ink: Pacific Point and Pumpkin Pie Classic Stampin’ Ink

Stamp Sets: Something Sweet Clear Mount and Create A Cupcake Wood Mount

Tools: My Digital Studio Express, Perfect Polkadots Textured Impressions Embossing Folder, Big Shot, Stampin’ Dimensionals and SNAIL

Today marks the start of ordering from the new 2012 Occasions Mini Catalog! Click over on the right to go to my store and place your order!

Quick Note Card & Sneak Peek

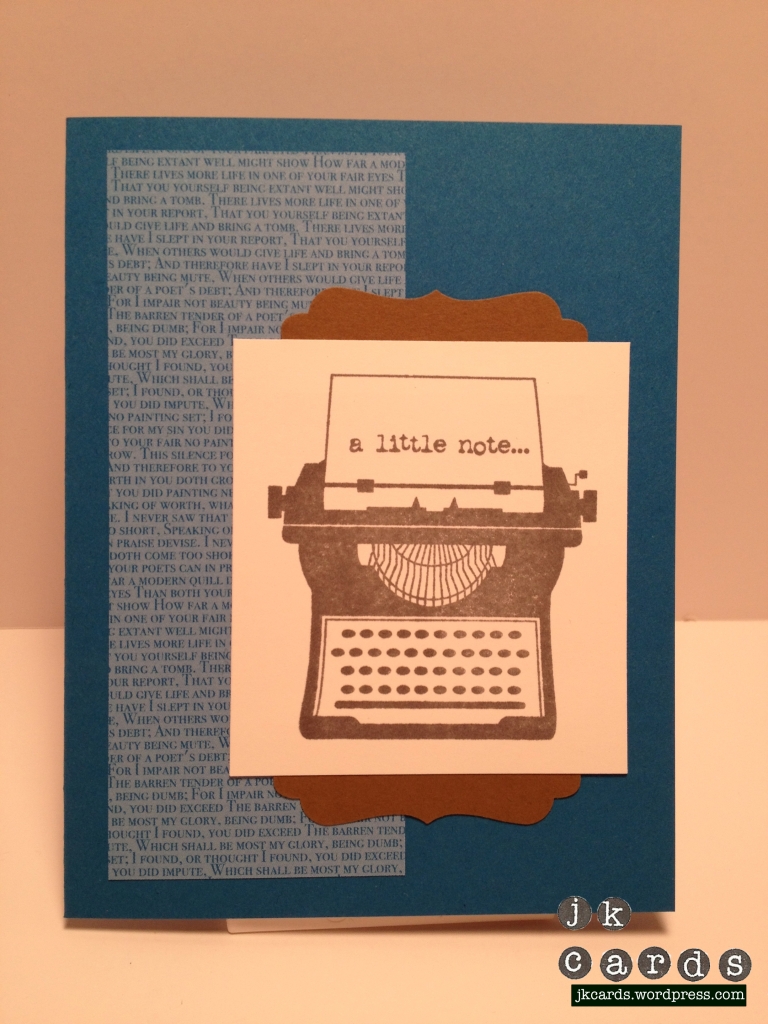
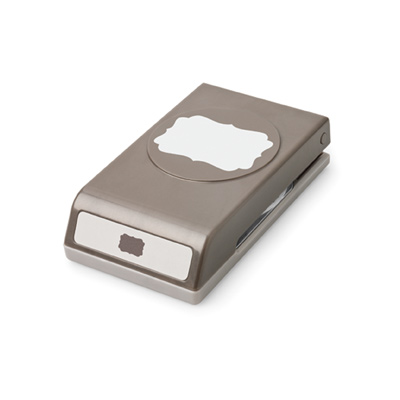
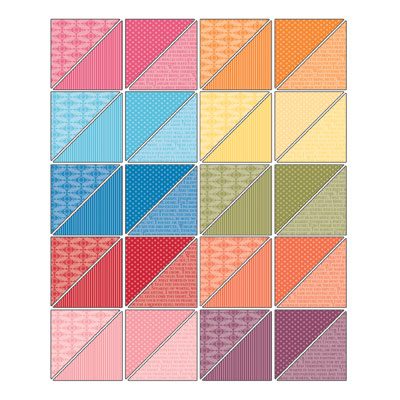
Happy New Year everyone! I hope that everybody had a fun and safe New Year’s. I had a nice relaxing evening with a friend. We had some quesadillas and taco dip while watching the ball drop on TV. Today’s card was cased from the Stampin Success Magazine and modified a little. The magazine is a great perk of being a demonstrator and I look forward to seeing all of the samples every month. I used some Pacific Point, Whisper White and Soft Suede Card Stock. The typewriter image is stamped in Basic Grey Ink and is from You’re My Type from the new Occasion Mini Catalog that you can order from starting Wednesday, January 4th. The greeting is one of six that come with the set. I took the Decorative Label Punch and cut it in half and placed it behind the image on the top and bottom. A small strip of Brights Collection Designer Series Paper gives it a little background. It a super quick and easy card and I plan to experiment with different colors and make some more. Thanks for stopping by and have a great 2012!

Stampin’ Up! products used:

Card Stock: Pacific Point, Whisper White & Soft Suede Smooth Card Stock

Ink: Basic Grey Classic Stampin’ Ink

Stamp Set: You’re My Type (2012 Occasion Mini Catalog)

Designer Series Paper: Brights Collection

Tools: Decorative Label Punch & SNAIL

Thanks!

I just wanted to take a minute to thank all of the wonderful people that stop by and check out my blog, all of my followers and all of the people that leave comments. You make it all worth it! So, thanks so much and have a Happy New Year!!!!

Christmas Lodge Lovely Trees

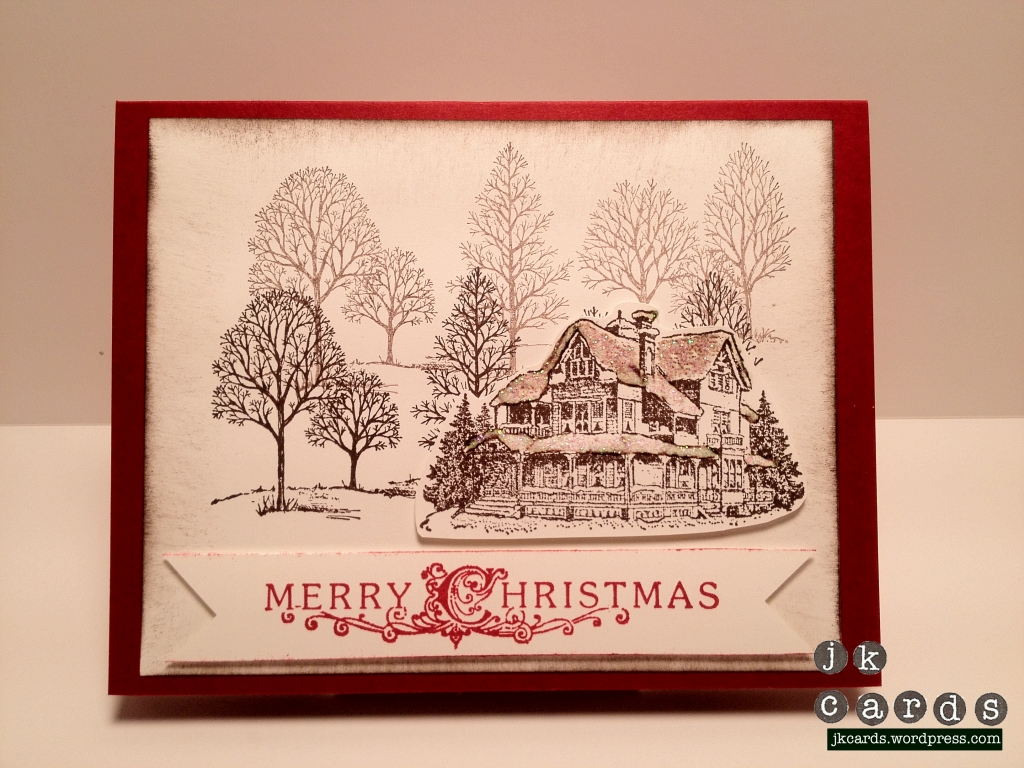
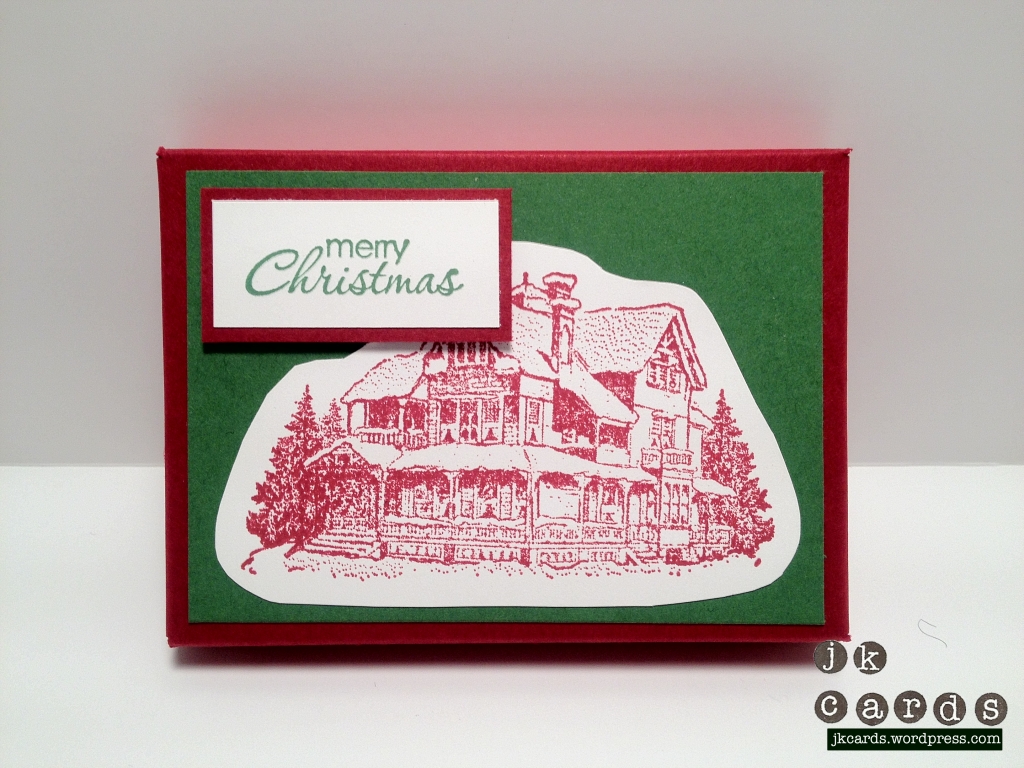
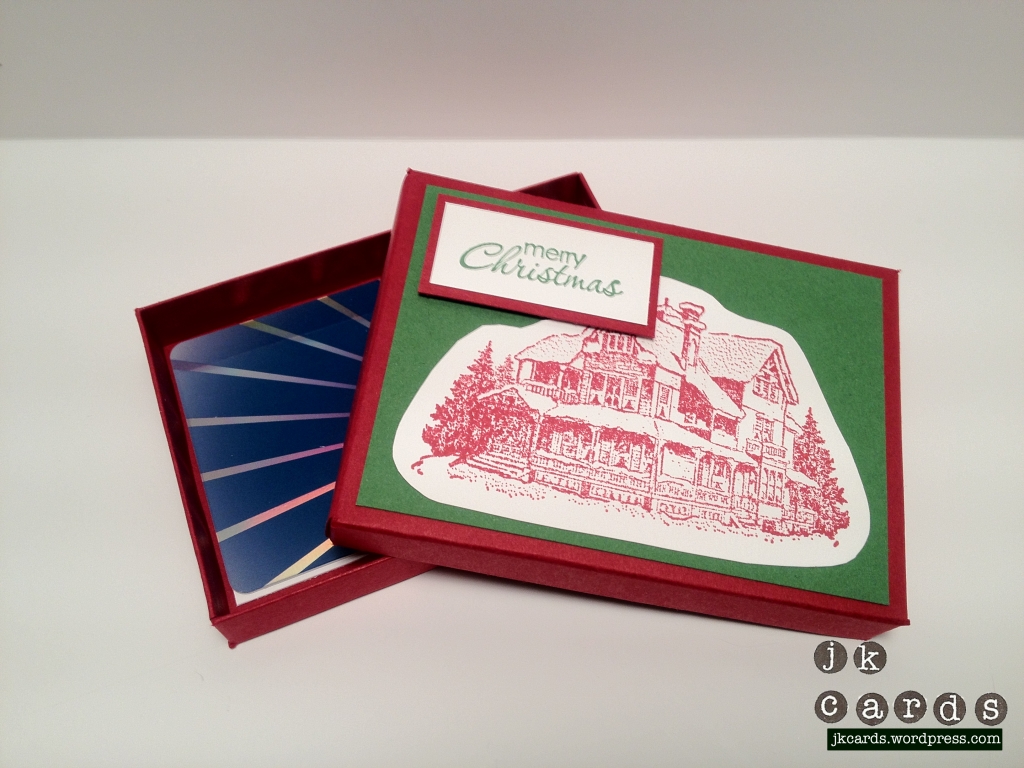
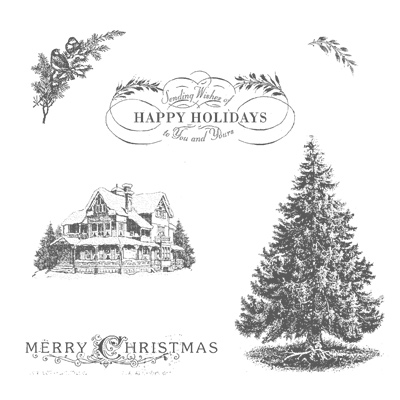
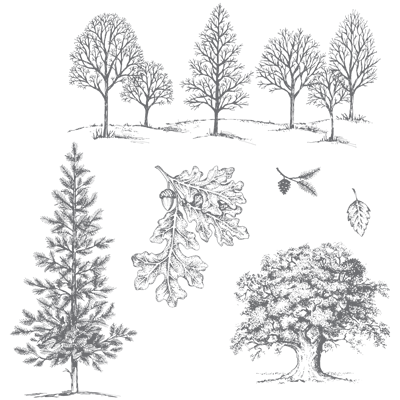
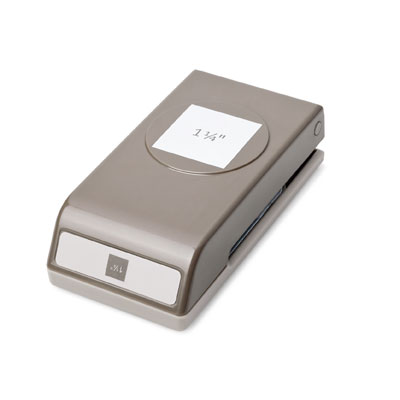
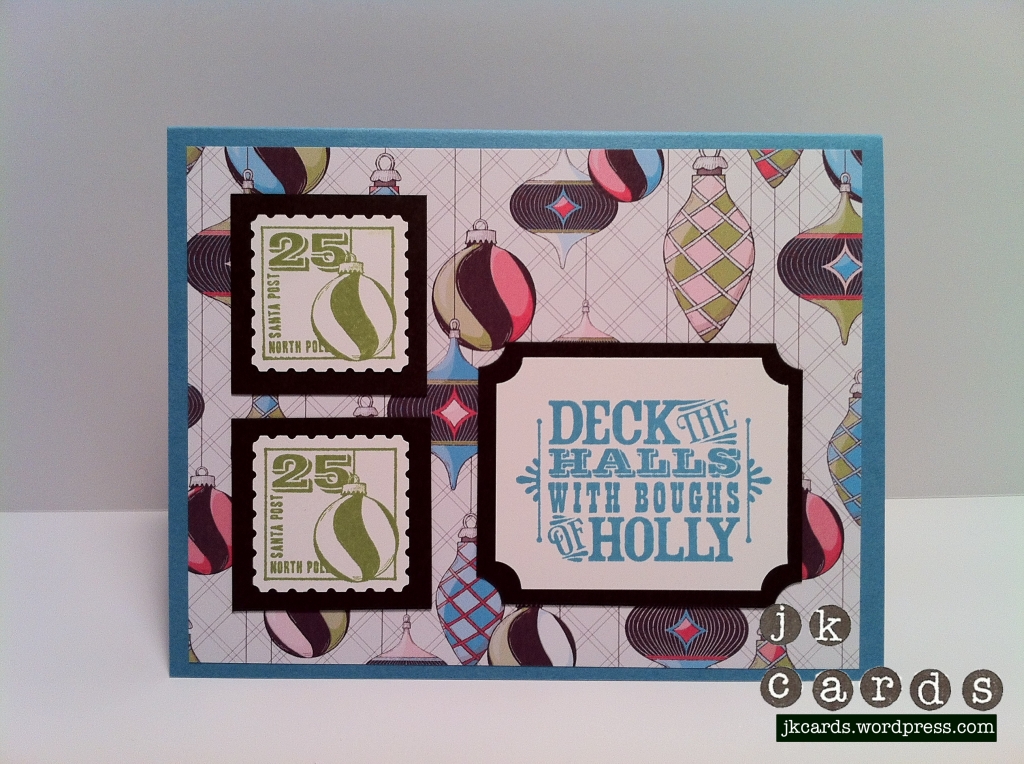
Another card that I made for Christmas was cased from another Stampin’ Up! Demonstrator, Ann Schach. She made a gorgeous card back in November using the Christmas Lodge Stamp Set. For a backdrop she used the Lovely As a Tree Wood Mount Set. I used the same idea to make my Dad’s card. The Lodge and Trees are stamped in Early Espresso, with the second set of trees stamped off to give it some depth. For even more depth the lodge was cut out and put on Stampin’ Dimensionals. I used a little Dazzling Details on the roof for a little snow effect. The 1 1/4″ Square punch is an easy way to make the flags on either side of the greeting (a tip from Mary Fish!). The edges of the Very Vanilla Card Stock were sponged with Crumb Cake and the greeting was rubbed in Cherry Cobbler. The box uses the same lodge but stamped in Cherry Cobbler with the greeting from Petite Pairs. It’s a nice masculine card and my dad liked it, I hope you do too. Thanks for stopping by, have a great day!

Stampin’ Up! products used:

Card Stock: Very Vanilla, Cherry Cobbler and Garden Green Smooth Card Stock

Ink: Cherry Cobbler, Garden Green, Early Espresso and Crumb Cake Classic Stampin’ Ink

Stamp Sets: Christmas Lodge and Petite Pairs Clear Mount and Lovely As a Tree Wood Mount

Tools: 1 1/4″ Square Punch, Simply Scored, Paper Snips, Sponge Daubers, SNAIL and Stampin Dimensionals

Merry & Type Pop-Up Gift Card Holder

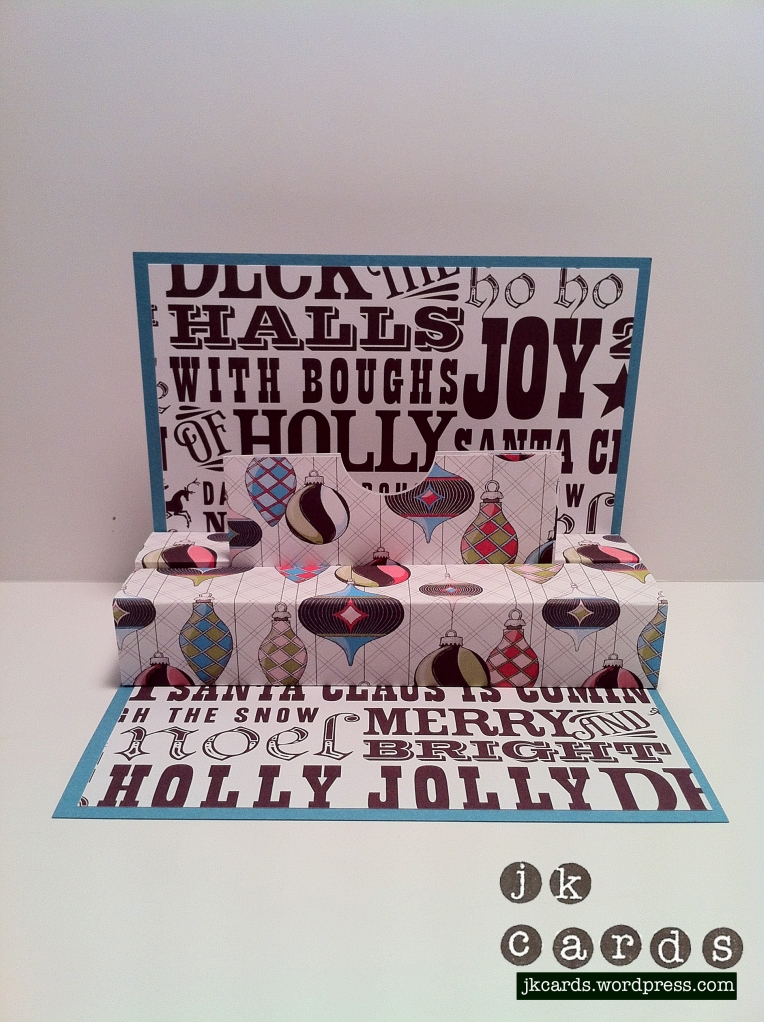
A few weeks ago my friend Kim asked me if I would make a gift card holder for her to give to her dad for Christmas. I had found a tutorial on Splitcoast Stampers for one and decided to give it a try. The tutorial, which can be found here: http://www.splitcoaststampers.com/resources/tutorials/pop-upgiftcardholder was originally done with Holly Berry Bouquet Designer Series Paper but I decided to use some Letter to Santa Designer Series Paper because it has a bit more of a manly feel to it. I also used the Merry & Type Stamp Set on the front of the card. I love the way it came out and I wish I had put a gift card in it so you could see the holder a little better. Kim liked it so I was happy. I love it when my friends ask me to make things for them. Thanks for stopping by and have a great day!

Stampin’ Up! products used:

Card Stock: Marina Mist, Early Espresso and Whisper White Smooth Card Stock

Designer Series Paper: Letters to Santa

Stamp Sets: Merry & Type

Ink: Marina Mist & Old Olive Classic Stampin’ Ink

Gently Falling Birthday

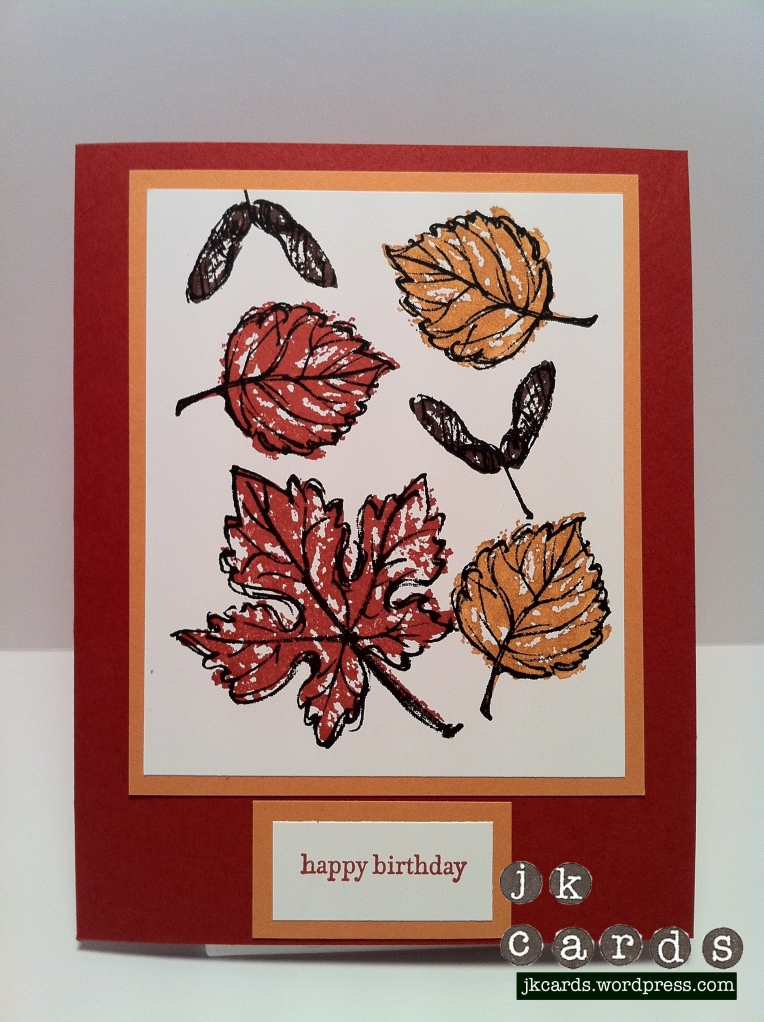
Hello everyone, I hope that you are all having a nice day. It’s very rainy here in New York a perfect day to sit and make some cards! I actually made this card for a friends birthday on Saturday. I love the Gently Falling Stamp Set. My good friend and super talented fellow Stamper Sandy lent it to me. After I used it a few times I decided that I had to have it! I think it makes for a nice masculine birthday card. The Card Stock I used is More Mustard and Cajun Craze. I stamped the leaves and “helicopter” in Basic Black and the stamped them in Cajun Craze, More Mustard and Early Espresso on Very Vanilla Card Stock. The happy birthday is from Teeny Tiny Wishes. I hope that you like the card and that you have a lovely evening. As always, thanks for stopping by!

Stampin’ Up! products used:

Card Stock: Cajun Craze, More Mustard and Very Vanilla Smooth Card Stock

Ink: Cajun Craze, More Mustard and Early Espresso Classic Stampin’ Ink

Stamp Sets: Gently Falling and Teeny Tiny Wishes

Tools: SNAIL

Sandy’s blog: http://www.stampwithsandy.com/

Gently Falling Birthday Box

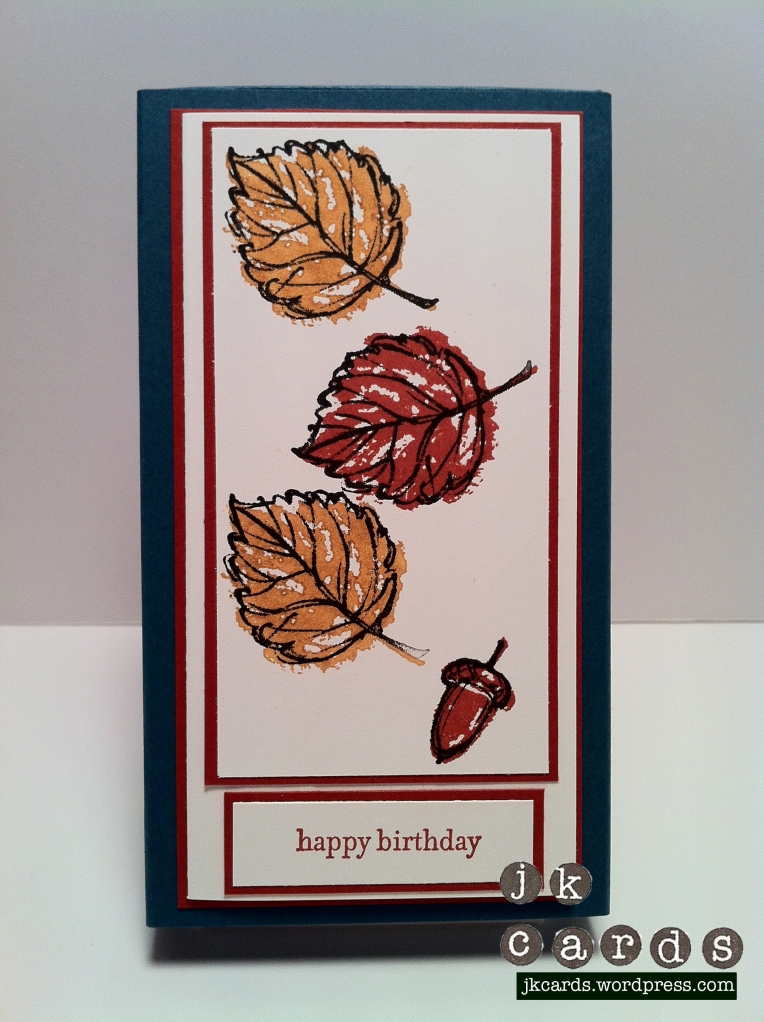
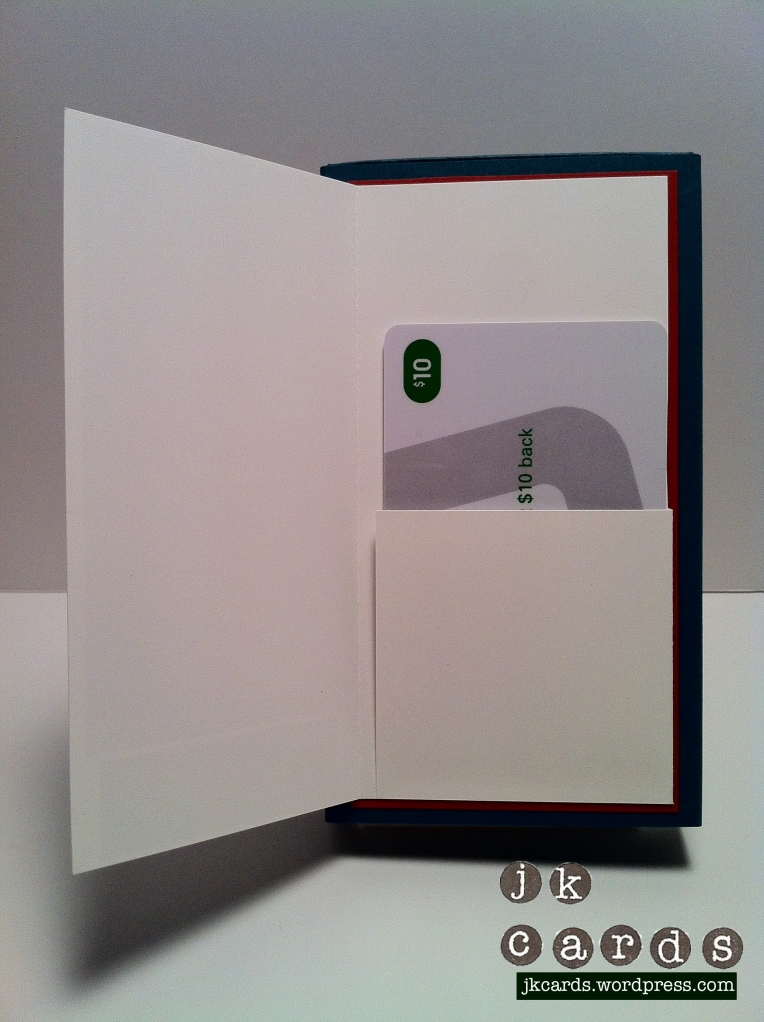
Good morning peeps! I was poking around on the Stampin’ Connection web site yesterday and I came across this tutorial to make a really neat box card that holds 10 Hershey Nuggets. It was done as a Christmas card with the Snow Much Fun stamp set but I have made a ton of Christmas cards so I thought I would change it up a bit. I used the Gently Falling Stamp Set that’s available in the Holiday Mini Catalog. I love this set, it’s so beautiful and versatile. I would like to thank the super talented and amazing Sandy Mathis for lending it to me. She has made scores of gorgeous cards with it and I’m going to get it for myself with my next order! I used some Not Quite Navy Smooth Card Stock to make the box. The ink is Basic Black, More Mustard & Cajun Craze. The images are stamped on Whisper White. I mounted the stamped images on Cajun Craze and the card was mounted again on Cajun Craze. There is also a gift card holder on the inside so it’s like three different items all wrapped up into one! It’s a clever idea and I want to thank Glenda Calkins for posting the tutorial. You can check out her blog here:
http://thestampcamp.com/blog/

Sandy Mathis’ blog can be found here:

http://www.stampwithsandy.com/

Don’t forget that today starts the Online Extravaganza Sale at Stampin’ Up! To order from the sale click on one of the Catalogs on the right to go to my online store or send me an email. Have a great day!

Stampin’ Up! supplies used:

Card Stock: Whisper White, Cajun Craze and Not Quite Navy

Stampin’ Ink: Basic Black, Cajun Craze and More Mustard

Stamp Sets: Gently Falling and Teeny Tiny Wishes

Tools: Simply Scored, Paper Cutter, Sticky Strip and SNAIL

PPA 119

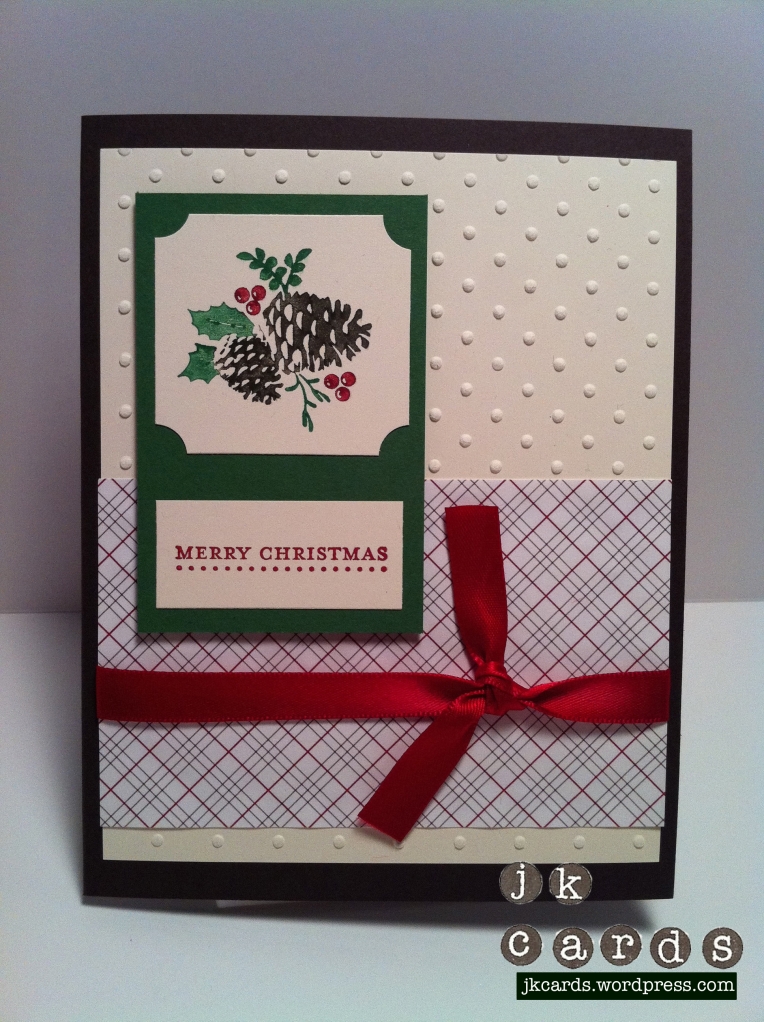
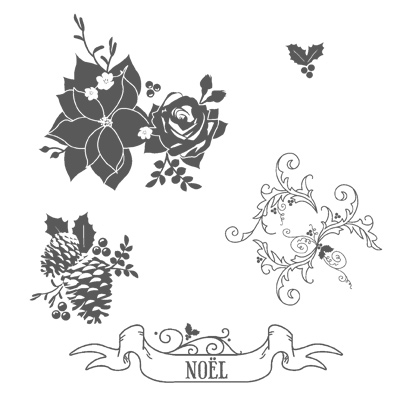
This weeks Pals Paper Arts Challenge is to make a Christmas Card. I have made quite a few over the past couple of weeks. For inspiration you get to use this image of a woman in front of a tree on the site. It has greens, reds and golds as the primary colors. The card I came up with uses my old standby stamp set Pines & Poinsettias (Etoile de Noel). I love the markered image, it makes for such a nice holiday card. I used the Perfect Polkadots Embossing Folder for a little depth and popped up the Ticket Corner punched image with some Stampin’ Dimensionals. Teeny Tiny Wishes is a must have stamp set as it pretty much covers any sentiment that you may need. Some Frostwood Lodge Designer Series Paper and little bit of ribbon across the center of the card gives it a nice finishing touch. It’s a nice easy and quick card to make. I hope that you got some inspiration and enjoy your day!

Holiday Cards 1

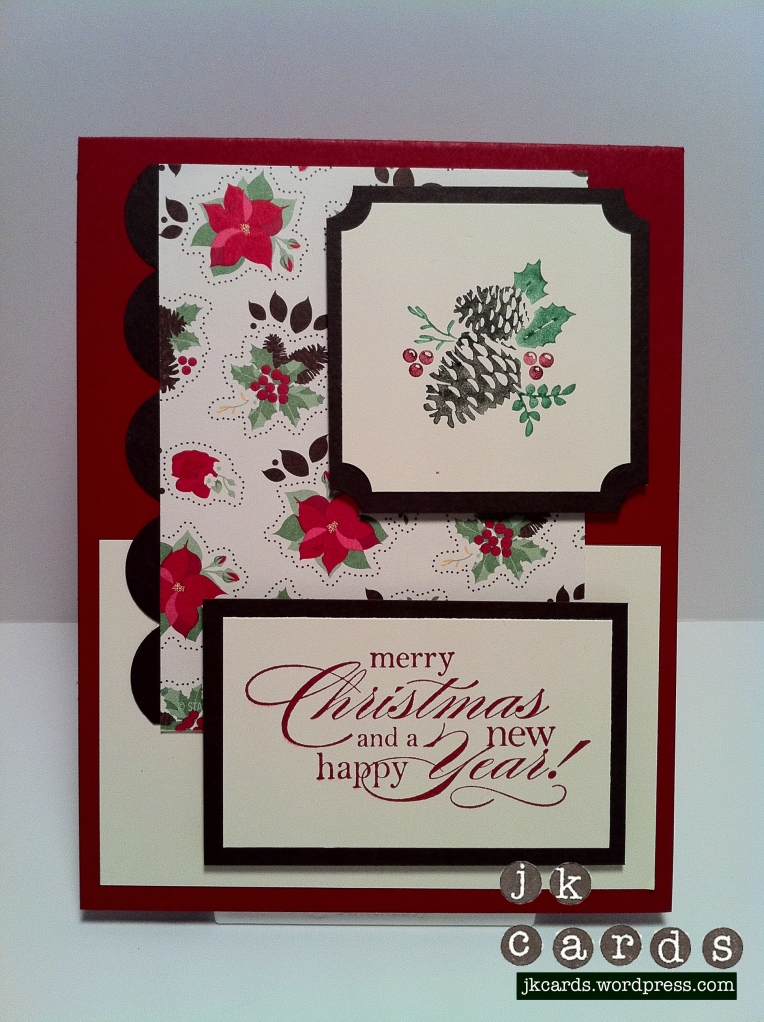
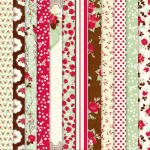
I have been making a lot of Holiday Cards for the past two weeks. I am doing some craft fairs so I need some product! I am also making some 3D projects. I’ll be posting all of the cards here over the next few weeks. I get inspiration from all of the different blogs that I read every day. One of my favorites is Stampin’ Pretty by Mary Fish (www.stampinpretty.com). I’m a big fan of hers, she has really great cards and I love her tutorials. I watched one the other day about using the Fancy Flower Punch to make a chubby scalloped border. That was the starting point for today’s card. It kind of just made itself. The pieces came together so easily. I used some Holly Berry Bouquet Designer Series Paper and the stamps are from the Delightful Dozen and Etoile de Noel (Pines & Poinsettias) sets. It’s one of my favorites that I have made so far and I hope you like it too. Thanks for stopping by. 🙂

Stampin’ Up! products used:

Card Stock: Cherry Cobbler, Very Vanilla & Early Espresso

Designer Series Paper: Holly Berry Bouquet

Ink: Cherry Cobbler

Stampin’ Write Markers: Early Espresso, Cherry Cobbler & Garden Green

Punches: Fancy Flower & Ticket Corner