CCMC 216

Good morning and welcome to day one of our three day weekend! It was a good day yesterday because we got out of work at 3:00. To make the day even better my very talented friend and daughter’s mom gave an early birthday present…

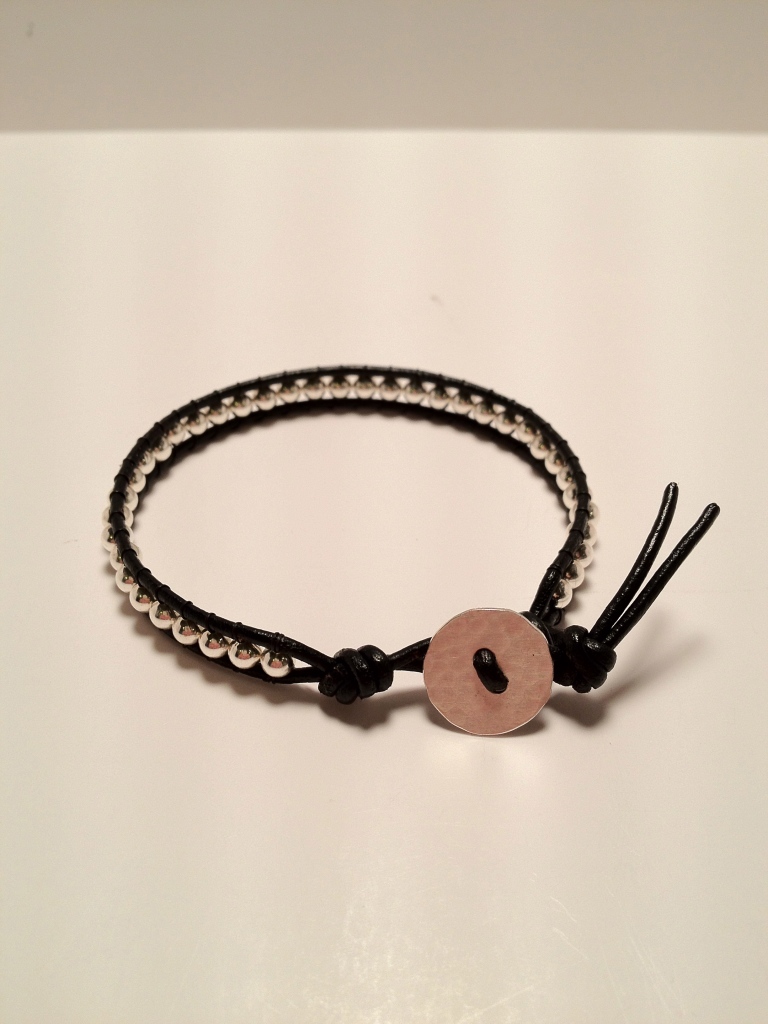
A beautiful bracelet! It’s made with sterling silver beads and hammered button closure with black leather cord. I love it! You can visit her Etsy shop and see all of the beautiful creations by clicking here. I think that she is quite talented! 🙂

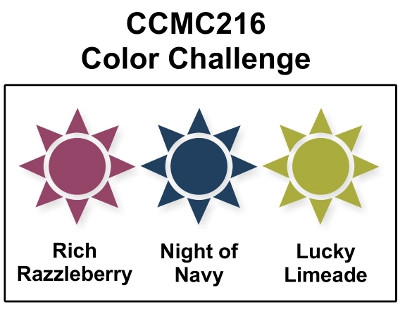
Now on to today’s post, it’s for this week’s Create with Connie and Mary Challenge. This week we have a color challenge…

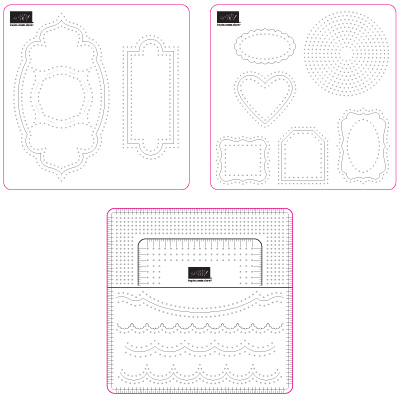
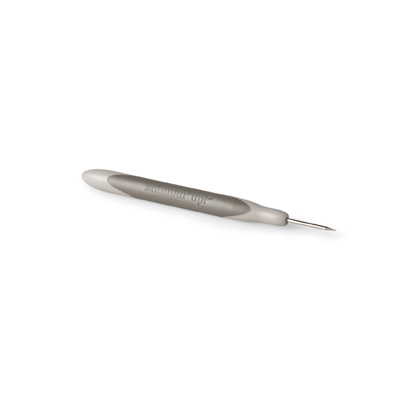
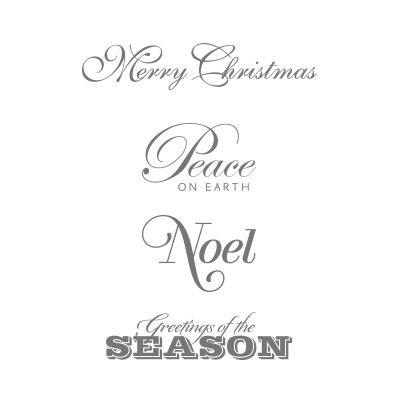
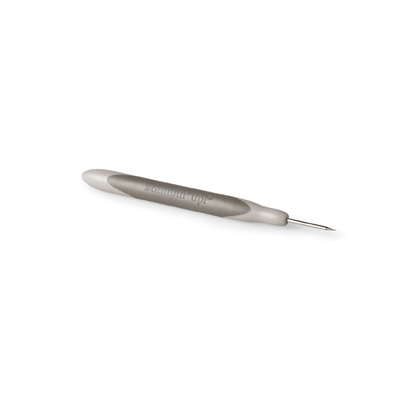
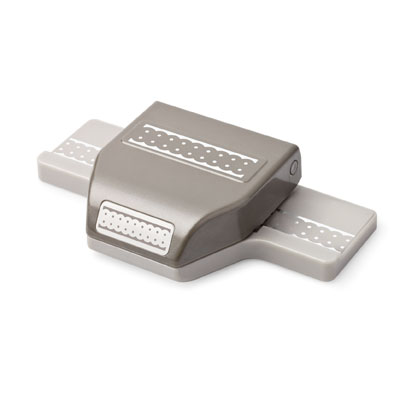
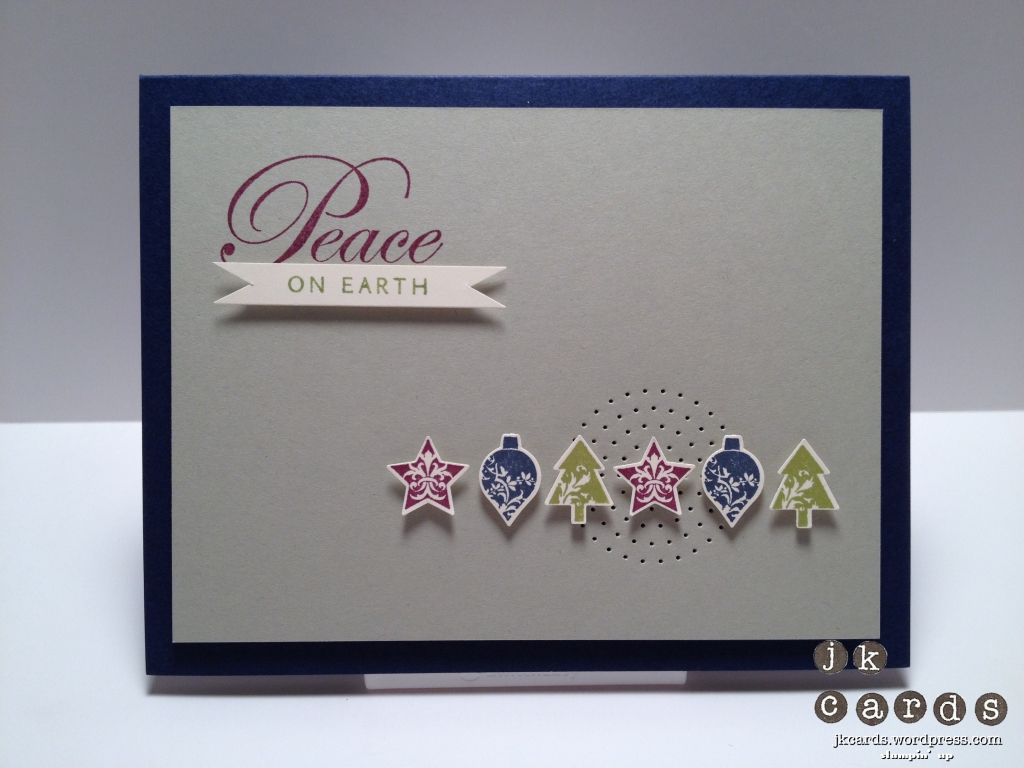
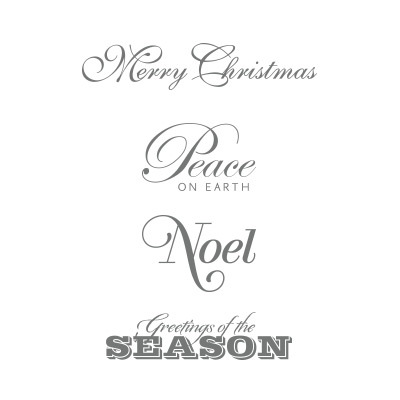
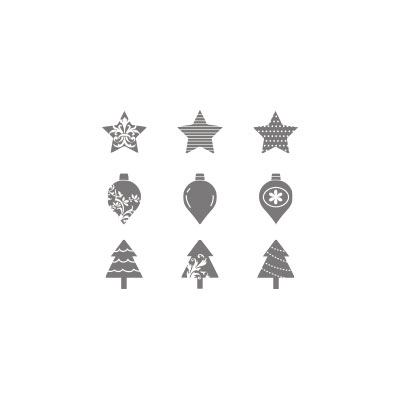
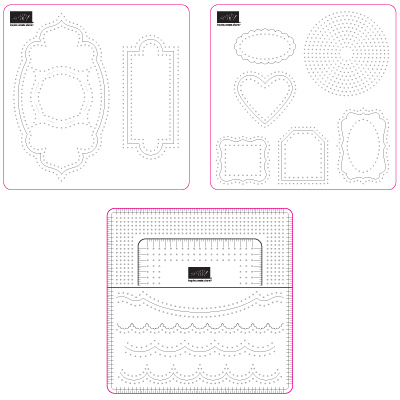
When I first saw the colors I thought Halloween and then I thought no, they would be great for a non-tradiotional holiday card. We all know how I like non-tradiotional holiday colors. I got the idea for the card from the Demonstrator magazine Stampin’ Success. The base of the card is Night of Navy Card Stock. I cut a piece of Sahara Sand to 3 3/4″ x 5″ and used the Essentials Paper-Piercing Pack for the circles on the lower right. I stamped the greeting from the Greetings of the Season Stamp Set in Rich Razzleberry and then markered the “on earth” in Lucky Limeade and flagged the ends. Some Stampin’ Dimensionals are used to adhere the whole thing to the card base. The stamped images are form the Merry Minis Stamp Set and are stamped in Rich Razzleberry, Night of Navy and Lucky Limeade. I used the coordinating Merry Mini’s Punch Pack to punch them out and they are also adhered to the card with Stampin’ Dimensionals. I love the simplicity of the card and originally I was going to use Crumb Cake for the background but decided to go with one of my more neglected colors, Sahara Sand, instead. I think it worked out quite well. I hope you enjoyed this weeks Create with Connie and Mary Color Challenge card, let me know what you think by leaving a comment. Have a wonderful Saturday and thanks for visiting!

Stampin’ Up! products used:

Card Stock: Night of Navy, Very Vanilla and Sahara Sand

Ink: Night of Navy, Rich Razzleberry and Lucky Limeade Classic Stampin’ Ink

Stamp Sets: Greeting of the Season and Merry Mini’s

Tools: Essentials Paper-Piercing Pack, Paper-Piercing Tool, Merry Minis Punch Pack, Paper Snips and Stampin’ Dimensionals

Don’t forget to check out the Anchor Rewards tab at the top. Earn 10 Anchors and get a FREE Stamp Set of your choice from any current catalog. If you purchase $150 worth of product you will be eligible for $25 in Host(ess) dollars to get one of the great new Host(ess) Sets or any other items from the NEW 2012-2013 Catalog or the NEW Holiday Catalog!

This month’s promotion is for the Howl-O-Ween Printer’s Tray Project. Earn this for FREE when you sign up to be a Demonstrator.

Plum Rose Gumball Silhouettes Birthday

Good morning and happy Friday before a three day weekend! I have a very nice evening with my friend Sandy last night. We had some delicious Greek food for dinner and then we converted Wheel Mount and Wood Mount Stamps to Clear Mount. I will definitely used my “Wheel” stamps a lot more now that it will be easier to ink them up!

I wanted to take a minute to than Lesley from Freshly Made Sketches. I have an awesome new badge as I am no longer a Perfect Princess but a Perfect Prince! I love playing along with all of the lovely ladies every week and I was proud to display my badge before but am even prouder now! Thank you again so very much!

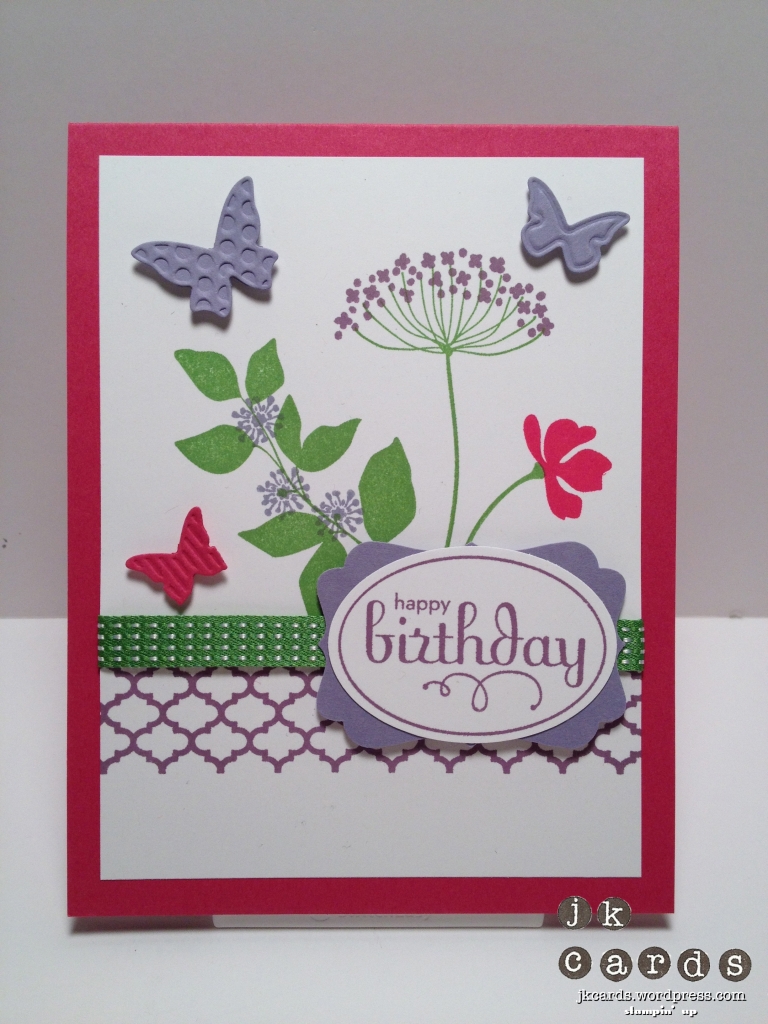
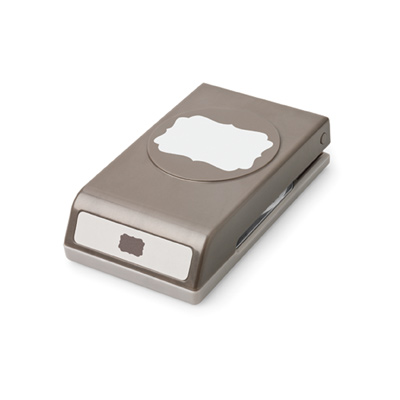
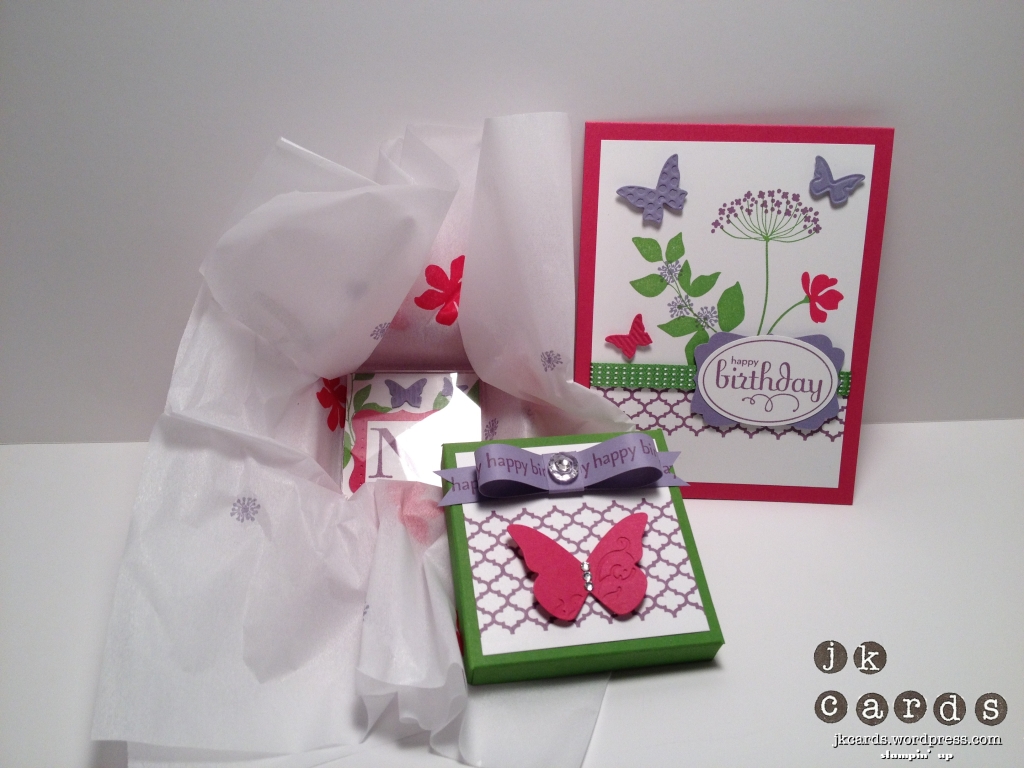
Today’s post is an ensemble that I created for a friends birthday. It consists of a card, box and initial magnet. The card starts off with a base of Rose Red Card Stock. I stamped the images from Summer Silhouettes Stamp Set in Rose Red, Wisteria Wonder, Perfect Plum and Gumball Green on Whisper White. Before I mounted the stamped piece of Whisper White to the card I used Sticky Strip to adhere a piece of Gumball Green 3/8″ Stitched Grosgrain Ribbon across the middle. The greeting is from the Perfect Punches Stamp Set and is stamped in Wisteria Wonder, punched out with the Extra Large Oval Punch and mounted to a piece of Wisteria Wonder that is punched out with the Decorative Label Punch and mounted to the card with Stampin’ Dimensionals. Some butterflies form the Beautiful Wings Embosslit in Wisteria Wonder and Rose Red complete the card.

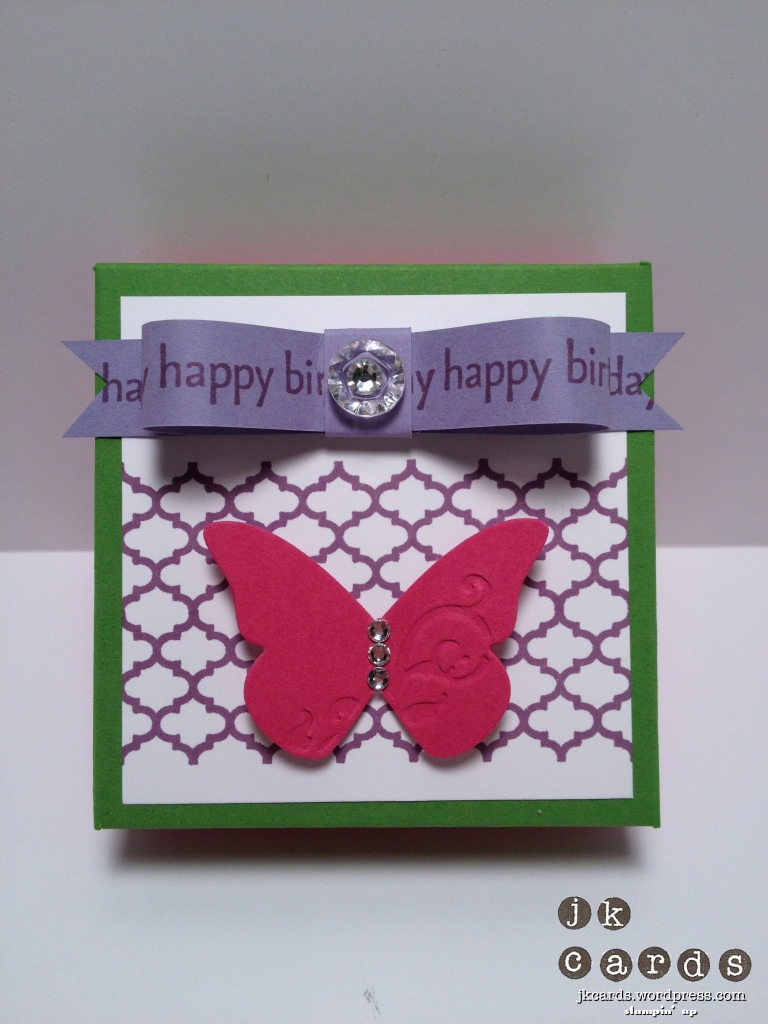
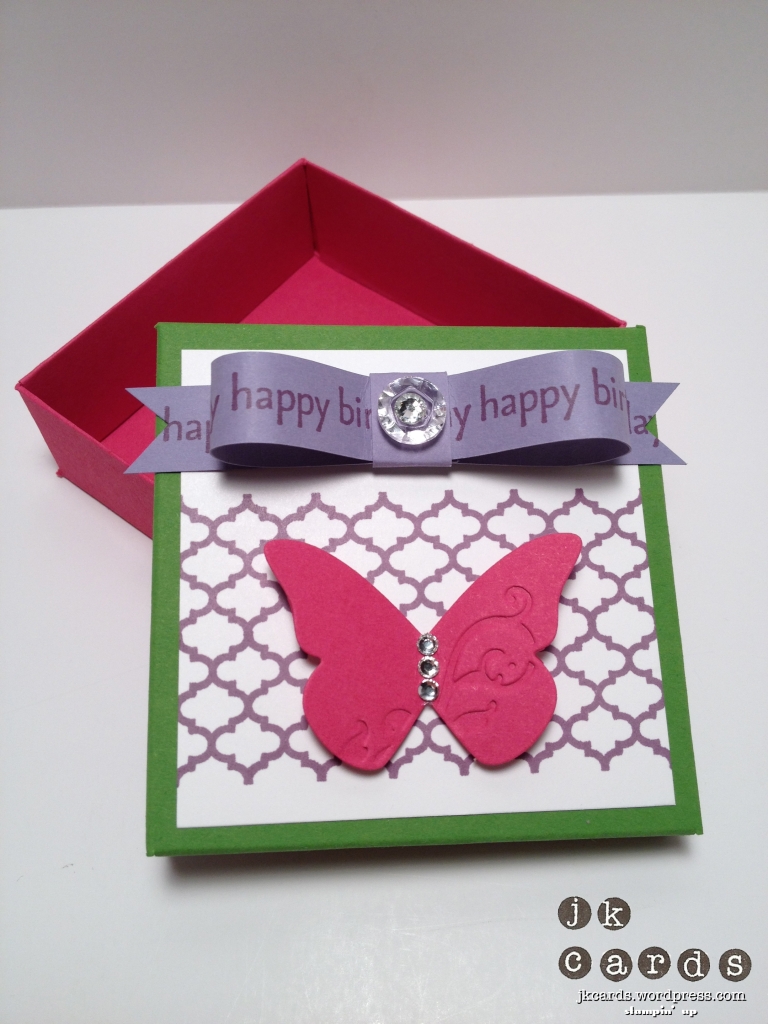
Next up we have the box that I created using my Simply Scored and some Rose Red and Gumball Green Card Stock. I stamped an image from the Summer Silhouettes Stamp Set in Perfect Plum twice across the middle. The paper bow is created using 1/2″ strips of Wisteria Wonder stamped with the happy birthday from the Family Reunion Stamp Set. I adhered a Vintage Faceted Designer Button with a Basic Jewels Rhinestone in the middle to the center of the bow. Another butterfly with some more Basic Jewels Rhinestones completes the box.

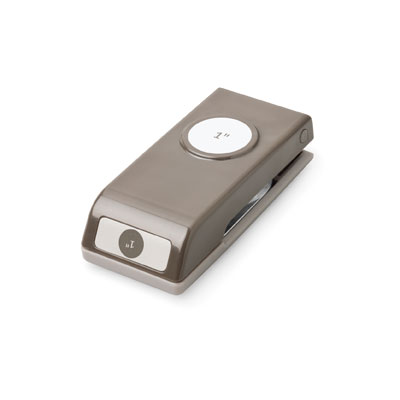
Finally we have the magnet. I purchased the magnet from a discount store. Some Whisper White Card Stock is stamped with another image from the Summer Silhouettes Stamp Set in Gumball Green. The letter N is from the Lovely Letters Alphabet and is stamped in Perfect Plum, punched out with the 1″ Square Punch and mounted to a piece of Rose Red that I punched out with the Curly Label Punch and used the Essential Paper-Piercing Pack and Paper-Piercing Tool along each side. Some more butterflies finish off the magnet. For some added interest I also stamped the tissue paper with the Summer Silhouettes Stamp set in Rose Red and Wisteria Wonder.

My friend loved her birthday card and gift and I hope that you enjoyed it too! Thank you for swinging by today and I hope that your Friday is a good one.

Stampin’ Up! products used:

Card Stock: Whisper White, Rose Red, Wisteria Wonder and Gumball Green

Ink: Rose Red, Wisteria Wonder, Perfect Plum and Gumball Green Classic Stampin’ Ink

Stamp Sets: Summer Silhouettes, Perfect Punches and Family Reunion Clear Mount

Embellishments: Gumball Green 3/8″ Stitched Grosgrain Ribbon, Vintage Faceted Designer Buttons and Basic Jewels Rhinestones

Tools: Big Shot, Beautiful Wings Embosslit, 1″ Square Punch, Extra Large Oval Punch, Curly Label Punch, Decorative Label Punch, Essential Paper-Piercing Pack, Paper-Piercing Tool, Sticky Strip, Mini Glue Dots, Stampin’ Dimensionals and SNAIL

Don’t forget to check out the Anchor Rewards tab at the top. Earn 10 Anchors and get a FREE Stamp Set of your choice from any current catalog. If you purchase $150 worth of product you will be eligible for $25 in Host(ess) dollars to get one of the great new Host(ess) Sets or any other items from the NEW 2012-2013 Catalog or the NEW Holiday Catalog!

This month’s promotion is for the Howl-O-Ween Printer’s Tray Project. Earn this for FREE when you sign up to be a Demonstrator.
Quint-Essential Cute Flourishes Indigo Pool CAS

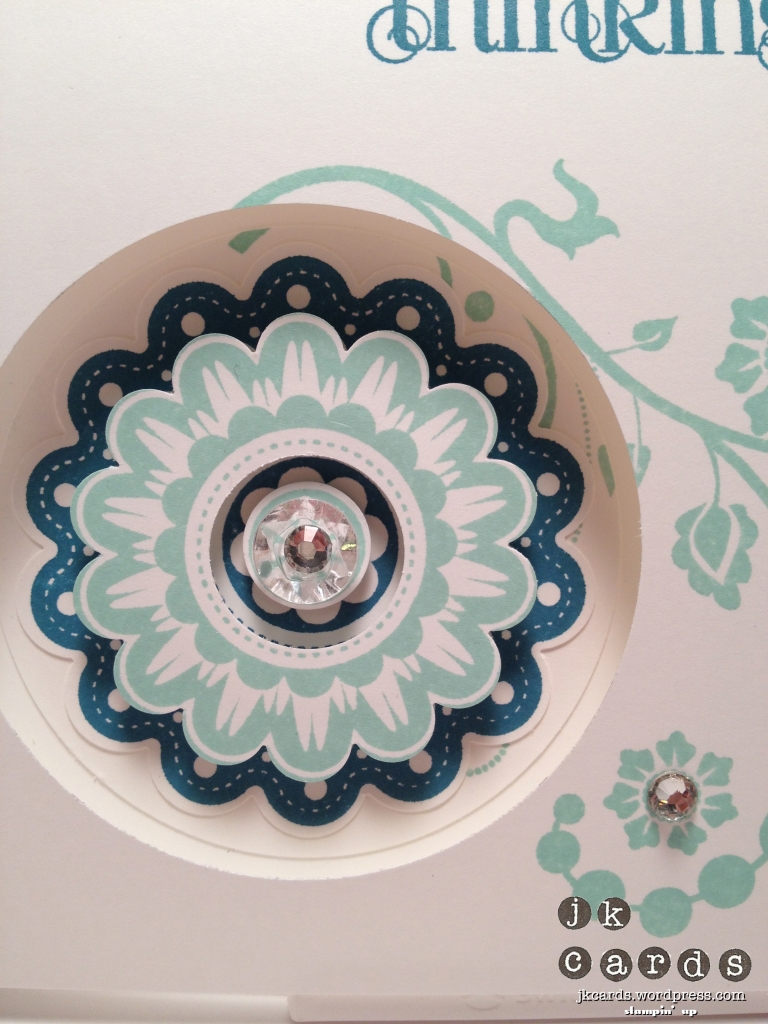
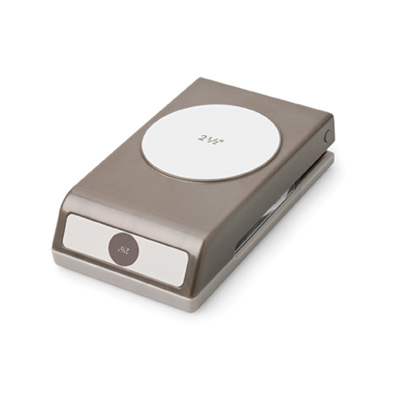
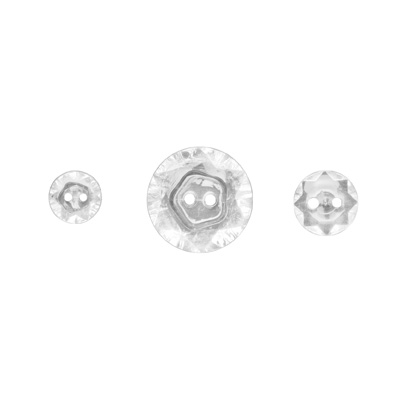
Hello everyone! How are we all doing today? It’s Wednesday so we are halfway there people! The best part is I realized today that Monday is a holiday! Three day weekend!! Woo hoo! Today’s post is a Clean and Simple card, although from the supply list it doesn’t look that way. It honestly took me about 25 minutes to come up with and make the card. The base of the card is Whisper White Card Stock. I stamped an image from the Flowering Flourishes Stamp Set in Pool Party and the greeting is from the Curly Cute Stamp Set stamped in Island Indigo. The Quint-Essential Flower is definitely one of my more neglected stamps. I have come up with a clever way to incorporate it more. I stamped it in Island Indigo and then again in Pool Party. Using the 2 3/8″ Scallop Circle Punch I punched them both out. I then used the 1 3/4″ Scallop Circle punch to punch out the Pool Party one. The middle of that piece is punched out with the 1″ Circle Punch and again with the 1/2″ Circle Punch. I assembled the flower using a Shaker Frame for the flower and a Stampin Dimensional for the middle piece. A Vintage Faceted Designer Button with a Basic Jewels Rhinestone finishes of the flower. Using the 2 1/2″ Circle Punch I punched a circle out of the front of the card. I used some SNAIL to adhere the punched circle to the inside and then adhered the flower to that. A few more Basic Jewels Rhinestones complete the card. For a card that is basically just punching and stamping I like the little wow factor that the punched circle gives. As you can see in the pictures when you close it the stamped image continues inside and also makes it easy to see where you can write. I hope that enjoyed today’s card and thanks so much for checking in with me. Don’t forget to leave a comment and have a great day!

Stampin’ Up! products used:

Card Stock: Whisper White

Ink: Island Indigo and Pool Party Classic Stampin’ Ink

Stamp Sets: Flowering Flourishes and Curly Cute Clear Mount and Quint-Essential Flower Wood Mount

Embellishments: Vintage Faceted Designer Buttons and Basic Jewels Rhinestones

Tools: 2 1/2″ Circle Punch, 1″ Circle Punch, 1/2″ Circle Punch, 2 3/8″ Scallop Circle Punch, 1 3/4″ Scallop Circle Punch, Shaker Frames, Stampin’ Dimensionals and SNAIL

Don’t forget to check out the Anchor Rewards tab at the top. Earn 10 Anchors and get a FREE Stamp Set of your choice from any current catalog. If you purchase $150 worth of product you will be eligible for $25 in Host(ess) dollars to get one of the great new Host(ess) Sets or any other items from the NEW 2012-2013 Catalog or the NEW Holiday Catalog!

This month’s promotion is for the Howl-O-Ween Printer’s Tray Project. Earn this for FREE when you sign up to be a Demonstrator.
Baja Vanilla Suede Wedding

Hello peeps! How are you all doing on this fine Sunday? I’m doing great! I got most of what I wanted to accomplish done yesterday and I am hoping to get the rest finished today. As I mentioned I had a wedding to go to on Friday night and I thought I would share with you the card that I made for the happy couple. The base of the card is Baja Breeze Card Stock. I embossed a piece of Very Vanilla with the Lacy Brocade Textured Impressions Embossing Folder for the background. I used the Wedding Words Jumbo Wheel inked in Soft Suede on Very Vanilla and cut a strip of it and flagged the end. Next to that is a piece of Baja Breeze with a piece of Very Vanilla 5/8″ Grosgrain Ribbon (Retired) adhered to the front and I flagged the ends on both of them. Both are mounted to the card with Stampin’ Dimensionals. The cake is from the Love & Laughter Stamp Set and I used VersaMark on Baja Breeze with Early Espresso Stampin’ Emboss Powder to heat emboss the image. I cut it out with my Paper Snips and mounted it to a piece of Soft Suede that I cut out with the Floral Frames Framelits Dies. The greeting is also from the Love & Laughter Stamp Set and is stamped in Baja Breeze and punched out with the Decorative Label Punch. I trimmed off the top and bottom and mounted it to a piece of Soft Suede that is also punched out with the Decorative Label Punch. For a little bling I punched a piece of Silver Glimmer Paper out with the Small Heart Punch. I love the colors and the cake. I hope that enjoyed today’s card. Thank you very much for checking in and have a great day!

Stampin’ Up! products used:

Card Stock: Very Vanilla, Baja Breeze and Soft Suede

Ink: Soft Suede and Baja Breeze Classic Stampin’ Ink

Specialty Ink: VersaMark

Stamp Sets: Love & Laughter Clear Mount and Wedding Words Jumbo Wheel

Specialty Paper: Silver Glimmer Paper

Embellishments: Very Vanilla 5/8″ Grosgrain Ribbon (Retired)

Tools: Big Shot, Floral Frames Framelits Dies, Lacy Brocade Textured Impressions Embossing Folder, Decorative Label Punch, Small Heart Punch, Paper Snips, Sticky Strip, Mini Glue Dots, Stampin’ Dimensionals and SNAIL

Don’t forget to check out the Anchor Rewards tab at the top. Earn 10 Anchors and get a FREE Stamp Set of your choice from any current catalog. If you purchase $150 worth of product you will be eligible for $25 in Host(ess) dollars to get one of the great new Host(ess) Sets or any other items from the NEW 2012-2013 Catalog or the NEW Holiday Catalog!

This month’s promotion is for the Howl-O-Ween Printer’s Tray Project. Earn this for FREE when you sign up to be a Demonstrator.
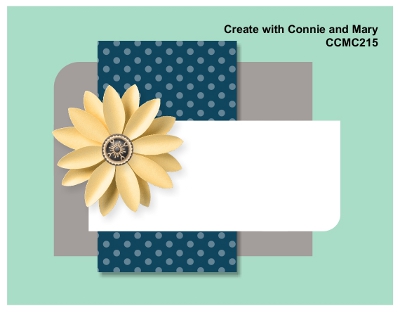
CCMC 215

Hello everyone and a very happy Friday to you! I have a friend’s wedding to go to tonight and tomorrow I have lots of cards to make! I do plan to get outside for a little while because it’s supposed to be nice this weekend. What are all of you up to this weekend? Hopefully you have some good plans and are going to squeeze in some crafting time too!

Today’s post is for this week’s Create with Connie and Mary Challenge. This week we have a sketch to work with…

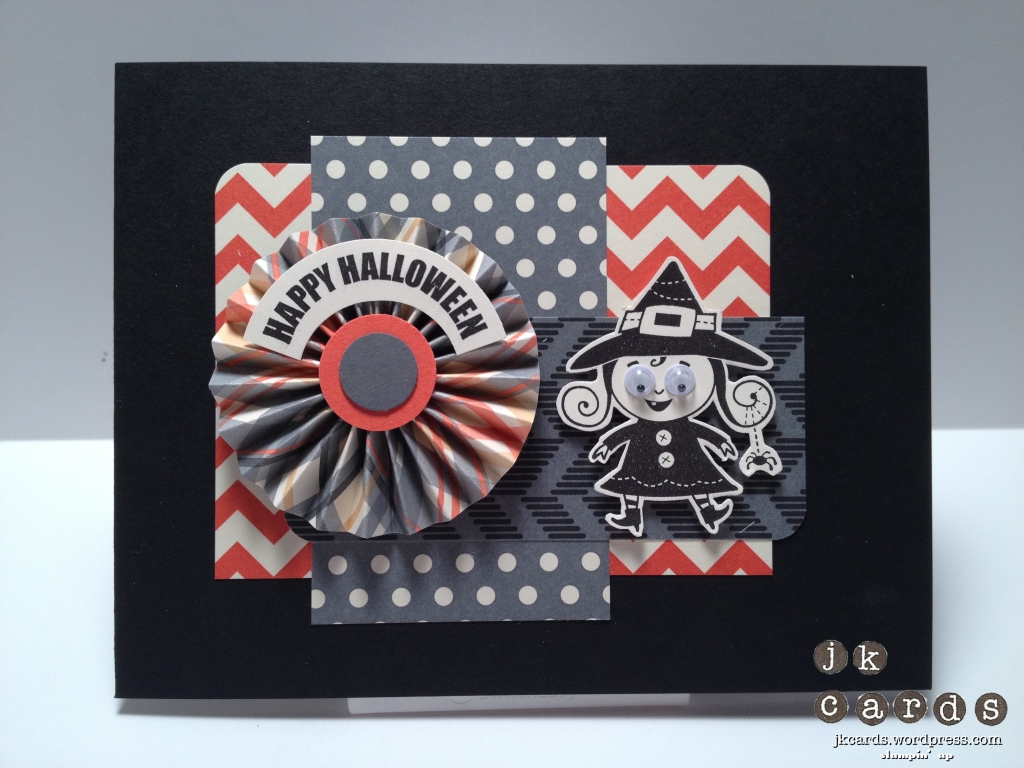
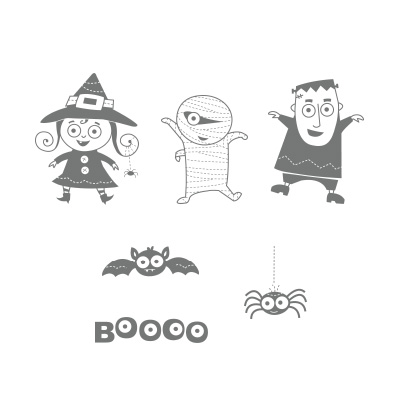
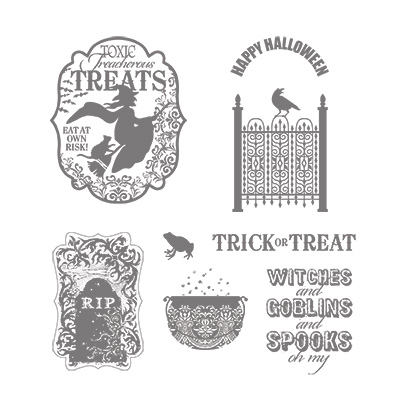
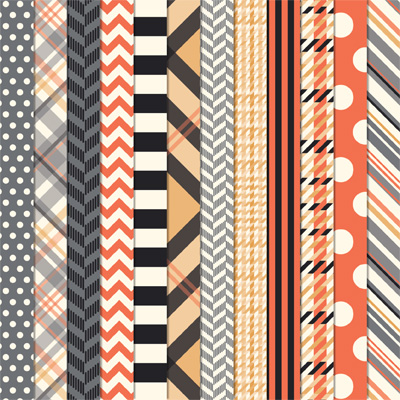
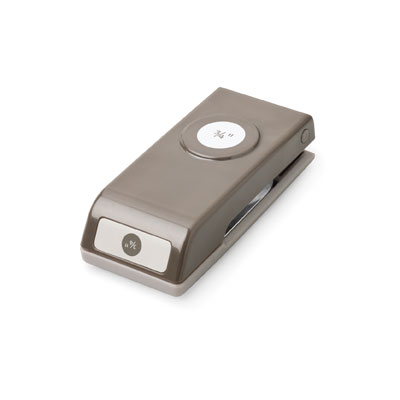
Seeing as I was playing with Halloween stuff yesterday it made it into today’s card too. The base of the card is Basic Black Card Stock. I used three different patterns of paper from the Howlstooth and Scaringbone Designer Series Paper Pack for the background. The rosette is also made from the same DSP using my Simply Scored Scoring Tool. I used a piece of Tangerine Tango punched with the 3/4″ Circle Punch and a piece of Basic Gray punched with the 1/2″ Circle punch for the middle and it is adhered to the card with a Mini Glue Dot. The cute little witch is from the Googly Ghouls Stamp Set and she is stamped in Basic Black ink. I used my Paper SNips to cut her out and mounted her to the card with Stampin’ Dimensionals. Two Googlies finish her off. The greeting is from the Toxic Treats Stamp Set and is also stamped in Basic Black and adhered to the rosette with Multi-Purpose Glue. I’m really having a lot of fun with the Halloween items from the Holiday Catalog. I hope that you enjoyed this week’s Create with Connie and Mary Challenge Card and that you got some inspiration for some Halloween fun! Thank you very much for checking in and have a great day!

Stampin’ Up! products used:

Card Stock: Basic Black, Very Vanilla, Tangerine Tango and Basic Gray

Ink: Basic Black Classic Stampin’ Pad

Stamp Sets: Googly Ghouls and Toxic Treats Clear Mount

Designer Series Paper: Howlstooth and Scaringbone

Embellishments: Googlies

Tools: Simply Scored, 3/4″ Circle Punch, 1/2″ Circle Punch, Paper Snips, Mini Glue Dots, Stampin’ Dimensionals and SNAIL

Don’t forget to check out the Anchor Rewards tab at the top. Earn 10 Anchors and get a FREE Stamp Set of your choice from any current catalog. If you purchase $150 worth of product you will be eligible for $25 in Host(ess) dollars to get one of the great new Host(ess) Sets or any other items from the NEW 2012-2013 Catalog or the NEW Holiday Catalog!

This month’s promotion is for the Howl-O-Ween Printer’s Tray Project. Earn this for FREE when you sign up to be a Demonstrator.
Freshly Made Sketches #49

Happy Thursday to you all. Only one more day left and we are at the weekend! I have some serious crafting to do and a wedding to go to on Friday night. Busy busy! Today’s post is for this week’s Freshly Made Sketches Challenge. Jen Mitchell has given us this very clean sketch…

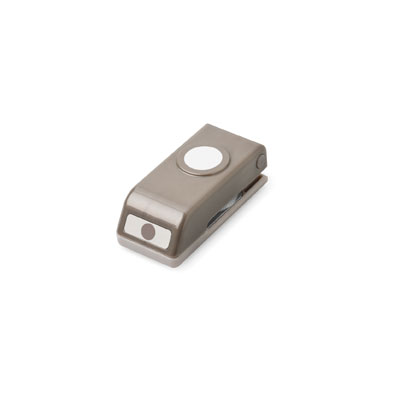
For all of you that are wonderful enough to stop by and read my blog every day I usually have a long list of products that I use. For today’ card the list is uncharacteristically short so the card must be very clean and simple! The base of my card is Basic Gray Card Stock cut to 4 1/4″ x 8 1/2″ and scored at 4 1/4″. Square cards are extra postage but you could put this one in a standard envelope. I used a piece of Howlstooth and Scaringbone Designer Series Paper for the strip across the bottom. The spiders are form the Ghoulish Ghouls Stamp Set and are stamped in Basic Black. I used the 1″ Circle Punch to punch them out and they are adhered to the card with Stampin’ Dimensionals. The greeting is from the Toxic Treats Stamp Set and is stamped in Basic Black on Tangerine Tango Card Stock. I used my Paper Snips to flag the ends and fluffed them up a bit, it is also mounted to the card with Stampin’ Dimensionals. For a cute little extra I stamped the bat, also from Ghoulish Ghouls, in Basic Black and cut him out with my Paper Snips. I put two of the Googlies (eyes) on him and adhered him to the card with still more Stampin’ Dimensionals. I love the Halloween stamp sets in the Holiday Catalog and the Designer Series Paper is some of the best yet. I hope that you enjoyed this week’s Freshly Made Sketches Challenge card and thank you so much for visiting! Have an awesome day! 🙂

Stampin’ Up! products used:

Card Stock: Basic Gray, Very Vanilla and Tangerine Tango

Ink: Basic Black Classic Stampin’ Ink

Stamp Sets: Ghoulish Ghouls and Toxic Treats Clear Mount

Designer Series Paper: Howlstooth and Scaringbone

Embellishments: Googlies

Tools: 1″ Circle Punch, Paper Snips, Stampin’ DImensionals and SNAIL

Don’t forget to check out the Anchor Rewards tab at the top. Earn 10 Anchors and get a FREE Stamp Set of your choice from any current catalog. If you purchase $150 worth of product you will be eligible for $25 in Host(ess) dollars to get one of the great new Host(ess) Sets or any other items from the NEW 2012-2013 Catalog or the NEW Holiday Catalog!

This month’s promotion is for the Howl-O-Ween Printer’s Tray Project. Earn this for FREE when you sign up to be a Demonstrator.

Paper Players #109 Oops!

Updated! Apparently I should read a little better!! It’s not piercing, it’s piecing! LOL! I’ll be back tomorrow with the correct card! Ha ha ha! Wow, a little embarrassing but I did have a busy weekend so there you go! 🙂

Good morning, is it Monday all ready?! Boy did that weekend go fast. I’m happy to say that I made it through the Bridal Shower and the 70th Birthday Party unscathed. I also managed to do some major re-arranging in my house to expand my craft area. I was successful for the most part, now I just need to reorganize a little and find someplace for the few straggler items that are still in the living room. So, in the end I had a very productive weekend!

Today’s post is for this weeks Paper Players Challenge. First, I want to thank Jaydee for choosing my card as her pick of the week for last weeks challenge! You can see the winners here and my original post here. Now on to this week’s challenge. The lovely Anne Marie has given us a Clean and Simple Paper Piercing Challenge…

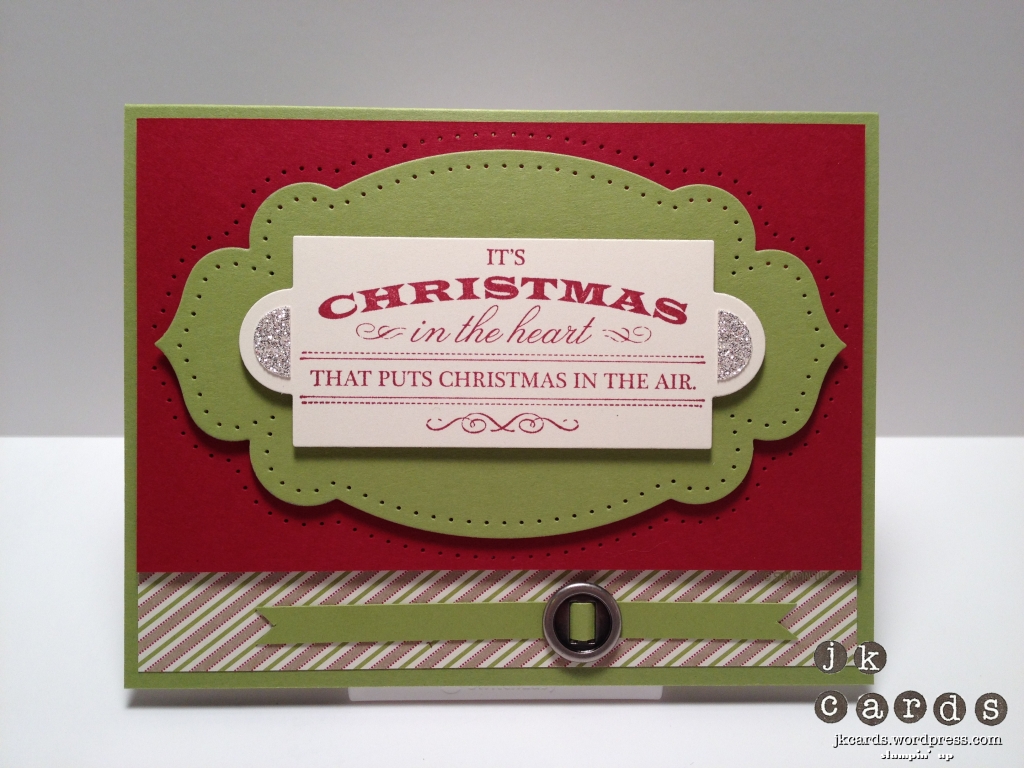
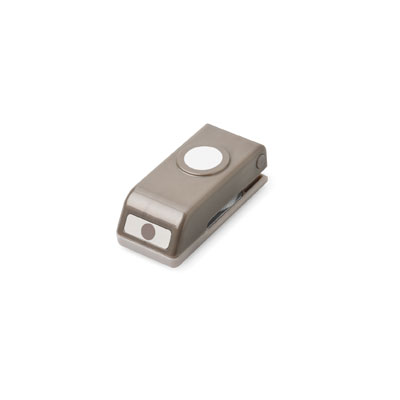
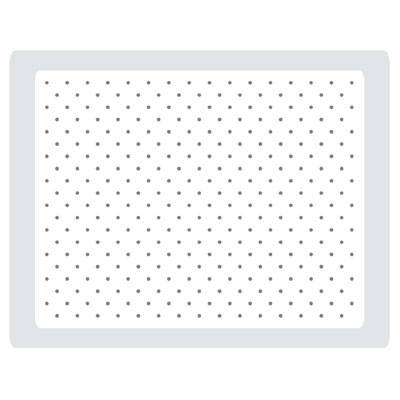
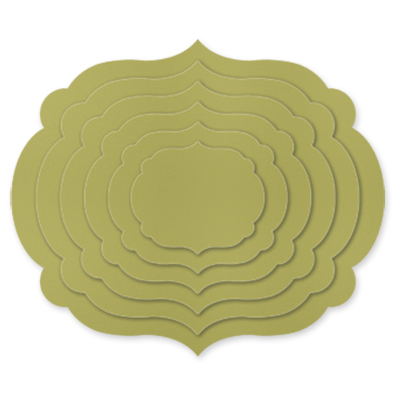
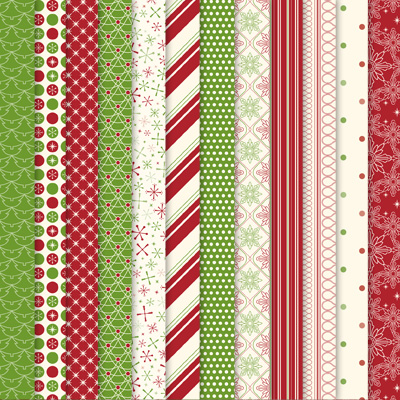
Paper-Piercing… I LOVE Paper-Piercing! The base of my card is Lucky Limeade Card Stock. I added a strip from the Festival of Prints Designer Series Paper Stack across the bottom. The greeting is from the Heart of Christmas Wood Mount Stamp and is stamped in Cherry Cobbler. I used the Apothecary Accents Framelits to cut it out. The piece under that is Lucky Limeade and is cut out with the same. I used the Essentials Paper-Piercing Pack and Paper-Piercing Tool to pierce around the edge. Under that we have some Cherry Cobbler and I pierced the outline of the label onto that. All of the layers are mounted to the card with Stampin’ Dimensionals. For some bling I used the 1/2″ Circle Punch to punch out a piece of Silver Glimmer Paper and the cut it half and adhered it to the label with the greeting using some 2-Way Glue. Last but certainly not least I used one of the Round Designer Ribbon Slides with a piece of Lucky Limeade Card Stock that I flagged the ends on and adhered it to the card with Mini Glue Dots. I love the greeting, it’s so true and Paper-Piercing… WEE! I hope that you enjoyed this week’s Paper Player Challenge card. Thank you so much for stopping by and have a super day!

Stampin’ Up! products used:

Card Stock: Very Vanilla, Cherry Cobbler and Lucky Limeade

Ink: Cherry Cobbler Classic Stampin’ Ink

Stamp Set: Heart of Christmas Wood Mount

Designer Series Paper: Festival of Prints Stack

Specialty Paper: Sliver Glimmer Paper

Embellishments: Round Designer Ribbon Slides

Tools: Big Shot, Apothecary Accents Framelits Dies, Essentials Paper-Piercing Pack, Paper-Piercing Tool, 1/2″ Circle Punch, Paper Snips, 2-Way Glue, Mini Glue Dots, Stampin’ Dimensionals and SNAIL

Don’t forget to check out the Anchor Rewards tab at the top. Earn 10 Anchors and get a FREE Stamp Set of your choice from any current catalog. If you purchase $150 worth of product you will be eligible for $25 in Host(ess) dollars to get one of the great new Host(ess) Sets or any other items from the NEW 2012-2013 Catalog or the NEW Holiday Catalog!

This month’s promotion is for the Howl-O-Ween Printer’s Tray Project. Earn this for FREE when you sign up to be a Demonstrator.
Gray Primrose I Am… Affection Birthday

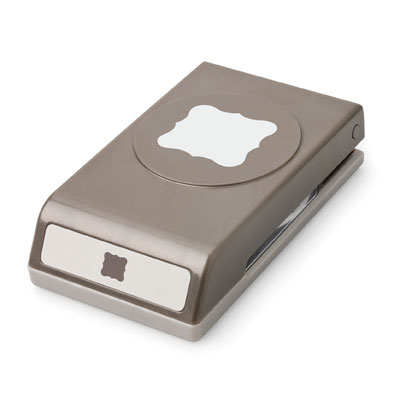
Good morning and welcome to Saturday! What are all of you up to this weekend? I have the bridal shower today and a friend’s party tomorrow. I also have a ton of cards to make so I will be busy but in my favorite way! A few weeks ago it was my friend Danielle’s Birthday and here is what I made for her as a little gift set. The card and the box both use the Affection Collection Stamp Set, it is definitely one of my favorites from the Holiday Catalog. The base of the card is Basic Gray that I stamped in Basic Gray with the Distressed Dots Background Stamp. I was unable to go to Convention this year but a very good friend of mine was lucky enough to go and gave me the Convention Stamp Set I Am… and I love it. That is where the main greeting for the card comes from and it is stamped in Primrose Petals and cut out with the Labels Collection Framelits Dies. A piece of Vellum cut out with the Labels Collection Framelits is placed behind it and mounted to the card with Stampin Dimensionals on top of a piece of Primrose Petals that I used the Essentials Paper -Piercing Pack on and flagged the ends. The you are is also from that set and is stamped in Primrose Petals and cut out with the Bitty Banners Framelits Dies and mounted to a piece of Primrose Petals that is punched out with the Small Oval Punch. Two Basic Jewels Pearls on the top and bottom give a little bling. The Happy Birthday is from the From My Heart Stamp Set, stamped in Primrose Petals and cut out with the Bitty Banners Framelits Dies. A piece of Primrose Petals 3/8″ Stitched Satin Ribbon is placed behind it. The winged heart is from the Affection Collection Stamp Set and is again stamped in Primrose Petals and a piece of Champagne Glimmer Paper punched out with the Small Heart Punch is adhered to the center with a Mini Glue Dot and a Stampin’ Dimensional holds it on the card.

Next up we have the box which is made using the Simply Scored Scoring Tool. The top of the box starts with a piece of Whisper White that is cut out with the Floral Frames Framelits Dies and Embossed with the Perfect Polkadots Textured Impressions Embossing Folder. Next up is a piece of Primrose Petals that is cut out with the Labels Collection Framelits Dies and I used the Festive Paper-Piercing Pack to pierce the edge. On top of that is a rosette that is made using the Simply Scored from a piece of Howlstooth and Scaringbone Designer Series Paper. A piece of Vellum stamped with the celebrate banner from the Priority Mail Host(ess) Stamp Set in Basic Gray and Punched out with the 1 1/4″ Scallop Circle Punch is placed under a duplicate of the wings from the card.

Finally we have the little initial magnet. I stamped some images from the Affection Collection Stamp Set in Basic Gray and Primrose Petals on Whisper White. The initial is from the Lovely Letters Alphabet Stamp Set and is stamped in Primrose Petals and punched out with the 1″ Square Punch. I punched a piece of Basic Gray out with the 1 1/4″ Square Punch to back it and adhered it to the Whisper White. It is all placed in a acrylic photo magnet. For a little extra coordination I stamped the tissue paper with coordinating stamps.

It seems to me like I tried to use as many different items as I could! I never really pay attention to the stuff I am using while I am creating the project but when I go to blog it I see all that I used. LOL! I hope that you enjoyed seeing Danielle’s Birthday gift set as much as did. Thank you very much for visiting and have a wonderful day! 🙂

Stampin’ Up! products used:

Card Stock: Whisper White, Basic Gray and Primrose Petals

Specialty Card Stock: Vellum

Ink: Basic Gray and Primrose Petals Classic Stampin’ Ink

Stamp Sets: Affection Collection, From My Heart, Priority Mail (Host(ess)), Lovely Letters Alphabet and I Am… (Convention 2012) Clear Mount

Designer Series Paper: Howlstooth and Scaringbone

Specialty Paper: Champagne Glimmer Paper

Embellishments: Primrose Petals 3/8″ Stitched Satin Ribbon and Basic Jewels Pearls

Tools: Big Shot, Labels Collection Framelits Dies, Bitty Banners Framelits Dies, Floral Frames Framelits Dies, Simply Scored Scoring Tool, Perfect Polkadots Textured Impressions Embossing Folder, Essentials Paper-Piercing Pack, Festive Paper-Piercing Pack, Paper-Piercing Tool, Small Oval Punch, Small Heart Punch, 1″ Square Punch, 1 1/4″ Square Punch, 1 1/4″ Scallop Oval Punch, Sticky Strip, Mini Glue Dots, Stampin’ Dimensionals and SNAIL

Don’t forget to check out the Anchor Rewards tab at the top. Earn 10 Anchors and get a FREE Stamp Set of your choice from any current catalog. If you purchase $150 worth of product you will be eligible for $25 in Host(ess) dollars to get one of the great new Host(ess) Sets or any other items from the NEW 2012-2013 Catalog or the NEW Holiday Catalog!

This month’s promotion is for the Howl-O-Ween Printer’s Tray Project. Earn this for FREE when you sign up to be a Demonstrator.
CCMC 214

Happy Friday everyone! I loves me some Friday! A friend of mine had back surgery yesterday so I’m off to the city tonight to pay him a visit. I have a busy weekend ahead of me too. My future Sister-in-law’s Bridal Shower is Saturday and I have another party on Sunday. I also have a ton of crafting to get done, but that’s the best part! 🙂

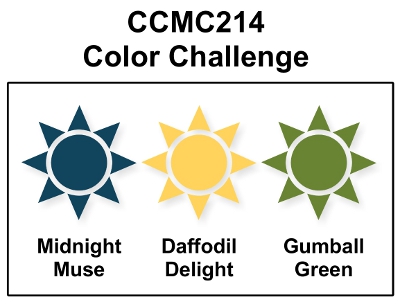
Today’s post is for this week’s Create with Connie and Mary Challenge. This week we have a color challenge…

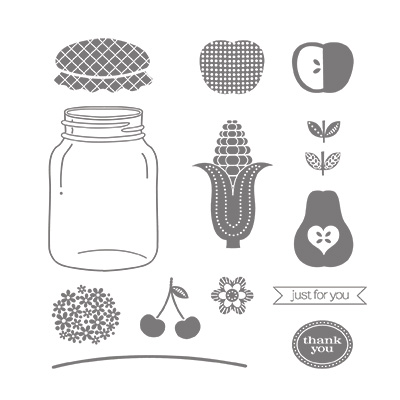
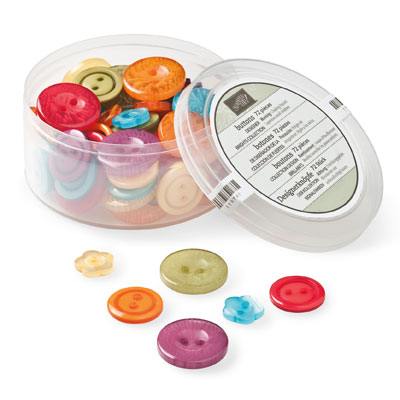
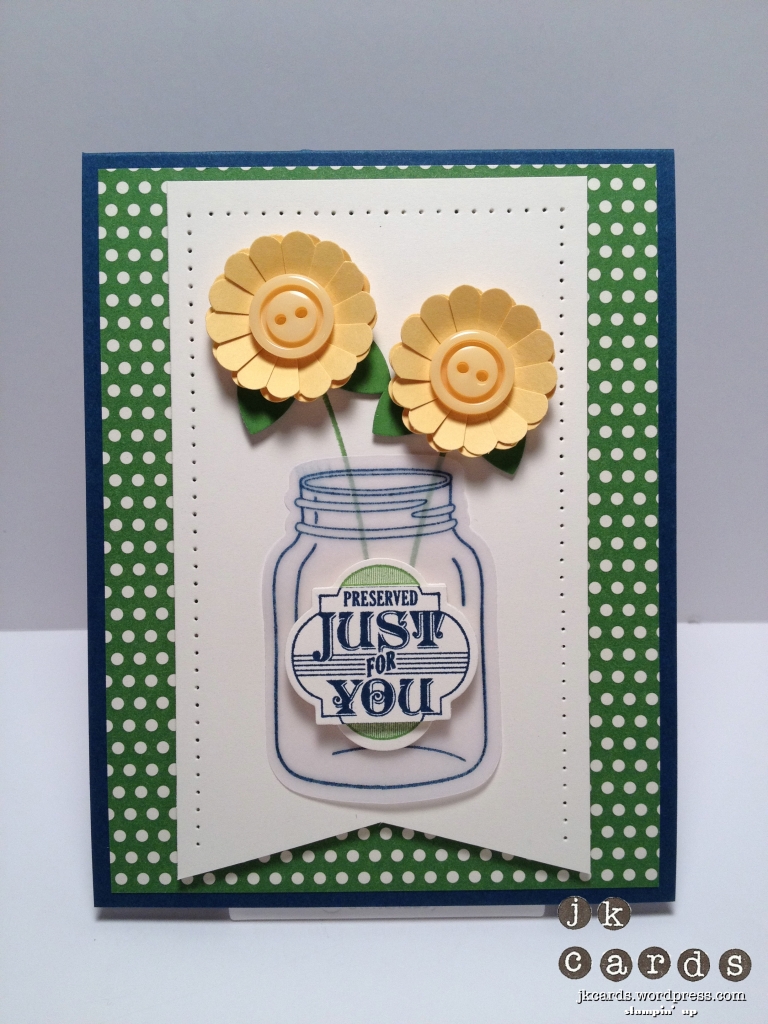
Two new In-Colors and a good old standard. The base of my card is Midnight Muse Card Stock. I added a piece of Be of Good Cheer Designer Series Paper for the background. It’s a great example of how holiday paper can be used for other things too. The main panel is a piece of Very Vanilla that I paper-pierced using the Essentials Paper-Piercing Pack and Paper-Piercing Tool and then flagged the bottom. I stamped the stems from the Perfectly Preserved Stamp Set in Gumball Green and adhered it to the card with Stampin’ Dimensionals. The jar, also from the Perfectly Preserved Stamp Set is stamped in Midnight Muse on Vellum Card Stock and cut out with the Cannery Framelits Dies. I used my Heat Tool to speed up the ink drying on the Vellum. The two daisies are created using the 1 1/4″ Scallop Circle Punch. I punched four pieces out of Daffodil Delight and then used my Paper Snips to cut down each scallop leaving about 3/8″ in the middle. I adhered two together with Mini Glue Dots and adhered a Brights Collection Designer Button in the middle with another Mini Glue Dot. The leaves are cut out using the 1″ Circle Punch and are adhered with more Mini Glue Dots. I fanned up the petals and attached them to the card. The greeting is from the Friendship Preserves Stamp Set and I stamped it twice, once in Midnight Muse and the other in Gumball Green. I cut them out with the Window Frames Framelits Dies and snipped off the top and bottom of the Midnight Muse one. They are adhered to each other with Stampin’ Dimensionals and also to the card. Don’t forget that the Perfectly Preserved Stamp Set and the Cannery Framelits Dies and the Friendship Preserves and the Window Frames Collection Framelits Dies are both available as bundles with a 15% savings. I love the color combination and the use of Vellum for the jar. I hope that you enjoyed this week’s Create with Connie and Mary Challenge card. Thank you very much for visiting and if you have any questions let me know. Have a great day! 🙂

Stampin’ Up! products used:

Card Stock: Very Vanilla, Daffodil Delight, Midnight Muse and Gumball Green

Specialty Card Stock: Vellum

Ink: Midnight Muse and Gumball Green Classic Stampin’ Ink

Stamp Sets: Friendship Preserves and Perfectly Preserved Clear Mount

Designer Series Paper: Be of Good Cheer

Embellishments: Brights Collection Designer Buttons

Tools: Big Shot, Window Frames Framelits Dies, Cannery Framelits Dies, 1 1/4″ Scallop Circle Punch, 1″ Circle Punch, Essentials Paper-Piercing Pack, Paper-Piercing Tool, Mini Glue Dots, Stampin’ Dimensionals and SNAIL

Don’t forget to check out the Anchor Rewards tab at the top. Earn 10 Anchors and get a FREE Stamp Set of your choice from any current catalog. If you purchase $150 worth of product you will be eligible for $25 in Host(ess) dollars to get one of the great new Host(ess) Sets or any other items from the NEW 2012-2013 Catalog or the NEW Holiday Catalog!

This month’s promotion is for the Howl-O-Ween Printer’s Tray Project. Earn this for FREE when you sign up to be a Demonstrator.
Red Gumball 3D Star Christmas

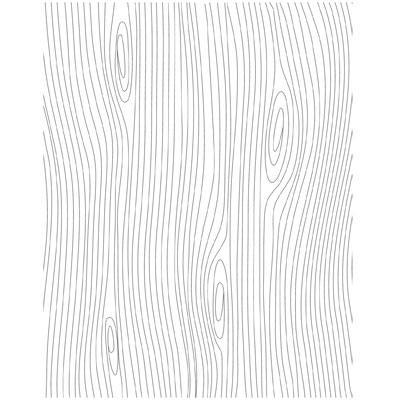
Good morning and happy humpday to you! I just wanted to take a minute to thank all of you for stopping by and leaving comments, you propel my creativity to new heights and I really appreciate it! For today’s card I went with some traditional holiday colors. It has sort of a rustic modern country feel to it! 😛 The base of the card is Real Red Card Stock. I took a piece of Crumb Cake Card Stock and used the Woodgrain Background Stamp with Crumb Cake Ink for the background. I cut it a little smaller than usual and flagged the bottom. Then I used some Vellum Card Stock and the Greetings of the Season Stamp Set stamped in Gumball Green for the greeting. The vellum is adhered to the Real Red 1/8″ Taffeta Ribbon to hide the adhesive and the ribbon is adhered to the back of the Crumb Cake. For a little added detail I punched out some Gumball Green with the Dotted Scallop Ribbon Border Punch and cut the strip in half and used some 2-Way Glue to adhere it to the back of the flagged ends and then mounted the whole thing to the card with SNAIL. I used the Window Frames Collection Framelits to cut out a piece of Gumball Green and paper-pierced the edge using the Festive Paper-Piercing Pack. The star is cut from a piece of Real Red and I used the Simply Scored Scoring Tool to score from the point to the peak on opposite sides and the creased it up. Some Multipurpose Adhesive is used to hold it to the card. I love the 3 D star and have to come up with a way to make it detach so it could be used an ornament. I hope that you enjoyed today’s card and thank you again for stopping by. Enjoy your day!
Stampin’ Up! products used:

Card Stock: Real Red, Crumb Cake and Gumball Green

Specialty Card Stock: Vellum

Ink: Gumball Green Classic Stampin’ Ink

Stamp Sets: Greetings of the Season Clear Mount and Woodgrain Background Wood Mount

Embellishments: Real Red 1/8″ Taffeta Ribbon

Tools: Big Shot, Window Frames Framelits Dies, Festive Paper-Piercing Pack, Paper-Piercing Tool, Dotted Scallop Ribbon Border Punch, Simply Scored Scoring Tool, Paper Snips, 2-Way Glue, Multipurpose Adhesive, Sticky Strip, Stampin’ Dimensionals and SNAIL

Don’t forget to check out the Anchor Rewards tab at the top. Earn 10 Anchors and get a FREE Stamp Set of your choice from any current catalog. If you purchase $150 worth of product you will be eligible for $25 in Host(ess) dollars to get one of the great new Host(ess) Sets or any other items from the NEW 2012-2013 Catalog or the NEW Holiday Catalog!

This month’s promotion is for the Howl-O-Ween Printer’s Tray Project. Earn this for FREE when you sign up to be a Demonstrator.