Mojo 319

Made it through another Monday. Work was a little crazy today because it was my boss’ last day for ten days, she’s off to Israel. The part that made me the most jealous was the flight, she will be first class on the second story of a 747! And I’m sad to say that I will miss her. The weather today is supposed to be rainy and snowy, hopefully less of the latter. How’s everything going in your neck of the woods?

I wanted to take a minute to wish my good friend Isabella a very Happy Birthday! I hope you have a great day! 🙂

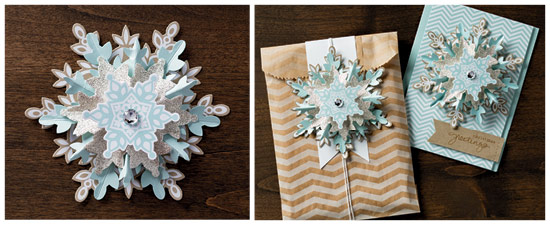
Just in time for the Holidays Stampin’ Up! announces the Festive Flurry Ornament Kit. The kit is available starting today and only while supplies last. Here are the specifics:

The kit includes everything you need (minus adhesive) to create 10 snowflakes, including

  • 10 feet of Soft Sky Ribbon
  • Printed cardstock – die cut and scored, ready to be assembled (Soft Sky, Crumb Cake, Whisper White Cardstock and Silver Glimmer Paper)
  • Large Rhinestone Basic Jewells (40)

Festive Flurry Ornament Kit  135813  $14.95

Snowflake Ornament Demo Nov13 NA

All need is a hot glue gun for assembly! You can see a video of how to put the ornament together here.

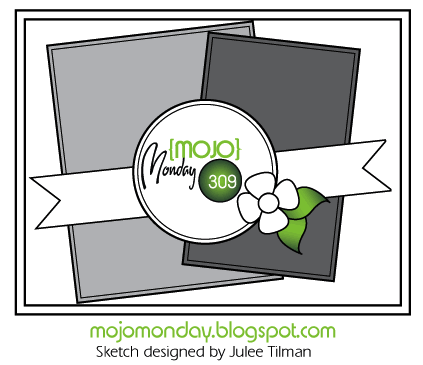
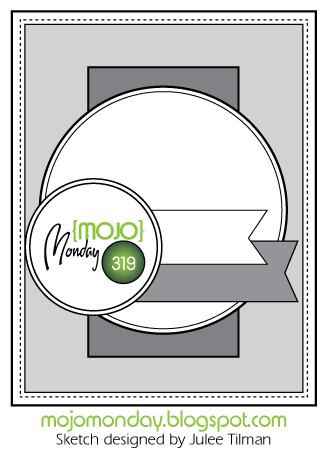
My inspiration for today’s card comes from this week’s Mojo Monday sketch provided by Julee Tilman…

Mojo319

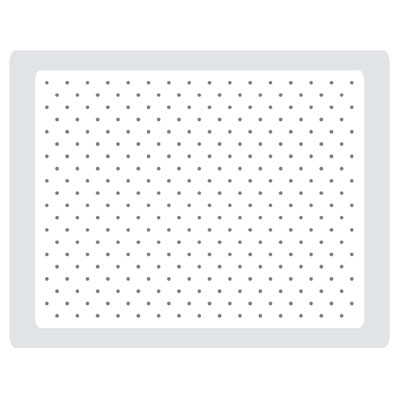
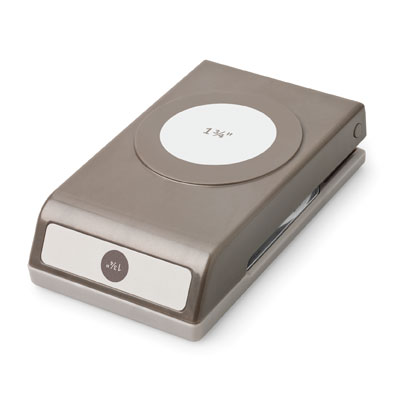
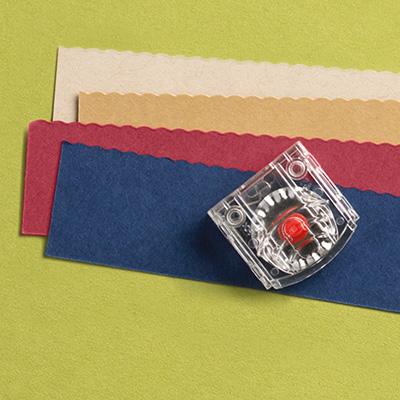
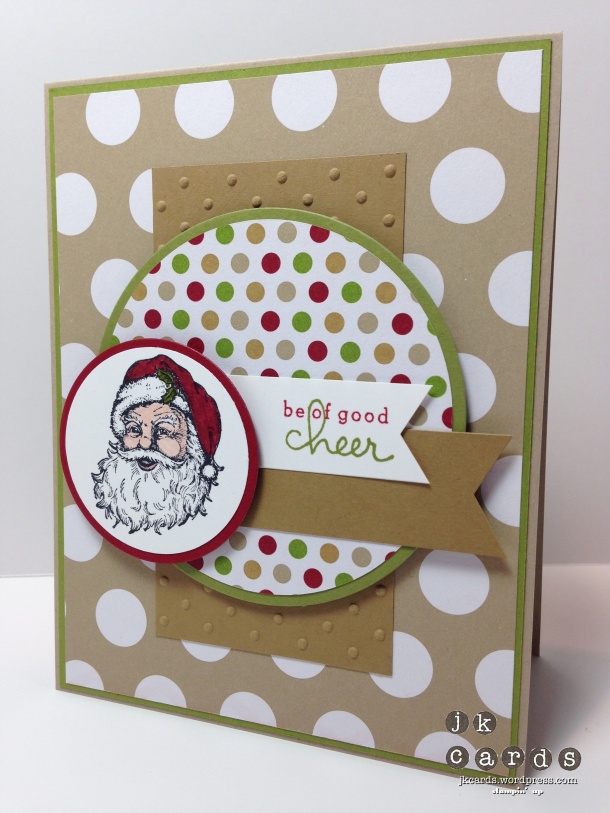
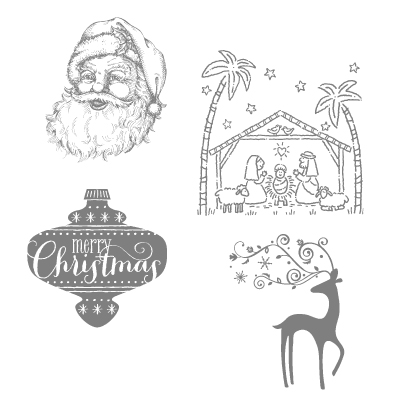
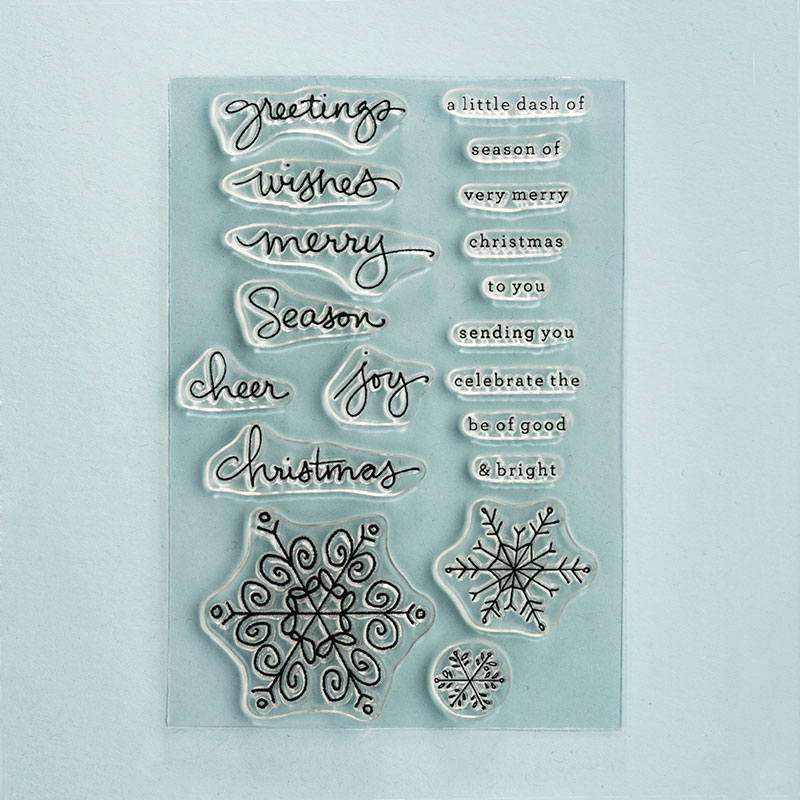
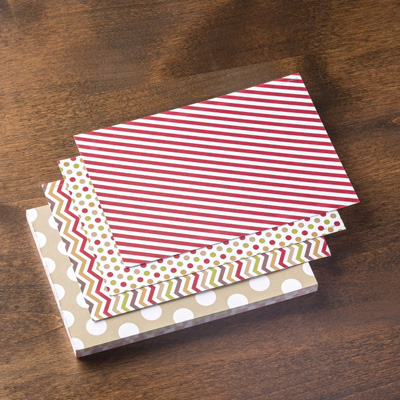
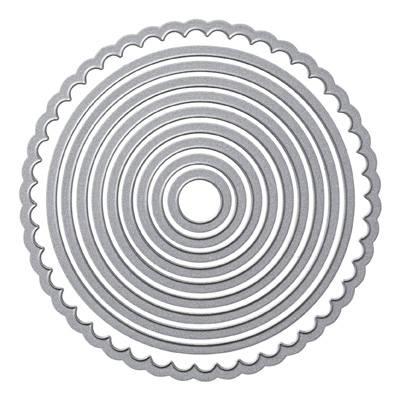
I have been wanting to use the Santa image from the Best of Christmas Stamp Set for a while. If you remember, I had a little bit of an obsession last year with an image from the Jolly Old St. Nick Stamp Set. The base of my card is Crumb Cake Card Stock. For the background I used a piece of paper from the Season of Style Designer Series Paper Stack backed with a piece of Old Olive. In the middle is a piece of Baked Brown Sugar that I embossed with the Perfect Polkadots Textured Impressions Embossing Folder. My large circle is a piece of Old Olive that I cut out with the Circles Collection Framelits Dies and another piece of paper from Season of Style DSP Stack that I cut out with the very “Vintage” Circle Scissor. Next up are two flags, one Baked Brown Sugar and one Whisper White that I stamped the greeting on from the Endless Wishes Photopolymer Stamp Set. Finally, we have the image of St. Nick from the Best of Christmas Stamp Set. I stamped him in Jet Black Staz-On Ink and used my Cherry Cobbler, Old Olive, Blushing Bride and Blush Blossom Stampin’ Write Markers. He is punched out with the 1 3/4″ Circle Punch and backed with another circle cut out from Cherry Cobbler with the Circles Collection Framelits. It really is a great Santa image and I’m still loving the Endless Wishes Photo Polymer Set. As always, I appreciate you stopping by to see my Mojo Monday card for this week’s sketch challenge. Here’s to a terrific Tuesday for all of you!

Mojo 319-WM

Stampin’ Up! products used:

Card Stock: Crumb Cake, Old Olive, Baked Brown Sugar, Cherry Cobbler and Whisper White

Designer Series Paper: Season of Style Stack

Ink: Cherry Cobbler and Old Olive Classic Stampin’ Ink

Specialty Ink: Jet Black Staz-On

Markers: Cherry Cobbler, Old Olive, Blushing Bride and Blush Blossom Stampin’ Write

Framelits: Circles Collection

Embossing Folder: Perfect Polka Dots

Punch: 1 3/4″ Circle

Tools: Big Shot, Paper Snips, Circle Scissor (Vintage), Stampin’ Dimensionals and SNAIL

Best of Christmas CM

Endless Wishes PP

Season of Style DSP Stack

Circles Collection Framelits

Perfect Polka Dots Texture Embossing Folder

1 3:4%22 Circle Punch

Current Promotions:

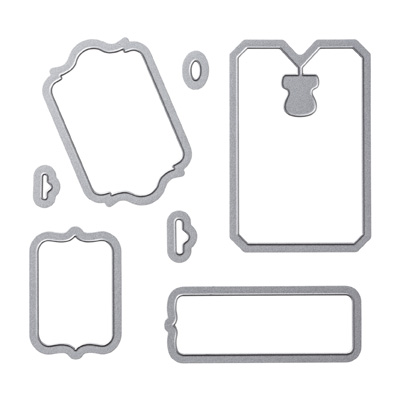
Pop & Place Holiday Gift Tags and Stamps are a great way to get all of your holiday tags done quickly! You can purchase just what you need; tags, stamps or one of two bundles! The stamp set is Photopolymer so that makes placement easy. Another great thing is that all of the tags shapes are made from Punches and Framelits so if you want to add more it’s easy! They also make a great gift! Click here to order yours today!

Need some cards quicky? Stampin’ Up! has a brand new kit that allows you to create 20 cards, all you need is some adhesive and you’re all set. Click here for the Everyday Occasion Card Kit!

Make your own stamp! New Undefined stamp carving kit. Available now! Click here for the PDF.

Check out all of the Photopolymer Stamp Sets! The two latest ones are Map It Out and Greetings From. There is also a special Halloween set! It’s a completely clear stamping option you are going to love!

Thinlits Card Dies! A fast and easy way to make a flip fold card! Available August 1st! Click here for the PDF.

SUO Challenges 83

As far as Monday’s go yesterday wasn’t too bad. Work was bearable and it was nice and quiet when I got home. It was really cold here but it’s supposed to warm up later in the week. I spoke to a friend last night on the phone, something that I don’t really do as most people just usually text these days. I also got to sit at the craft desk for a while and just play. We all know there is nothing I like more than that! Tomorrow is gym day and I am looking forward to that too!

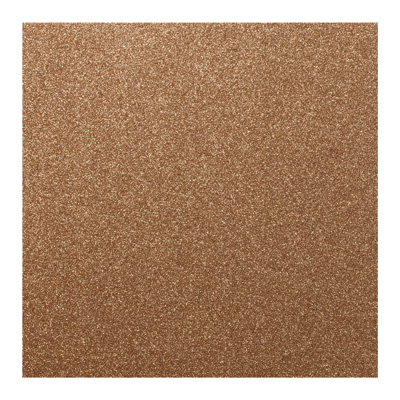
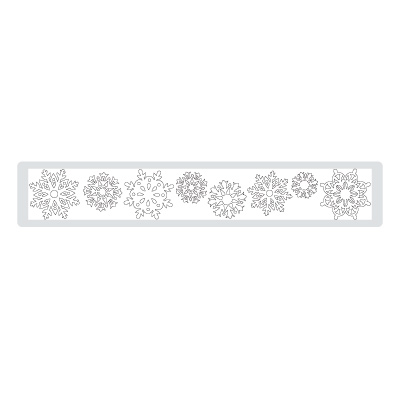
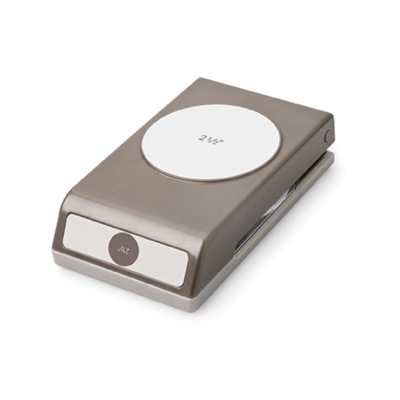
Today’s post is for the SUO Challenges Design Team. This time around we ask you to use your favorite greeting. I didn’t even have to think about this one, I knew right away just what I would use. The base of today’s card is Cherry Cobbler Card Stock. I used some Brushed Gold Card Stock and the Stylish Stripes Textured Impressions Embossing Folder for the background. The little snowflakes are from the “Vintage” Northern Frost Sizzlit Decorative Strip Die and are cut out from Whisper White. I stamped my greeting using the “Vintage” Heart of Christmas Stamp, heat embossed it with some Cherry Cobbler Stampin’ Emboss Powder and rounded the corners. Behind it is a piece of Cherry Cobbler that I cut out with the Deco Labels Collection Framelits Dies and used the Essential Paper-Piercing Pack and Paper-Piercing Tool to pierce just the top and bottom. A piece of Champagne Glimmer Paper punched out with the 2 1/2″ Circle Punch goes in the middle and Stampin’ Dimensionals hold the pieces to the card. I really do love the Heart of Christmas stamp and was sad to see it go with last year’s Holiday Catalog. I was also happy when I found my Norther Frost Strip Die, I had forgotten that I had it! Thanks very much for stopping by to see my Design Team card for the SUO Challenges blog. Speaking of blog don’t forget to to head over and check out the other designers projects and enter yours in the gallery. Have a good day! 🙂

SUO Challenges 83-JK-WM

Stampin’ Up! products used:

Card Stock: Cherry Cobbler and Whisper White

Specialty Card Stock: Brushed Gold Metallic

Specialty Paper: Champagne Glimmer

Specialty Ink: Versa-Mark

Embossing Powder: Cherry Cobbler

Stamp: Heart of Christmas Wood Mount (Vintage)

Framelits: Deco Labels Collection

Embossing Folder: Stylish Stripes

Punches: 2 1/2″ Circle and 3/16″ Corner Rounder

Sizzlit: Northern Frost Decorative Strip

Tools: Big Shot, Heat Tool, Essentials Paper-Piercing Pack, Paper-Piercing Tool, Stampin’ Dimensionals and SNAIL

Heart of Christmas WM

Champagne Glimmer Paper

Brushed Gold CS

Deco Labels Collection Framelits

Stylish Stripes TIEF

Northern Frost Decorative Strip Die

2 1:2%22 Circle Punch

3:16%22 Corner Rounder

Essentials Paper-Piercing Pack

Cherry Cobbler Stampin' Emboss Powder

Current Promotions:

Pop & Place Holiday Gift Tags and Stamps are a great way to get all of your holiday tags done quickly! You can purchase just what you need; tags, stamps or one of two bundles! The stamp set is Photopolymer so that makes placement easy. Another great thing is that all of the tags shapes are made from Punches and Framelits so if you want to add more it’s easy! They also make a great gift! Click here to order yours today!

Need some cards quicky? Stampin’ Up! has a brand new kit that allows you to create 20 cards, all you need is some adhesive and you’re all set. Click here for the Everyday Occasion Card Kit!

Make your own stamp! New Undefined stamp carving kit. Available now! Click here for the PDF.

Check out all of the Photopolymer Stamp Sets! The two latest ones are Map It Out and Greetings From. There is also a special Halloween set! It’s a completely clear stamping option you are going to love!

Thinlits Card Dies! A fast and easy way to make a flip fold card! Available August 1st! Click here for the PDF.
Paper Players 169

Greetings peeps! How was the rest of your weekend? My Sunday was nice and quiet. I ran to Target in the morning with my friend Heather and then I spent the rest of the day crafting and running errands. I do love Sundays when they are like that. I didn’t have time to put together a video this weekend but I will eventually get to it! I did take another step towards moving my blog to the hosted account. Sometime in the next few weeks, when I have a minute or two, I will complete the transition. LOL! Probably later rather than sooner. I will keep you posted.

It’s Monday so that means it’s Paper Players time! This week we have a fun sketch from the lovely Anne Marie…

Paper Players #169

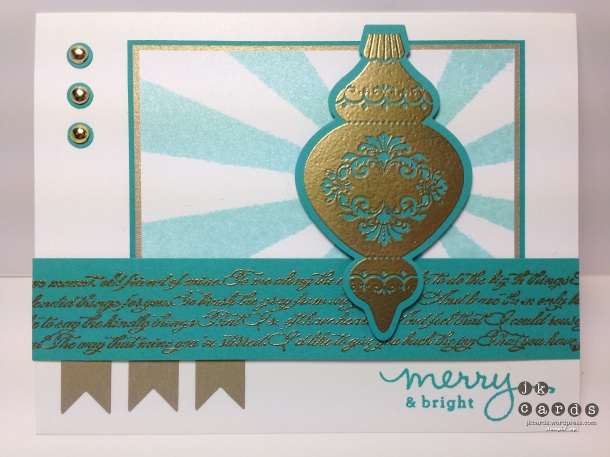
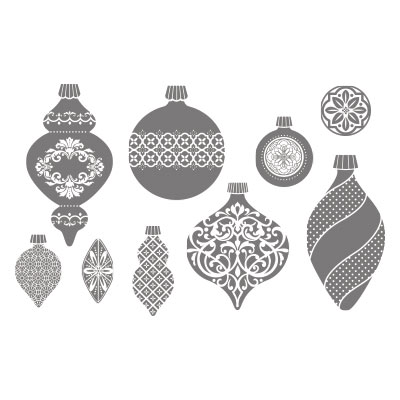
I was playing around with the “shimmer spritz” that I made the other day again. I also made a sunburst mask out of a Window Sheet. I thought that would be better because then I can reuse it. The base of my card is Whisper White Card Stock. My main panel is a piece of Whisper White that I spritzed my sunburst on using the mask and I backed it with a piece of Brushed Gold and Bermuda Bay. Next up is my strip of Bermuda Bay that I heat embossed in Gold Stampin’ Emboss Powder using a stamp from the Background Builders Stamp Set. I tucked three Brushed Gold flags that I cut out with the Bitty Banners Framelits under the left side. My ornament is from the Ornament Keepsakes Stamp Set, I heat embossed it with Gold and cut it out with the Holiday Ornaments Framelits. Three “Vintage” Metallic 3/16″ Brads backed with Bermuda Bay are up in the left corner. My greeting is stamped in Bermuda Bay and is from the Endless Wishes Photopolymer Stamp Set. The pictures don’t really show you how nice and shimmery the sunburst is and I really like the gold and Bermuda Bay together. I know, I have been using a lot of gold lately, we all have phases right?!?! Thanks for stopping by to see my card for this week’s Paper Players challenge. I hope you enjoyed the card and that your day is pretty awesome! 🙂

Paper Players 169-WM

Paper Players 169 Front-WM

Stampin’ Up! products used:

Card Stock: Whisper White and Bermuda Bay

Specialty Card Stock: Brushed Gold Metallic

Ink: Bermuda Bay Classic Stampin’ Ink

Specialty Ink: Versa-Mark

Embossing Powder: Gold Stampin’ Emboss

Stamp Sets: Ornament Keepsakes and Background Builders Clear Mount and Endless Wishes Photopolymer

Framelits: Bitty Banners and Holiday Ornaments

Embellishments: Metallic 3/16″ Brads (Vintage)

Tools: Big Shot, Heat Tool, Sticky Strip, Stampin’ Dimensionals and SNAIL

Other: Mask and “Shimmer Spray”

Endless Wishes PP

Ornament Keepsakes CM

Background Builders CM

Bitty Banners Framelits

Holiday Ornaments Framelits Dies

Gold Stampin' Emboss Powder

Brushed Gold CS

Brads Metallic 3:16

Current Promotions:

Now through October 28th you can get 25% off 25 Stamp Sets! Click here for the PDF list to see what ones are on sale!

Pop & Place Holiday Gift Tags and Stamps are a great way to get all of your holiday tags done quickly! You can purchase just what you need; tags, stamps or one of two bundles! The stamp set is Photopolymer so that makes placement easy. Another great thing is that all of the tags shapes are made from Punches and Framelits so if you want to add more it’s easy! They also make a great gift! Click here to order yours today!

Need some cards quicky? Stampin’ Up! has a brand new kit that allows you to create 20 cards, all you need is some adhesive and you’re all set. Click here for the Everyday Occasion Card Kit!

Make your own stamp! New Undefined stamp carving kit. Available now! Click here for the PDF.

Check out all of the Photopolymer Stamp Sets! The two latest ones are Map It Out and Greetings From. There is also a special Halloween set! It’s a completely clear stamping option you are going to love!

Thinlits Card Dies! A fast and easy way to make a flip fold card! Available August 1st! Click here for the PDF.
Paper Players 166

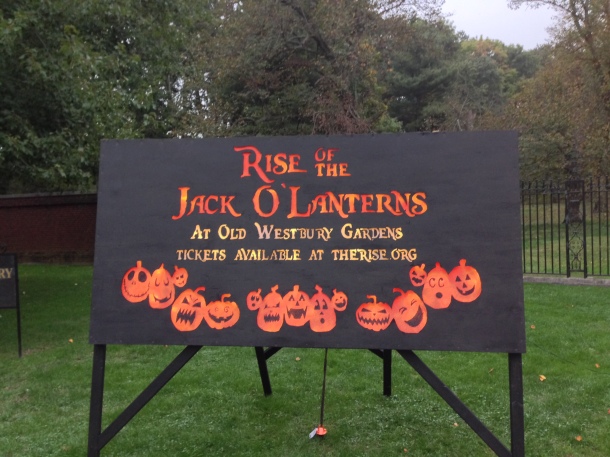
And there goes another weekend, so fast! I had a great weekend and hope you did too. Yesterday it was gloomy so I crafted in the morning and then went with a friend of mine to see the Rise of the Jack-O-Lanterns at Westbury Gardens. I have to say that it was pretty neat! It starts at 7:00pm, with groups going through every 15 minutes and you can take your time and linger. It’s also pretty cool because at the end there is a walk through a completely overgrown path and then a nice walk along the pond. I took a bunch of pictures and I have a few to share with you. A nice bonus was that I got to see my Sandy who was there with some of her family!

The first one is the really neat sign that they have at the entrance.

Rise Sign

The next one is a really cool Edward Scissorhands made from a bunch of pumpkins.

Rise Burton

Up next is a really cool city scene complete with a set of subway cars.

Rise City

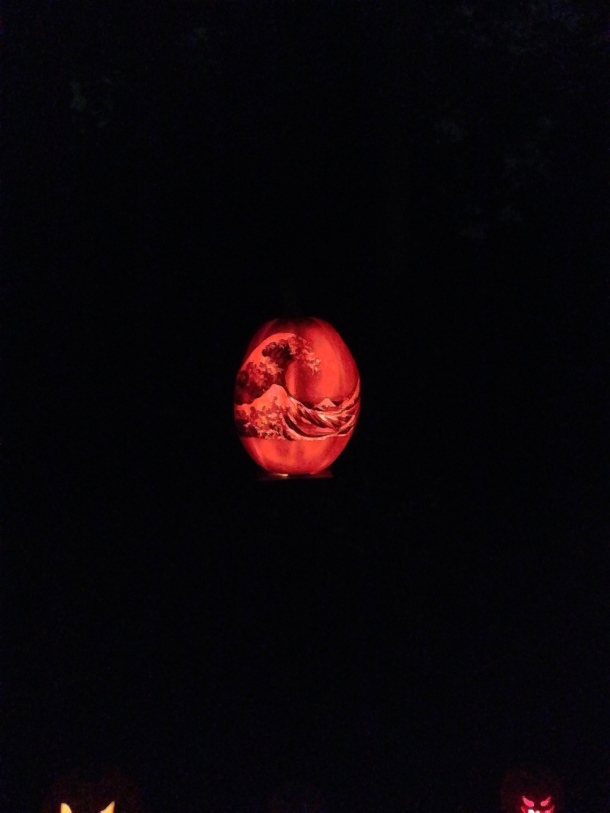
This last one I just thought was so cool, it is a very realistic wave.

Rise Wave

Now those were some pretty awesome pumpkins! I wish I would have brought a camera so I could have zoomed in to get a little closer but I’m so use to taking pictures with my iPhone I never think about a camera!

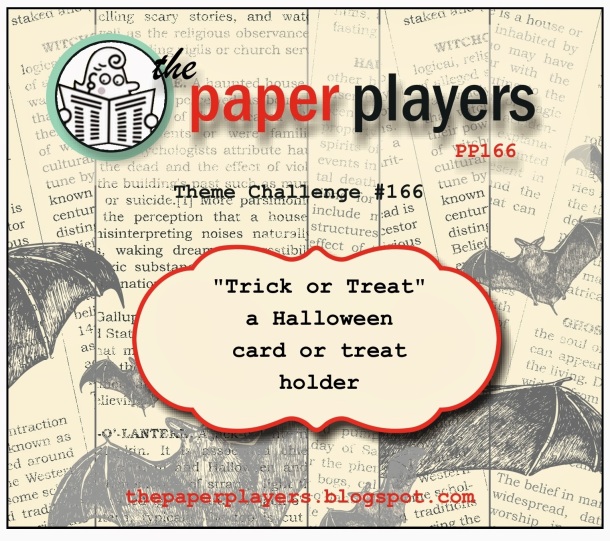
It’s Monday which means it’s time for this week’s Paper Players challenge. This week we have a fun Halloween theme challenge from the lovely Nance…

Paper Players #166

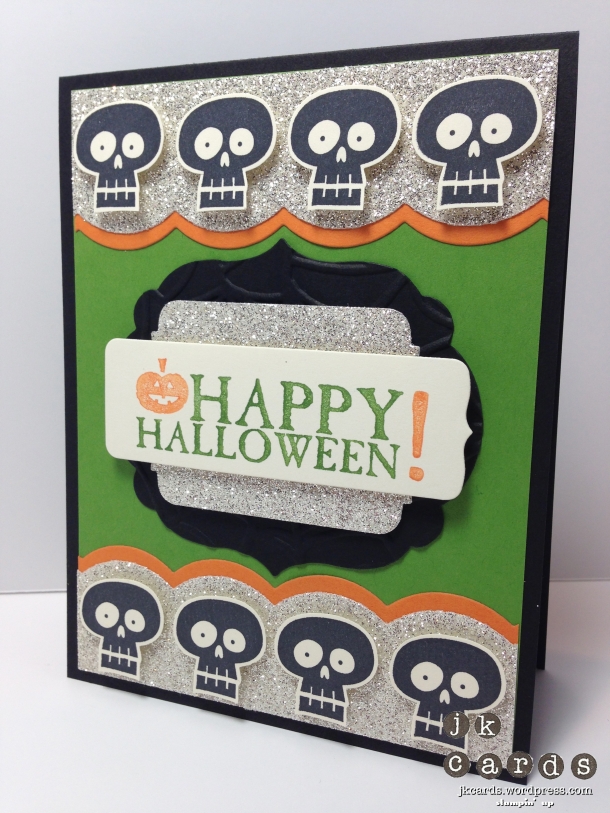
I was going to do the treat holder but then I was possessed by the need to make a Halloween card with Gumball Green! The base of the card is Basic Black Card Stock and the background is a piece of Gumball Green. For the top and bottom of the card I cut out some Silver Glimmer Paper and Pumpkin Pie with the Large Scallop Edgelit Die and layered them. My fun little skulls are from the Halloween Hello Stamp Set and are stamped in Jet Black Staz-On and cut out with my Paper Snips. Some Stampin’ Dimensionals hold them securely to the Glimmer Paper. The greeting is from the Seasonal Sayings Stamp Set (which is a carry-over from last year’s Holiday Catalog) and is markered in Gumball Green and Pumpkin Pie. I used the Chalk Talk Framelits Dies to cut it out and another piece of Silver Glimmer Paper. Under that is a piece of Basic Black that I cut out with the Labels Collection Framelits Dies and embossed it using the “Vintage” Spider Web Textured Impressions Embossing Folder. I love Gumball Green for a Halloween card and the Glimmer Paper and the skulls are just fun! Thank you very much for stopping by to see my Paper Players card for this weeks Halloween theme challenge from Nance. Have a bearable Monday peeps! 🙂

Paper Players 166

Stampin’ Up! products used:

Card Stock: Basic Black, Gumball Green, Pumpkin Pie and Very Vanilla

Specialty Paper: Silver Glimmer

Specialty Ink: Jet Black Staz-On

Markers: Gumball Green and Pumpkin Pie Stampin’ Write

Stamp Sets: Seasonal Sayings and Halloween Hello Clear Mount

Framelits: Chalk Talk and Labels Collection

Edgelits: Large Scallop

Embossing Folder: Spider Web (Vintage)

Tools: Big Shot, Multi-Purpose Glue, Stampin’ Dimensionals and SNAIL

Seasonal Sayings CM

Halloween Hello CM

Chalk Talk Framelits

Labels Collection Framelits Dies

Large Scallop Edgelits Die

Silver Glimmer Paper

Current Promotions:

Need some cards quicky? Stampin’ Up! has a brand new kit that allows you to create 20 cards, all you need is some adhesive and you’re all set. Click here for the Everyday Occasion Card Kit!

Make your own stamp! New Undefined stamp carving kit. Available now! Click here for the PDF.

Check out all of the Photopolymer Stamp Sets! The two latest ones are Map It Out and Greetings From. There is also a special Halloween set! It’s a completely clear stamping option you are going to love!

Thinlits Card Dies! A fast and easy way to make a flip fold card! Available August 1st! Click here for the PDF.
Fab Friday and a Fabulous Friday!

Hello my friends! How are you? I am fantastic! As you know I took a little trip on Thursday night. I was a somewhat evasive about my destination, just for a little fun. My trip took me on a Delta flight to Atlanta, GA. I came to visit an amazing friend of mine… Mr. Brian King! We spent the morning yesterday at Historic Banning Mills doing the canopy tour. We had a great time on the ZIp-Line tour, flying high above the trees (about 300 feet!). After some lunch we came back and spent some time in the Fungeon! Below are some pictures from the Zip-Line Tour… IMG_1876

Me and Brian!

IMG_1874

There I am!

IMG_1857

There’s Brian!

IMG_1860

The view from the top!

IMG_1869

Brian and me with our amazing and funny guides Ross and Tate!

I had an amazing day with my awesome friend, definitely a Fab Friday! Which brings me to today’s post which is for this week’s Fab Friday

Fab Fri 27 Sketch 9-20-2013

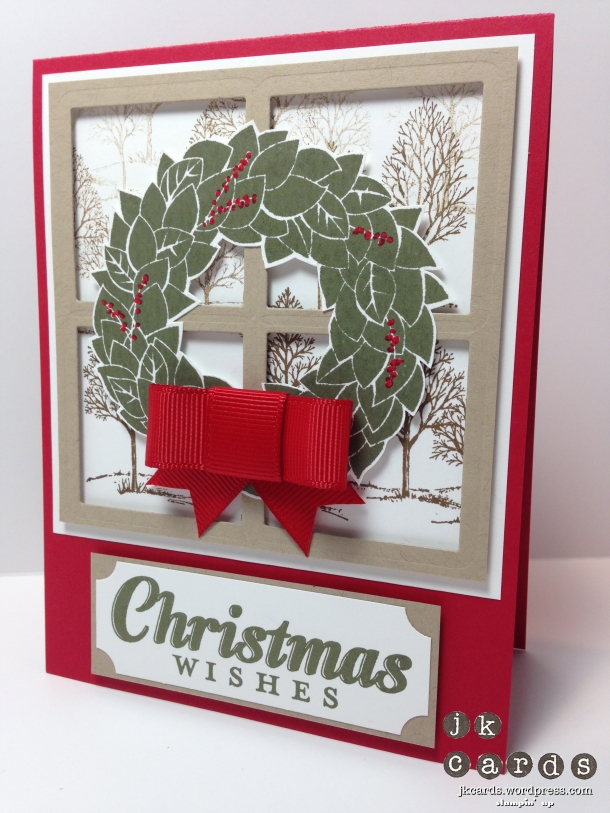
Do you see what I see… a window! The base of my card is Real Red Card Stock. I took a piece of Crumb Cake and used my Squares Collection Framelits Dies to cut out the window. The “scene” through the window is created using the Lovely as a Tree Stamp Set stamped in Soft Suede. I inked the stamp once and stamped it four times to give it some depth. Some Stampin’ Dimensional pieces adhere the window to the trees. The Wonderful Wreath Stamp is stamped in Always Artichoke and cut out with my Paper Snips. Yes, I have cut that wreath out a lot! I used my Real Red Stampin’ Write Marker to color in the berries and a piece of “Vintage” Real Red 5/8″ Grosgrain Ribbon “tied” in a bow completes the wreath. The greeting is from the Joy to the World Stamp Set and is stamped in Always Artichoke and backed with a piece of Crumb Cake. I ticked the corners before I adhered them together. You can never have enough Christmas cards and I have a pretty good stash going already! Go and take a look at the Fab Friday Blog and see what fun creations my teammates have come up with. Thank you very much for stopping by to see my Fab Friday Design Team card and sharing in my fun adventures with Brian. Have a great Saturday! 🙂 Fab Friday 27

Stampin’ Up! products used:

Card Stock: Real Red, Whisper White and Crumb Cake

Ink: Always Artichoke and Soft Suede Classic

Stampin’ Ink Marker: Real Red Stampin’ Write

Stamp Sets: Joy to the World and Lovely as a Tree Clear Mount and Wonderful Wreath Wood Mount

Framelits: Squares Collection

Punch: Ticket Corner Punch (Vintage)

Embellishments: Real Red 5/8″ Grosgrain Ribbon

Tools: Big Shot, Paper Snips, Sticky Strip, Stampin’ Dimensionals and SNAIL Joy to the World CM Wonderful Wreath WM Lovely As a Tree WM Squares Collection Framelits

Paper Players 163

How was the weekend? Mine… not too bad. I went into Manhattan yesterday to see a friend, it was a beautiful day. Still a bit crisp but it did warm up. I think this is my favorite time to be in the city, you can walk around with overheating. I came home and did some puttering in the craft area, picked up my daughter from work and ran some errands. Monday, you just come way too fast!

My post for today is for this week’s Paper Players challenge. This time around Anne Marie has given us a CAS for the kids challenge…

Paper Players #163

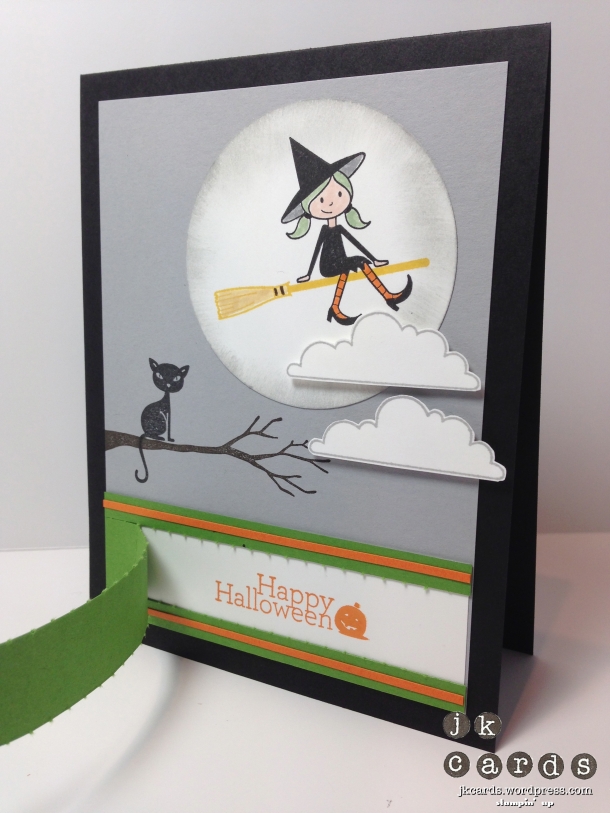
I have had this idea in my head for a little bit and I thought this would be the perfect time to try it out. The base of my card is Basic Black Card Stock. The background is a piece of Smoky Slate. All of the images on the top half of the card are from the “Vintage” Out on a Limb Stamp Set. The branch, stamped in Early Espresso, and the cat, stamped in Basic Black, are stamped directly onto the background. The super cute little witch is stamped in Basic Black and colored in with my Blush Blossom, Pumpkin Pie and Pistachio Pudding Stampin’ Write Markers. I used Crushed Curry to stamp the broom and colored it in with So Saffron. She is then punched out with the 2 1/2″ Circle Punch and the edges are sponged in Smoky Slate. The two clouds are stamped in Smoky Slate and cut out with my Paper Snips. On to the idea part of my card. I stamped the greeting from the Delightful Dozen Stamp Set in Pumpkin Pie. Using my Stampin’ Trimmer and the Rotary attachment I cut a piece of Gumball Green with the Perforating Stampin’ Trimmer Rotary Cutting Blade and used some Sticky Strip to adhere it over the greeting. The spider web is from the “Vintage” Spooky Bingo Bits Stamp Set and the “pull” is stamped with the Designer Typeset Photopolymer Stamp Set in Pumpkin Pie. Now here comes the fun part, you pull open the top to reveal the greeting underneath! What kid (or adult for that matter) wouldn’t want to do that?! Pretty cool huh?! Oh yes, there will be more of these!! Thank you very much for checking out my Paper Players card for this week’s CAS for the kids challenge from Anne Marie. I appreciate your visit and hope you have a zippy day! 🙂

Paper Players 163

Paper Players 163

Stampin’ Up! products used:

Card Stock: Basic Black, Smoky Slate, Whisper White, Gumball Green and Pumpkin Pie

Ink: Basic Black, Early Espresso, Pumpkin Pie and Crushed Curry Classic Stampin’ Ink

Stampin’ Write Markers: Blush Blossom, Pumpkin Pie, Pistachio Pudding and So Saffron

Stamp Sets: Out on a Limb (Vintage), Spooky Bingo Bits (Vintage) and Delightful Dozen Clear Mount

Punch: 2 1/2″ Circle Punch

Tools: Stampin’ Trimmer, Perforating Stampin’ Trimmer Rotary Cutting Blade, Paper Snips, Stamp-a-ma-jig, Sticky Strip, Stampin’ Dimensionals and SNAIL

Out on a Limb CM

Spooky Bingo Bits

Delightful Dozen

Perforating Stampin’ Trimmer Rotary Cutting Blade

2 1:2%22 Circle Punch

Current Promotions:

Butterfly Bundle – get the Papillon Potpourri Stamp Set and the Bitty Butterfly Punch for a special price now through September 30, 2013!

Paper Pumpkin! Get your first two months for only $10! Click HERE to sign up!

Make your own stamp! New Undefined stamp carving kit. Available now! Click here for the PDF.

Check out all of the Photopolymer Stamp Sets! The latest one is Another Thank You. It’s a completely clear stamping option you are going to love!

Thinlits Card Dies! A fast and easy way to make a flip fold card! Available August 1st! Click here for the PDF.
Paper Craft Crew 57

Wow! Wednesday already! Missing that Monday is just the best isn’t it? I had a nice day at work today, got a lot checked off my to-do list. Came home and tinkered at the craft desk for a bit. I got a lot of my stuff done over the weekend so it’s nice to just sit and mess around with ideas and see what happens. I do end up with lots of pieces, but they will eventually make it on to something. The weather here was rainy and overcast with some humidity thrown in for good measure. Last night it started to feel a little more pleasant, we might even be able to have the windows open again!

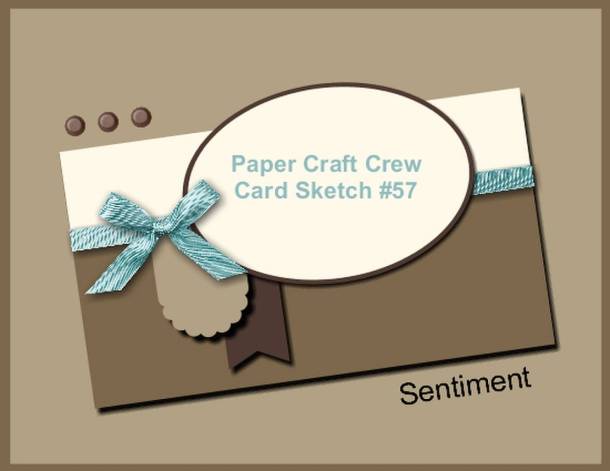
Today, being Wednesday, means it’s time for this week’s Paper Craft Crew challenge. This week we have a tilted sketch for you…

PCCCS057 9-04-2013

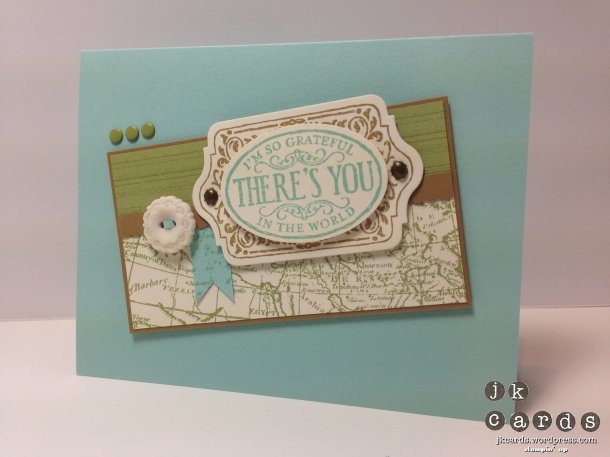
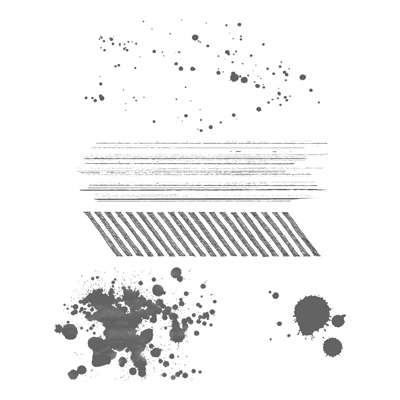
I kept pretty true to the sketch this time, just changing up the main shape a bit. The base of the card is Pool Party Card Stock, I left it plain so the middle panel would really stand out. Speaking of the middle panel, The top half is a piece of Pear Pizzaz stamped with the Gorgeous Grunge Stamp Set in Pear Pizzaz. My World Map Stamp is stamped in Pear Pizzaz for the bottom half and across the middle is some Baked Brown Sugar that I cut with the new Stampin’ Rotary Trimmer and the Small Scallop Blade. I mounted it all to a piece of Baked Brown Sugar.  A little piece of Pool Party that I flagged and stamped with the Notable Notions Stamp Set is tucked under the scallop. The main images are from the Chalk Talk Stamp Set. The top one is stamped in Pool Party and punched out with the Extra Large Oval Punch. The bottom one is stamped in Baked Brown Sugar and cut out with the Chalk Talk Framelits Dies. Two “Vintage” 3/16″ Metallic Brads are on either side. A very Vintage Designer Button with some Pool Party Card Stock threaded through and three Subtles Candy Dots complete the card. I really love the World Map Stamp and the colors on the card are really neat. Thank you very much for stopping by to see my Design Team card for this week’s Paper Craft Crew sketch challenge. Head on over to the blog to see the projects my teammates have come up with. Don’t forget to enter one of your creations in the gallery too! Have a wonderful Wednesday!

PCCCS057

Stampin’ Up! products used:

Card Stock: Pool Party, Baked Brown Sugar, Pear Pizzaz and Very Vanilla

Ink: Pear Pizzaz, Pool Party and Baked Brown Sugar Classic Stampin’ Ink

Stamp Sets: Chalk Talk, Gorgeous Grunge, Notable Notions and World Map Clear Mount

Framelits: Chalk Talk

Punch: Extra Large Oval

Embellishments: Very Vintage Designer Buttons, Subtles Candy Dots and 3/16″ Metallic Brads (Vintage)

Tools: Big Shot, Stampin’ Trimmer Rotary Addition, Small Scallop Rotary Blade, Paper-Piercing Tool, Stampin’ Dimensionals and SNAIL

Chalk Talk CM

Geourgeous Grunge CM

Notable Notions CM

World Map Background Stamp CM

Chalk Talk Framelits

Extra Large Oval Punch

Small Scallop Rotary Cutting Blade

Subtles Candy Dots

Very Vintage Designer Buttons

Brads Metallic 3:16

Current Promotions:

Butterfly Bundle – get the Papillon Potpourri Stamp Set and the Bitty Butterfly Punch for a special price now through September 30, 2013!

Paper Pumpkin! Get your first two months for only $10! Click HERE to sign up!

Make your own stamp! New Undefined stamp carving kit. Available now! Click here for the PDF.

Check out all of the Photopolymer Stamp Sets! The latest one is Another Thank You. It’s a completely clear stamping option you are going to love!

Thinlits Card Dies! A fast and easy way to make a flip fold card! Available August 1st! Click here for the PDF.
Mojo 309

Ahh… Tuesday already! How was your three day weekend? Mine went exceptionally quickly but I guess that’s because I had a lot going on which is a good thing. Yesterday I spent a lot of time at the craft desk, it was dreary and muggy here almost all day. I got some projects finished, started some new ones and just played for a bit. I did make the mistake of venturing out to BJ’s at one point and it was a mad house. My friend Sandy said that Staples was the same. That’s because everyone just remembered that school starts tomorrow! LOL! Last minute is always the worst idea but we are all guilty of it. This week will be a good week, mainly because it’s a four day week! Woo hoo! 🙂

Today I have my Mojo Monday sketch card for you. The sketch we have this week is provided by Julee Tilman…

Mojo309

My card starts off with a base of Basic Black Card Stock. The background is the “Vintage” Lacy Brocade Textured Impressions Embossing folder from last year’s Holiday Catalog in Pumpkin Pie. I thought that it went really well with the Witches’ Brew Designer Series Paper that I used on both of the panels. Each of them are backed with some Basic Gray and adhered with Stampin’ Dimensionals. The greeting is from the Tags 4 You Stamp Set and is punched out with the Bracket Label Punch. A piece of Basic Black that I flagged on both ends goes behind it. A Pumpkin Pie Brights Designer Button with a Basic Glimmer Brad in the center completes the card. So what do you think, doesn’t the Lacy Brocade Folder look neat with the DSP?! I wish they would never retire the embossing folders, you can never have too many of them! Thanks for stopping by to see my card for this week’s Mojo Monday Sketch challenge. Enjoy the start of your four day week! 🙂

Mojo 309

Stampin’ Up! products used:

Card Stock: Basic Black, Pumpkin Pie, Basic Gray and Very Vanilla

Designer Series Paper: Witches’ Brew

Ink: Pumpkin Pie Classic Stampin’ Ink

Stamp Set: Tags 4 You Clear Mount

Embossing Folder: Lacy Brocade (Vintage)

Embellishments: Bright Designer Buttons and Basic Glimmer Brads

Punch: Bracket Label Punch

Tools: Big Shot, Mini Glue Dots, Stampin’ Dimensionals and SNAIL

Tags 4 You CM

Witches' Brew DSP

Bracket Label Punch

Brights Designer Buttons

Basic Glimmer Brads

Lacy Brocade Embossing Folder

Current Promotions:

Butterfly Bundle – get the Papillon Potpourri Stamp Set and the Bitty Butterfly Punch for a special price now through September 30, 2013!

Paper Pumpkin! Get your first two months for only $10! Click HERE to sign up!

Make your own stamp! New Undefined stamp carving kit. Available now! Click here for the PDF.

Check out all of the Photopolymer Stamp Sets! The latest one is Another Thank You. It’s a completely clear stamping option you are going to love!

Thinlits Card Dies! A fast and easy way to make a flip fold card! Available August 1st! Click here for the PDF.
Paper Craft Crew 55

Hello peeps! Welcome to Wednesday! How is your week going so far? Mine is super busy, between work and home I need a few more hours in the day please! Thanks for the comments on the Control Freaks Blog Tour from yesterday! I’m so happy that you enjoyed the projects, they were a lot of fun to make. I also saw that Stampin’ Up! repinned my one layer card from Monday! Woo hoo! That was a very nice surprise. 🙂

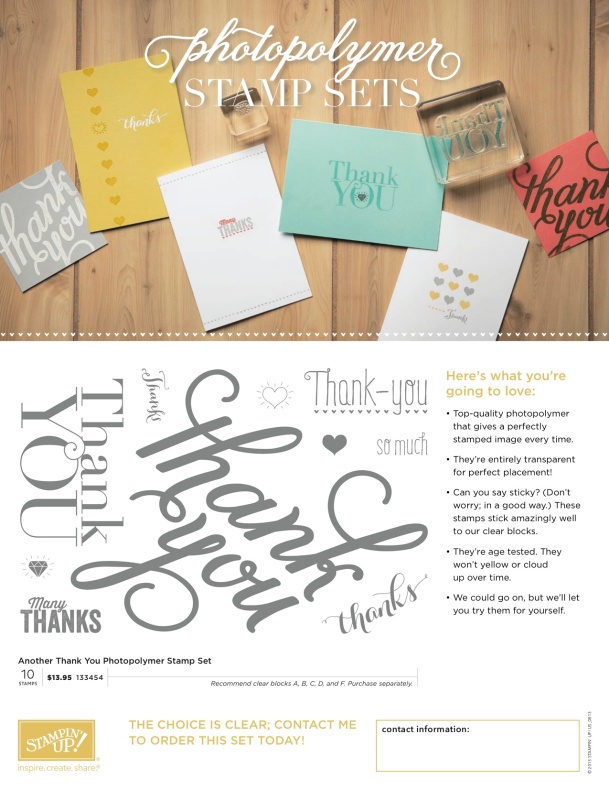
I almost forgot to tell you about the new Photopolymer Stamp Set that was recently released by Stampin’ Up! It’s called Another Thank You and it has some really great thank you’s in it. There is also this really cool one that covers a whole card front! You can see it below and If you want a PDF click here.

Flyer_photopolymer_Aug1513_US

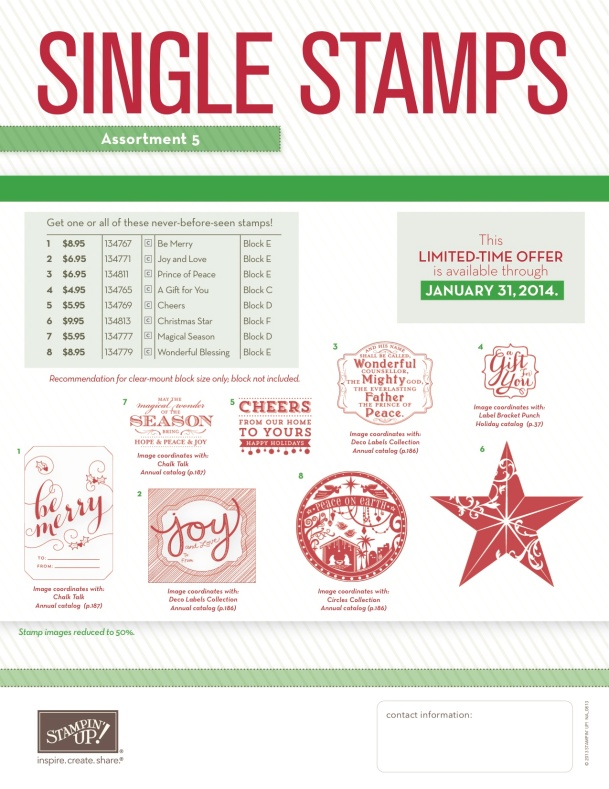
In addition to the new Photopolymer Set we have some new SIngle Stamps for the Holidays. There are eight including some that coordinate with Punches and Framelits along with a large star that I think is really cool! You can see the flyer below and click here for a PDF of it.

Flyer_SingleStamps5_Aug1213_NA

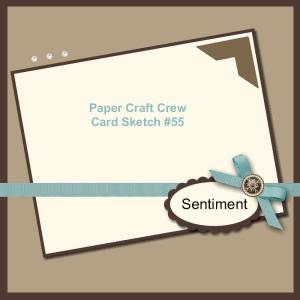
Today I have my Paper Craft Crew Design Team card for this week’s sketch challenge…

PCCCS055 8-21-2013

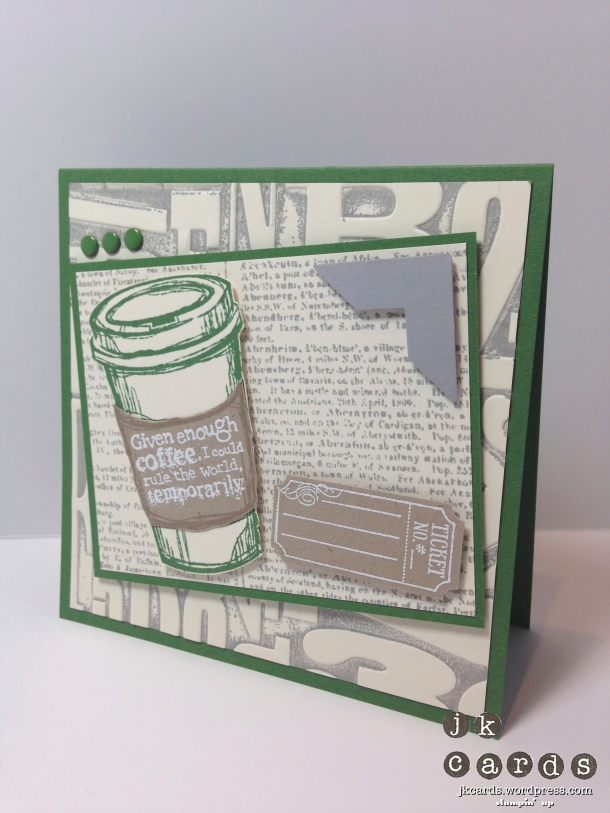
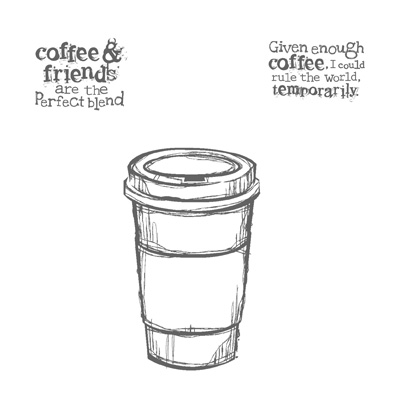
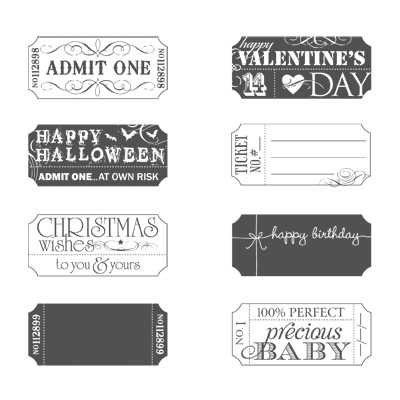
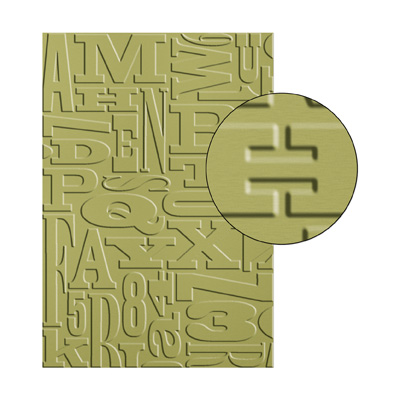
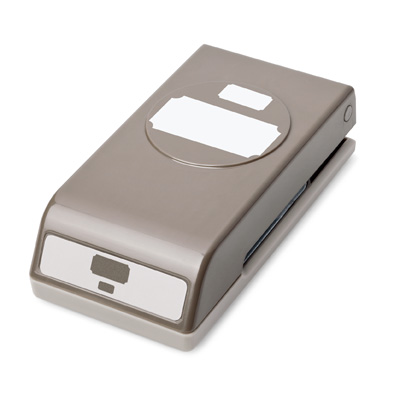
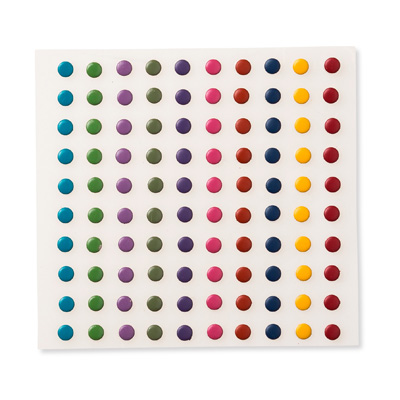
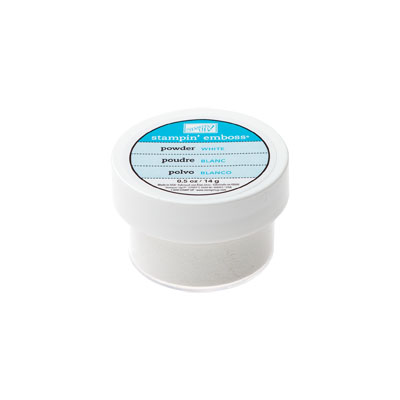
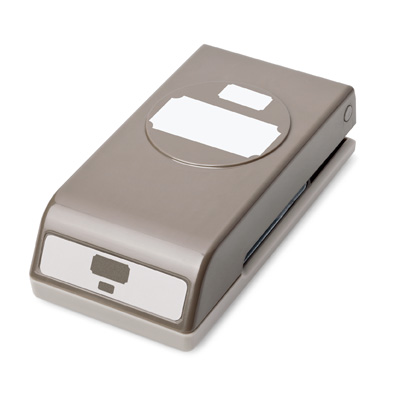
I’m liking the slightly askew look lately. You would think it would be easier that putting things on straight but I don’t find that to be the case! The base of my card is Garden Green Card Stock. I inked up the Alphabet Press Textured Impressions Embossing Folder with my Brayer and some Smoky Slate Ink. After I ran it through the Big Shot it had a really nice weathered look to it. The main panel is the Dictionary Background Stamp stamped in Smoky Slate and backed with a piece of Garden Green. I stamped the coffee cup from the Perfect Blend Stamp Set in Garden Green and cut it and the sleeve that is stamped in Crumb Cake on Crumb Cake and heat embossed with White Stampin’ Emboss Powder out. The ticket is from the That’s the Ticket Stamp Set and is also heat embossed and punched out with the Ticket Duo Builder Punch. The little corner is punched out with the “Vintage” Photo Corner Punch. All of the elements are adhered with Stampin’ Dimensionals. Three Regals Candy Dots complete the card. I really love the way the inked embossing turned out and will definitely do that again! Thank you so very much for taking some time to come by and see my Paper Craft Crew Design Team card for this week’s sketch. Head on over to the blog and see what my other teammates have done. Don’t forget to enter one of your creations for us to see! Have a very enjoyable Wednesday!

PCCCS055

Stampin’ Up! products used:

Card Stock: Garden Green, Smoky Slate, Crumb Cake and Very Vanilla

Ink: Smoky Slate and Garden Green Classic Stampin’ Ink

Specialty Ink: Versa Mark

Stamp Sets: Perfect Blend, That’s the Ticket and Dictionary Background Clear Mount

Embossing Folder: Alphabet Press

Punches: Ticket Duo Builder and Photo Corner (Vintage)

Embellishments: Regals Candy Dots

Tools: Big Shot, Brayer, Stamp-a-ma-jig, Paper Snips, Stampin’ Dimensionals and SNAIL

Perfect Blend CM

That's the Ticket CM

Dictionary Background CM

Alphabet Press TIEF

Ticket Duo Punch

Regals Candy Dots

White Stampin' Emboss Powder

Current Promotions:

Paper Pumpkin! Get your first two months for only $10! Click HERE to sign up!

Make your own stamp! New Undefined stamp carving kit. Available now! Click here for the PDF.

Check out all of the Photopolymer Stamp Sets! The latest one is Another Thank You. It’s a completely clear stamping option you are going to love!

Thinlits Card Dies! A fast and easy way to make a flip fold card! Available August 1st! Click here for the PDF.
Catherine & Cathy Create 5 & Paper Craft Crew 53

Yes, you have read the title correctly. I have two Design Team Cards to post today so I have combined them into one post. I didn’t think that you would appreciate getting two emails from me today! Wednesday is my usual day to post my Paper Craft Crew card but Catherine & Cathy had a fun in the Garden challenge and I needed to play with my new Thinlits! You understand right?!?! I will also resume posting my Display Projects tomorrow as I thought three cards in one day was a little too much! On a side note, because you also know how I love to chat about the weather it was another beautiful day here today but they are saying definitely thundershowers tomorrow. Now we can get on to the business at hand!

Oh, one last thing before we get to the cards, I want to wish my friend Carolyn in Australia a very Happy Birthday! I hope you had a wonderful day!

My first card is my Catherine & Cathy Create Design Team card for this week’s In the Garden challenge…

CCC Challenge General Logo

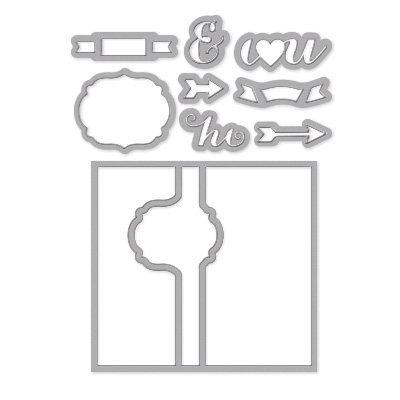
I could not wait to play with the new Thinlits Card Dies! I wanted to make a project similar to the one that Shelli showed us at Convention. The base of the card is Pear Pizzaz Card Stock. I used the Label Card Thilits Dies to cut it out and left the card stock out of the one side to make the card longer so I could fold over the right side.The paper is Afternoon Tea Designer Series Paper and I used the label that comes with the Thinlits to cut it so it lined up with the label on the card. The cut out greeting and the banner is also from the Thinlits set. I used the negative on the outside and the cut out on the inside. To hook the front I stamped a piece of Whisper White with the Paper Pumpkin Honeycomb Stamp in Crushed Curry and  cut out a piece of Crushed Curry with the Ovals Collection Framelits to back it. The bee is from the the Backyard Basics Stamp Set and is cut out with the coordinating Framelits. On the inside are two flowers from the Secret Garden Stamp Set cut out with their matching Framelits. The banner is created using some Whisper White Bakers Twine. I stamped the images from the Postage Collection Host(ess) Stamp Set and punched them out with the Ticket Duo Builder Punch. They are folded in half and strung across the bakers twine which is held to the card with two 3/4″ Circles. I LOVE the new Thinlits and can’t wait to see what other cool ways there are to use them! Head on over the the Catherine & Cathy Create blog to see inspiration from the other designers and add your card too!

CCC05 Closed

CCC05

CCC05 Open

Stampin’ Up! products used:

Card Stock: Pear Pizzaz, Crushed Curry and Whisper White

Designer Series Paper: Afternoon Picnic

Ink: Basic Black, Pear Pizzaz and Crushed Curry Classic Stampin’ Ink

Stamp Sets: Secret Garden, Backyard Basics, Paper Pumpkin and Postage Collection (Host(ess)) Clear Mount

Framelits: Backyard Basics and Secret Garden

Thinlits: Label Card

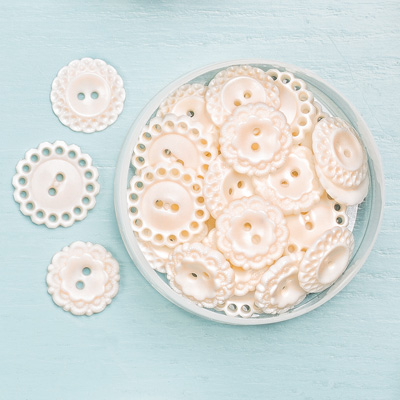
Punches: 3/4″ Circle and Ticket Duo Builder

Embellishments: Whisper White Bakers Twine

Tools: Big Shot, Sticky Strip and SNAIL

Secret Garden CM

Postage Collection Host CM

Label Card Thinlits Dies

Secret Garden Framelits

3:4%22 Circle Punch

Ticket Duo Punch

Now for my Design Team card for this week’s Paper Craft Crew

PCCCS053 7-31-2013

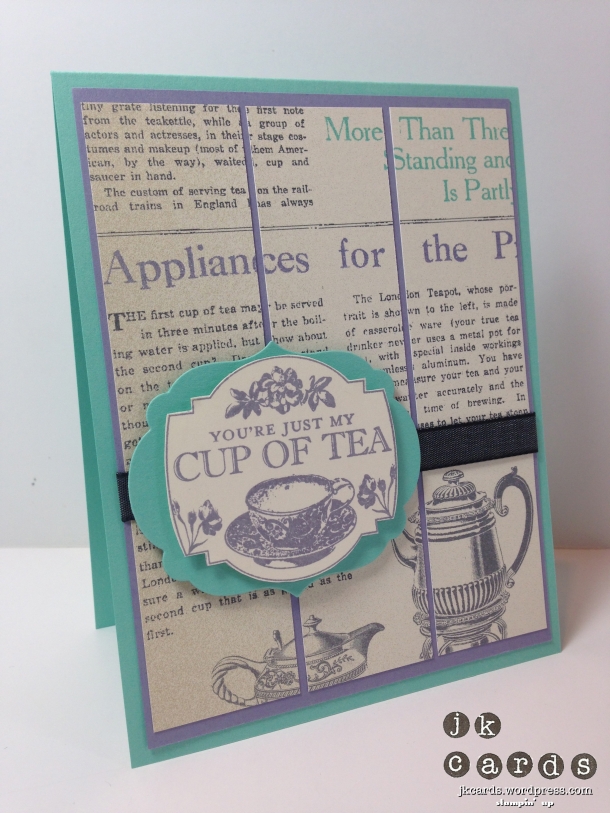
A nice simple sketch that just called for some print style paper. The base of the card is Costal Cabana Card Stock. I used a piece of Wisteria Wonder for a base to put my strips of Afternoon Picnic Designer Series Paper on for my background. A piece of “Vintage” Basic Gray 3/8″ Taffeta Ribbon goes around the lower middle of the card. The greeting is from the Tea Party Stamp Set and is stamped in Wisteria Wonder and cut out with my Paper Snips. I backed it with a piece of Costal Cabana that I cut out with the Labels Collection Framelits Dies. A fun simple card with a cool color combo. Head on over to the Paper Craft Crew blog to see the Design Team inspiration and enter your card in the gallery. Thank you so much for indulging me with my double DT post today. I hope you are inspired by the projects and that you enjoy your day!

PCCCS053

Stampin’ Up! products used:

Card Stock: Costal Cabana, Wisteria Wonder and Very Vanilla

Designer Series Paper: Afternoon Tea

Ink: Wisteria Wonder Classic Stampin’ Ink

Stamp Set: Tea Party Clear Mount

Framelits: Labels Collection

Embellishments: Basic Gray 3/8″ Taffeta Ribbon (Vintage)

Tools: Big Shot, Paper Snips, Sticky Strip, Stampin’ Dimensionals and SNAIL

Tea Party CM

Afternoon Picnic DSP

Labels Collection Framelits Dies

Current Promotions:

Paper Pumpkin! Get your first two months for only $10! Click HERE to sign up!

Make your own stamp! New Undefined stamp carving kit. Available now! Click here for the PDF.

Designer Series Paper – buy three and get one FREE until July 31st!

Check out all of the Photopolymer Stamp Sets! It’s a completely clear stamping option you are going to love!

Thinlits Card Dies! A fast and easy way to make a flip fold card! Available August 1st! Click here for the PDF.