Simple Merry & Type

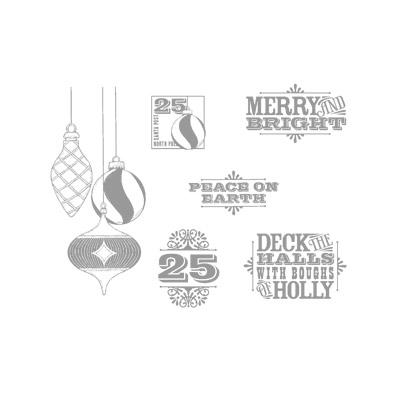
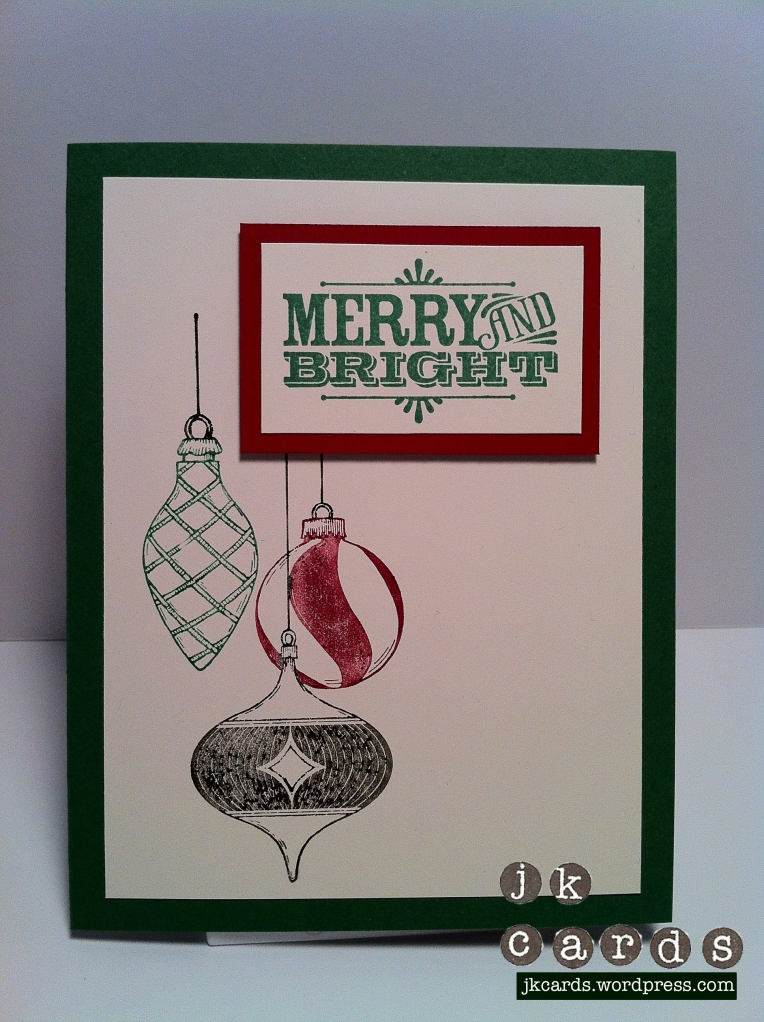
Good evening peeps. I hope that everyone had a nice weekend. Mine was busy but fun. I had a card making class with a group of friends today. It was a lot of fun and they made some really nice cards. I love when people make cards for the first time, it’s so much fun to see the layouts that they use and the look of accomplishment when they finish the first one. The card that I am posting today I made a few weeks ago. It’s a very simple card using just two stamps from the Merry & Type Stamp Set. I used markers to color in the ornaments and then just selected a greeting and matted it. The layout allows the ornaments to be the focal point of the card. I like the simplicity of it and hope you do too. Thanks for stopping by and have a great night!

Stampin’ Up! products used:

Card Stock: Garden Green, Cherry Cobbler and Very Vanilla

Ink: Garden Green

Stampin’ Write Markers: Cherry Cobbler, Garden Green and Early Espresso

Stamps: Merry & Type

Tools: SNAIL and Stampin’ Dimensionals

Gently Falling Birthday Box

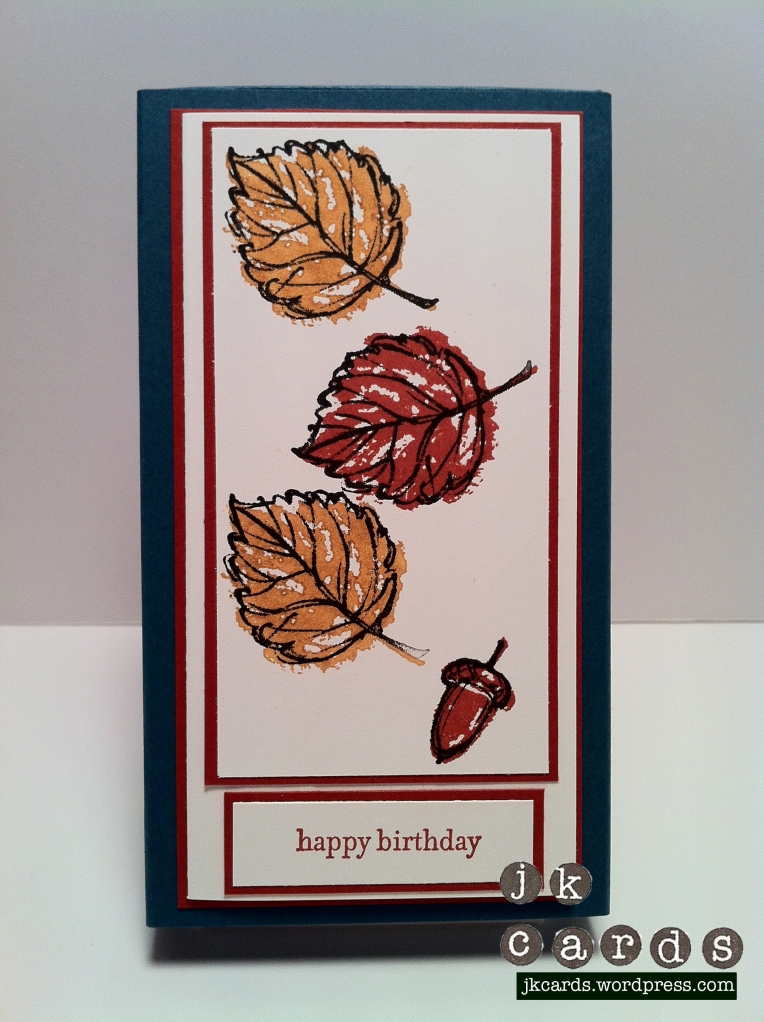
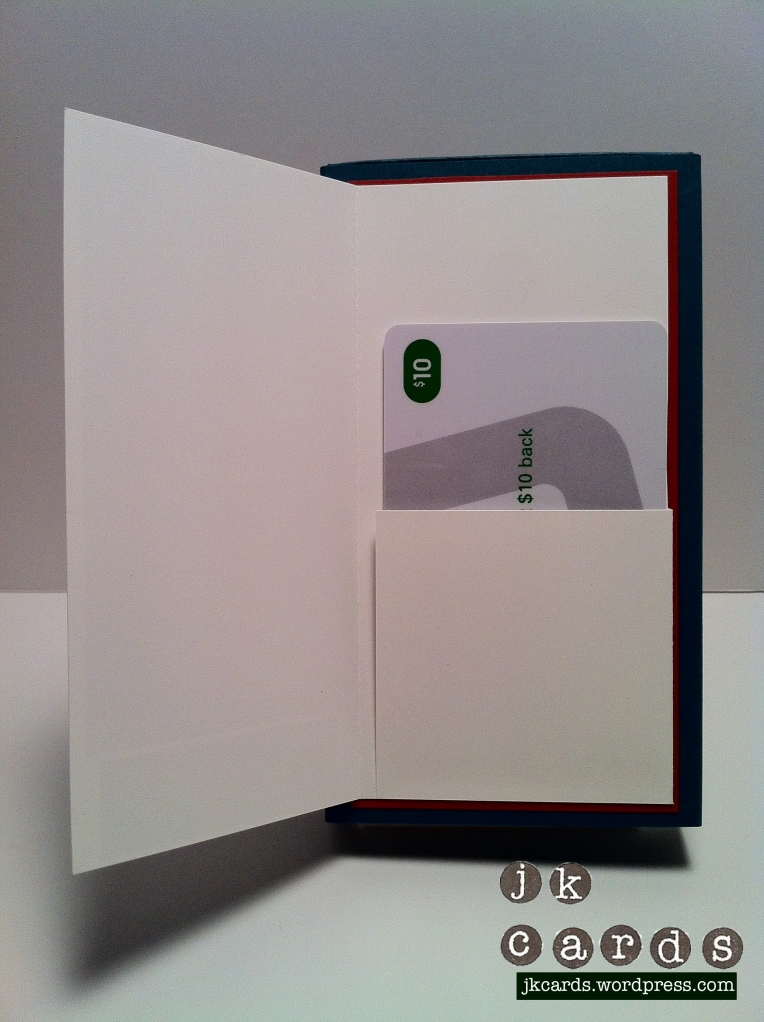
Good morning peeps! I was poking around on the Stampin’ Connection web site yesterday and I came across this tutorial to make a really neat box card that holds 10 Hershey Nuggets. It was done as a Christmas card with the Snow Much Fun stamp set but I have made a ton of Christmas cards so I thought I would change it up a bit. I used the Gently Falling Stamp Set that’s available in the Holiday Mini Catalog. I love this set, it’s so beautiful and versatile. I would like to thank the super talented and amazing Sandy Mathis for lending it to me. She has made scores of gorgeous cards with it and I’m going to get it for myself with my next order! I used some Not Quite Navy Smooth Card Stock to make the box. The ink is Basic Black, More Mustard & Cajun Craze. The images are stamped on Whisper White. I mounted the stamped images on Cajun Craze and the card was mounted again on Cajun Craze. There is also a gift card holder on the inside so it’s like three different items all wrapped up into one! It’s a clever idea and I want to thank Glenda Calkins for posting the tutorial. You can check out her blog here:

http://thestampcamp.com/blog/

Sandy Mathis’ blog can be found here:

http://www.stampwithsandy.com/

Don’t forget that today starts the Online Extravaganza Sale at Stampin’ Up! To order from the sale click on one of the Catalogs on the right to go to my online store or send me an email. Have a great day!

Stampin’ Up! supplies used:

Card Stock: Whisper White, Cajun Craze and Not Quite Navy

Stampin’ Ink: Basic Black, Cajun Craze and More Mustard

Stamp Sets: Gently Falling and Teeny Tiny Wishes

Tools: Simply Scored, Paper Cutter, Sticky Strip and SNAIL

Sam’s Birthday

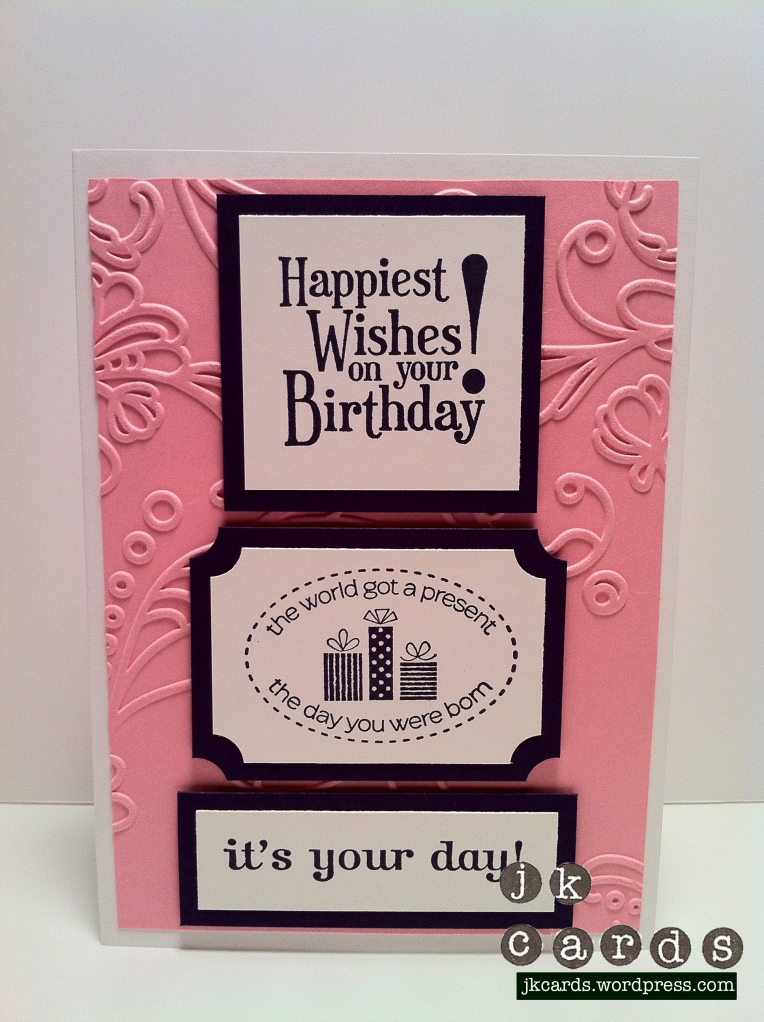
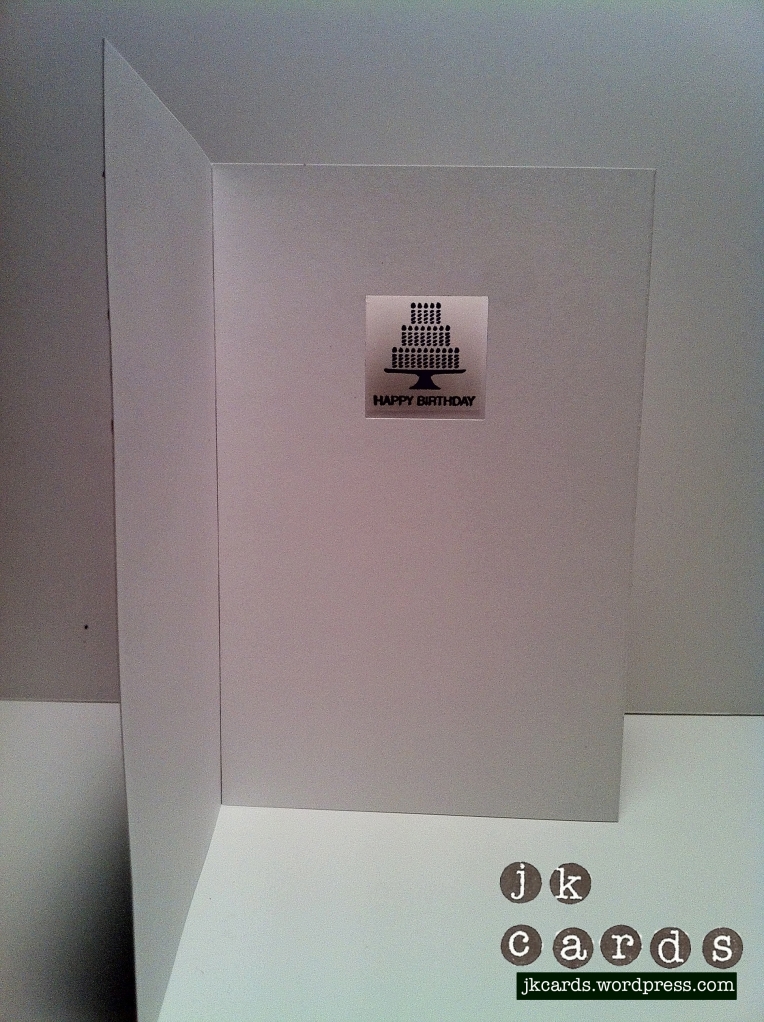
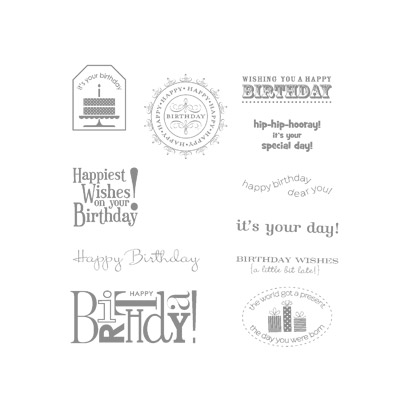
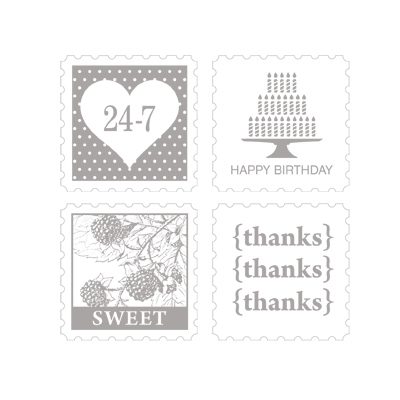
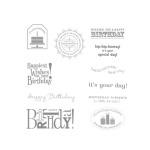
Yesterday was my friend Sam’s Birthday. She has finally left her 20’s and moved on into the next decade of her life. She is a dear friend and I have made a few cards for her. When I took out the envelope to give it to her yesterday she said “Oh, a homemade card!!”. When she opened it she said that she really liked it and the 3D window was cool. I used the Elegant Lines Textured Impressions Embossing Folder for the background. Three sentiments from The Happiest Birthday Wishes stamp set are perfect on the front. Inside I used the 1″ Square Punch from the Holiday Mini to punch out the window and then I Stamped the piece with Happy Birthday from Pretty Postage. I love the 3D window and will be making a few more cards using this technique. Thanks for stopping by and enjoy your day!

Noel Workshop

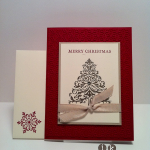
My good friend Chantal hosted a Workshop for me on Saturday night. When I placed my last order with Stampin’ Up! I ordered the Etoile de Noel Clear Mount stamp set because I like the Noel better than Christmas on the set. It just so happens that my friend Chantal is French so it worked out perfectly. The card that I came up with for the Make & Take is below. I used Cherry Cobbler Smooth Card Stock and Stampin’ Ink. The Holly Berry Bouquet Designer Series Paper is a beautiful set of papers that coordinate perfectly with the Pines & Poinsettias Stamp Set. The card is very simple but looks quite elegant. All of the attendees of the workshop enjoyed making the card and were very pleased with the way theirs came out. I had a great time and I’d like to thank Chantal for hosting the Workshop. I can’t wait for all of the people to get their supplies so they can make their own beautiful Christmas cards this year. Thanks for stopping by and have a great day!

Overseas Cards

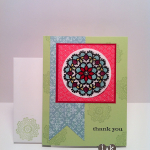
A good friend of mine, Chantal, recently went on a trip to Paris to see her family. She asked me if I would make a bunch of cards for her to take with her to give to them. I of course was thrilled. I love it when people like my cards, especially enough to take them international! So here are the cards that I made for her. Thanks to Chantal for being such a great friend and supporter! Thanks to you guys for taking a look and have a nice day!

Happy Birthday Sandy!

Today is my super talented, all around awesome fellow Stampin’ Up! Demonstrator and good friend Sandy’s birthday! She is a super nice person and a great teacher. I had to make an extra special birthday card for her. I like the tri-shutter cards because they are different and look cool when you open them and stand them up. I tried to match it a little to the dresser I made for her as an early present. I used the Stampin’ Up! Pretty Postage Clear Mount Set and the Postage Punch as well as the Retired Birthday Bliss Wood Mount Set punched out with the Large Tag Punch for the greetings. They were stamped in Marina Mist and Early Espresso Classic Stampin’ Ink. I love the color combination. You can visit Sandy’s blog here:

http://www.stampwithsandy.com/

Thanks for stopping by. Have a great day!

Izzy’s First Birthday!

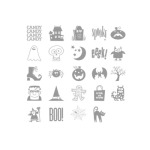
One of my closest friends, Kim, asked me if I would make the invitations for her daughter’s first birthday party. I of course was more than happy to do it. She came to a Workshop that I had with my friend Melissa and ordered the items that she wanted me to use. Being that Izzy’s birthday falls near October 31st she decided to go with a Halloween theme. She said that it will probably get tired after a few years but I think it would be so cool that if every year for your birthday everyone got dressed up, don’t you?! So here is the card I came up with. I think it’s very Halloween without being super creepy. I love the spider, he has spiked hair! He is on a window that when you lift it up it say “eeek!” underneath. The card ingredients are below. Thanks for looking and have a spooky fun day!

Stampin’ Up! Supplies Used:

Card Stock: Elegant Eggplant, Old Olive , Very Vanilla

Ink: Pumpkin Pie

Stamp Sets: Happiest Birthday Wishes & Spooky Bingo Bits

Techniques Workshop Take 2

Last night was my favorite night of the month! We went to our Techniques Workshop hosted by the super talented Sandy (stampwithsandy.com). For this class we covered three different techniques using heat embossing. The first one was just basic heat embossing using VersaMark and the gorgeous Stampin’ Up! Pewter Embossing Powder. The stamp set is from the Holiday Mini and is called Bright Hopes. It’s perfect for heat embossing because it has that regal look about it. The second project was Stained Glass. For this one we stamped onto Vellum with VersaMark and heat embossed with Black Embossing Powder. We then use the Stampin’ Up! Write Markers to color in the image. The stamp set is Delicate Doilies and is perfect for this technique. For our third project we did Emboss Resist. For this we used the Gently Falling stamp set from the Holiday Mini. First the Very Vanilla Card Stock was sponged with multiple colors and then stamped with VersaMark. We heat embossed using Clear Embossing Powder. To complete the effect we sponged on some Early Espresso and then went over the clear embossing with a paper towel. The effect is quite stunning. Pictures of all of the cards are posted below. I can’t wait for next month’s class!! Thanks, as always to Sandy and thanks for looking.

My First Workshop!

So tonight was the big night! LOL! I had my first Workshop. My good friend Melissa was kind enough to host the Workshop. It was a small gathering, Melissa, Kim (My BFF!), Linda (Melissa’s mom) and Gina (Melissa’s sister). We had a really nice time. The only complaint was that there was too much to choose from in the Idea Book & Catalog! That’s a good gripe if you ask me! I have posted some pictures of the card that I made for the Workshop below. The first one is the Thank You card I made for Melissa for being kind enough to host the Workshop. The second one is the Make & Take. The rest of them are just cards I made to show off some of the products. I think everyone had fun. I know that Gina filled out her Make & Take thank you card and sent it off to a friend. I think that might be a first!!

Melissa’s Thank You Card. 🙂 I used Whisper White, Early Espresso and Basic Black Smooth Card Stock. Brights Stack Designer Series Paper. Basic Black Stampin’ Pad. For All You Do Wood Mount Stamp Set. Owl Builder and Ticket Corner Punch. Stampin Dimensionals.

The Make & Take. Whisper White and Old Olive Smooth Card Stock. Brights Stack Designer Series Paper. Old Olive Stampin’ Ink. Kindness Matters and Pretty Postage Clear Mount Stamp Sets. Scalloped Trim Border and Postage Stamp Punches. Stampin’ Dimensionals.

For All You Do Wood Mount Set. Pumpkin Pie and Old Olive Stampin’ Ink. Whisper White, Pumpkin Pie and Old Olive Smooth Card Stock. Brights Stack Designer Series Paper. Stampin’ Dimensionals.
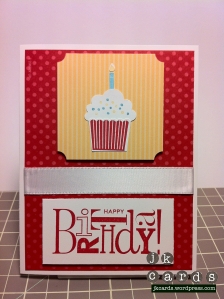
Whisper White Smooth Card Stock. Brights Stack Designer Series Paper. For All You Do Wood Mount and Delightful Dozen Stamp Sets. Real Red Stampin’ Ink. Marina Mist and Delightful Daffodil Stampin’ Write Markers. Cupcake Builder and Ticket Corner Punches. Whisper White Satin Ribbon. Stampin’ Dimensionals.

Whisper White, Basic Black, Old Olive, Real Red and Early Espresso Smooth Card Stock. Brights Stack Designer Series Paper. Delightsful Dozen Clear Mount Stamp Set. Real Red Stampin’ Ink. Owl Builder Punch. Stampin’ Dimensionals.

3 X 3 Tag Card. Whisper White Smooth Card Stock. Brights Stack Designer Series Paper. For All You Do Clear Mount Stamp Set. Real Red and Basic Black Stampin’ Ink. Ticket Corner Punch.
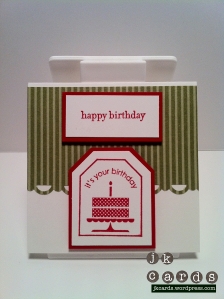
Whisper White and Real Red Smooth Card Stock. Brights Stack Designer Series Paper. Happiest Birthday Wishes Clear Mount Host(ess) Stamp Set. Real Red Stampin’ Ink. Scalloped Trim and Tag Punches.

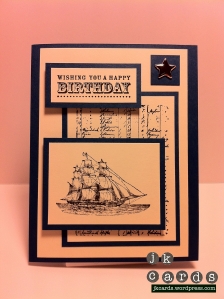
Maritime Birthday

Today was my good friend Brian’s birthday. He’s a really nice guy and will do anything for anyone. He a real manly man, being he’s a fireman and all! So, for his card I got to use one of my favorite Stampin’ Up! Sets, Open Sea. I love the detail in the stamps and the set has a nice masculine quality about it. The greeting is from the Happiest Birthday Wishes set. I’m huge fan of navy blue and vanilla card stock and those colors work well with this set. The silver star brad in the corner balances out the card front and gives it a little shine. Thanks for looking!