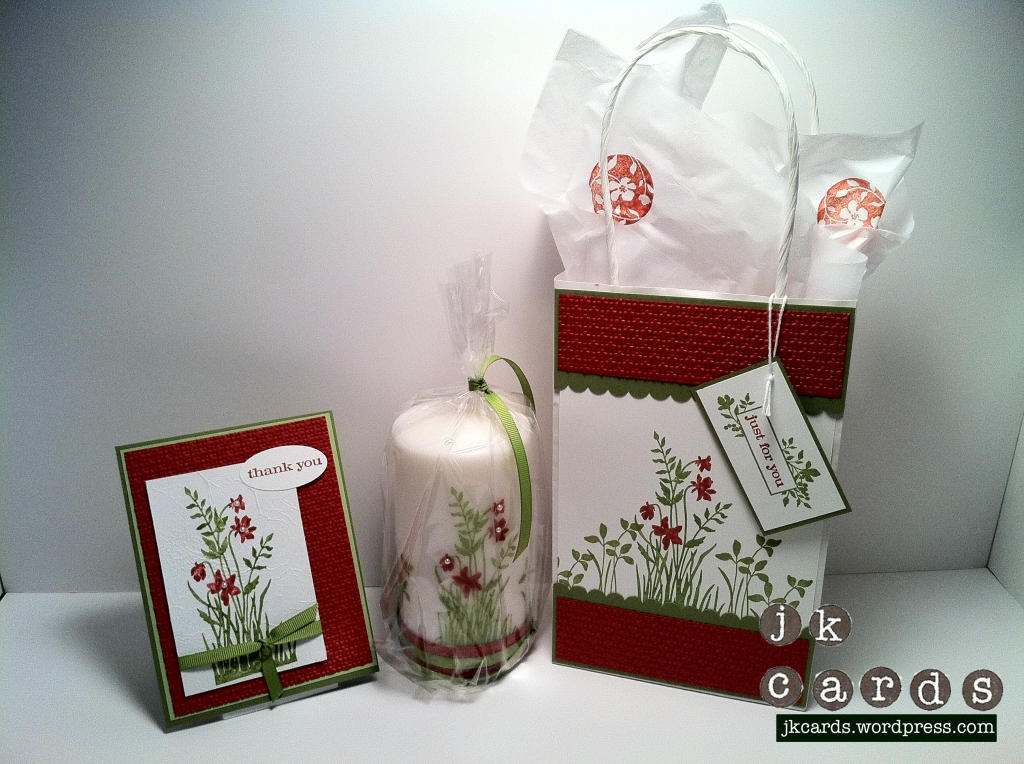
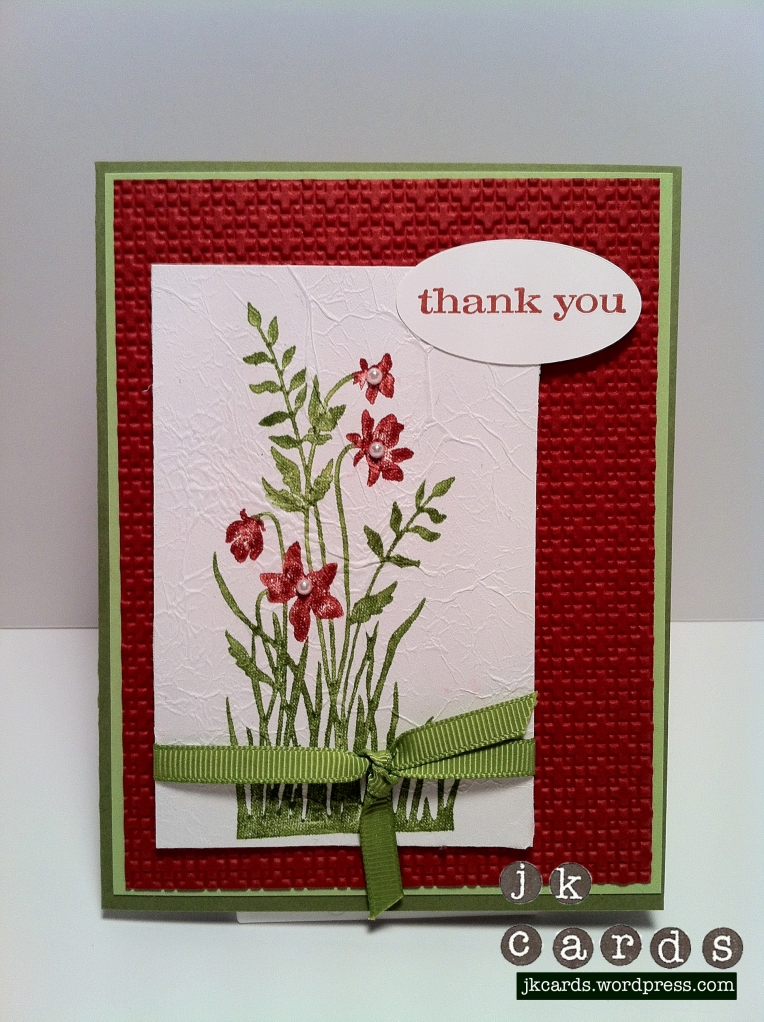
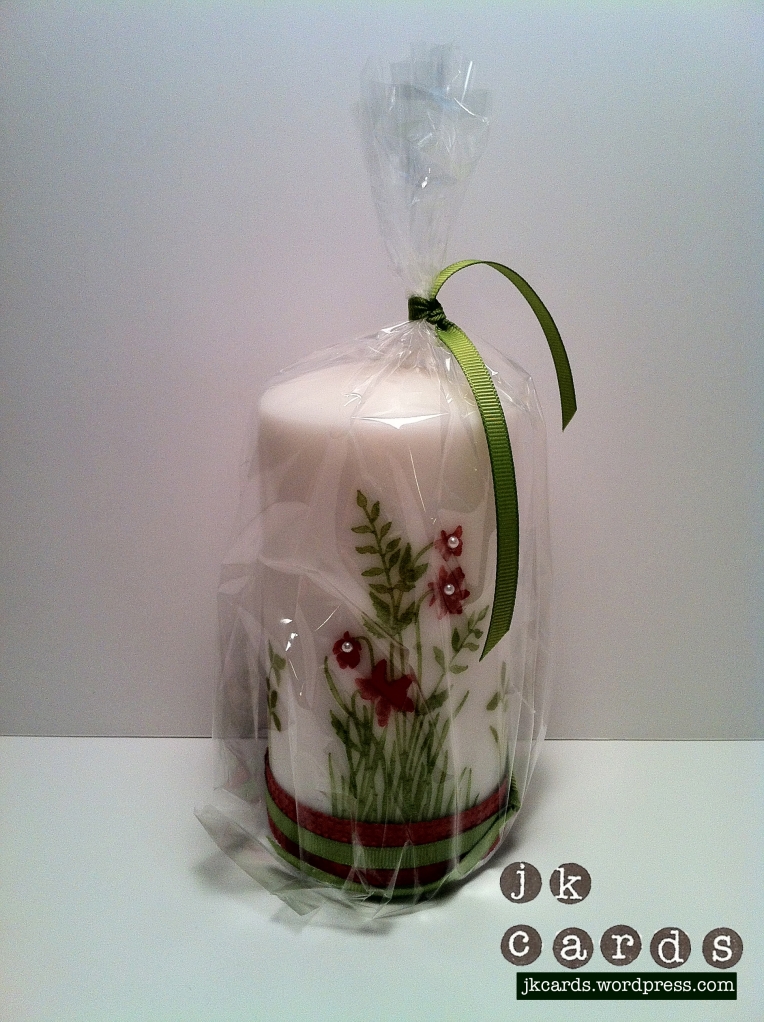
Last night was my favorite night of the month, Techniques Class! Sandy had a great trio of projects for us again last night. The theme of the class was tissue paper. We did a faux silk card which looks amazing, a stamped candle which looks so complicated but it’s really easy and a stamped tissue paper bag decorated to match the projects. We used a great Stampin’ Up! stamp set called Just Believe. It has 9 stamps, all of them beautiful. Card Stock colors are Cajun Craze, Old Olive, Certainly Celery and Whisper White. The ink was Cajun Craze and Old Olive. I love to learn new techniques and Sandy is a great teacher. We have an awesome time at the class and I can’t wait for next month! You can visit Sandy’s blog at www.stampwithsandy.com. Thanks for stopping by and have a great day!
Nature Walk Sahara Birthday
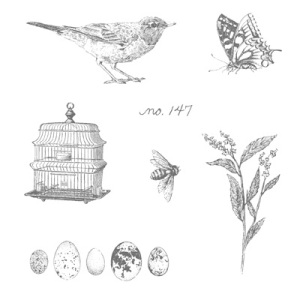
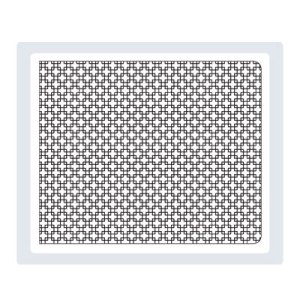
You can never have enough Birthday cards. I make them all the time and always need to make more. I recently acquired some new stamp sets. The Nature Walk set is so versatile because it comes with a bird, eggs, cage, bee, butterfly and plant. I love the vintage feel that the set has. I decided that I wanted to use Sahara Sand Card Stock with Very Vanilla. I forgot to get the Sahara Sand Stampin’ Pad but not to worry because I have the Neutrals Stampin’ Marker set. I use the marker to stamp technique and it worked great. I also used the Square Lattice Texture Impressions Embossing Folder. I think it keeps in line with the natural theme of the card. For a little bling I added 3 little pearls. I like the card so much that I’m going to make it in a bunch of different colors!I’ll post those as soon as I can. Thanks for taking a look and have a great day!
Stampin’ Up! products used:
Card Stock: Sahara Sand and Very Vanilla
Markers: Sahara Sand
Stamp Set: Nature Walk Clear Mount
Tools: Square Lattice Textured Impressions Embossing Folder, Stampin’ Dimensionals, SNAIL
PPA117 – CAS Element of Style – Ribbon
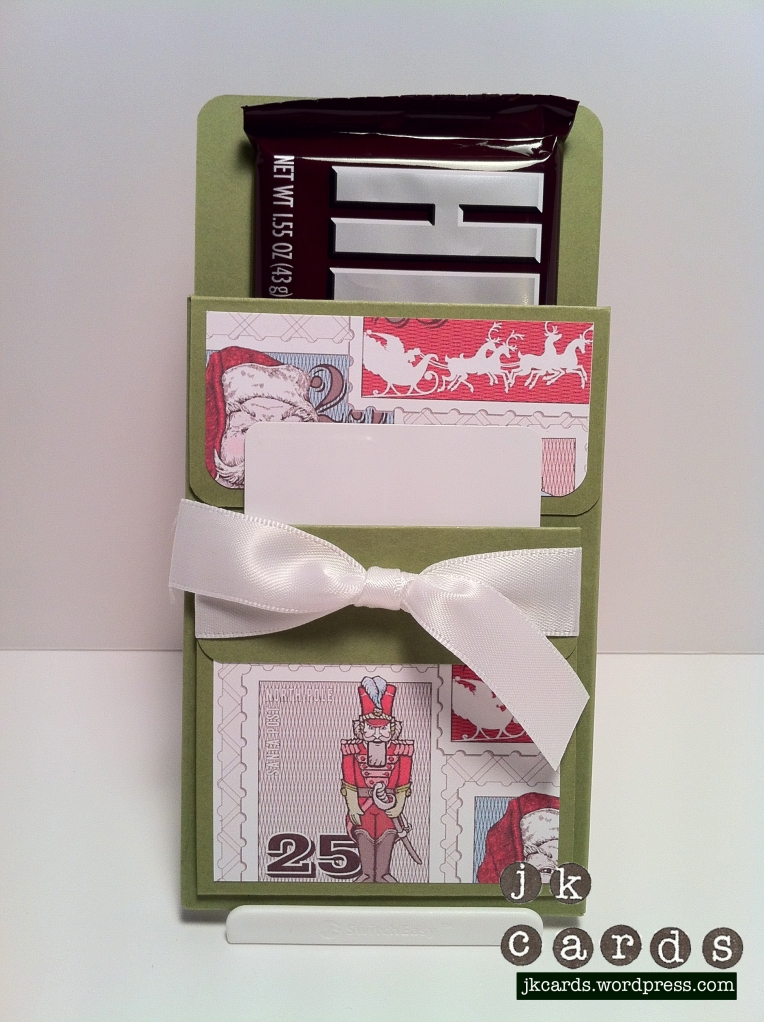
This weeks Pals Paper Arts Challenge is to use some ribbon. I’m not a huge fan of ribbon. I have some but I only usually use it as an accent border. I do however really like 3D projects! I recently came across a new web site, Inking Idaho (http://www.inkingidaho.blogspot.com/). Becky has some great 3D projects and she offers up the Twelve Days of Christmas for you to download for $12.95. It features 12 great projects and instructions on how to make all of them. I made the candy bar gift card holder in Old Olive and used some Letters to Santa Designer Series Paper. I made a few modifications to the top but for the most part it’s exactly as Becky made hers. A piece of Whisper White 5/8 inch Satin Ribbon wrapped around the holder completes the project. Thanks for stopping by and have a great night!
Stampin’ Up! Products used:
Card Stock: Old Olive
Designer Series Paper (My Digital Studio): Letters to Santa
Ribbon: Whisper White 5/8 inch Satin
Tools: SNAIL, Multipurpose Liquid Glue
Birthday Dresser
I know that my friend Sandy’s birthday is in October. I wanted to make her something special and a little different. I was looking around the SplitCoastStampers site the other day and I came across this really neat box with three drawers. I think it looks a to like a dresser. It’s perfect for hiding little surprises like chocolates. I have really been into blues and browns lately, I think it gives a nice rich clean look. The project was pretty straight forward and very easy to follow. It didn’t take long at all and I think the end result is great. Sandy really seemed to like it and I was very happy that she did. I used the Stampin’ Up! sets Happiest Birthday Wishes and the Retired Birthday Bliss. The paper is Marina Mist as well as the ink. I had to go out and get some 12 x 12 paper to do the project, I’ll have to order some from Stampin’ Up! next time. I also used the Scallop Trim Border Punch for the “runner” on the top. The knobs were made from tiny wooden Thread spools that I had and some Rhinestones for a little bling. Thanks for taking a look.
Happy Birthday Mom!
Today is my mom’s birthday. She is the best mom anyone could ever ask for. I know a lot of people say that about their moms but she really is. I wanted to make her a really special card and I was looking around on the Stampin’ Pretty (http://www.stampinpretty.com/) blog yesterday and I came across a link to Mikki’s Creative Corner (http://mikkiscreativecorner.blogspot.com/) and a tutorial for a Tri Shutter Card. This is one of the coolest cards I have seen in a long time. I love the way it looks and the instructions were nice and easy to follow. I made mine with White Card Stock and a Deep Purple. I used some printed paper that I had (waiting for my DSP from Stampin’ Up!, think how much better it will look when I get that!) and some EK Tools Punches that I have. The sentiment is from the Stampin’ Up! Retired Afterthoughts Set. I’m so happy with the way it come out, I hope mom likes it!
Mojo Monday 207
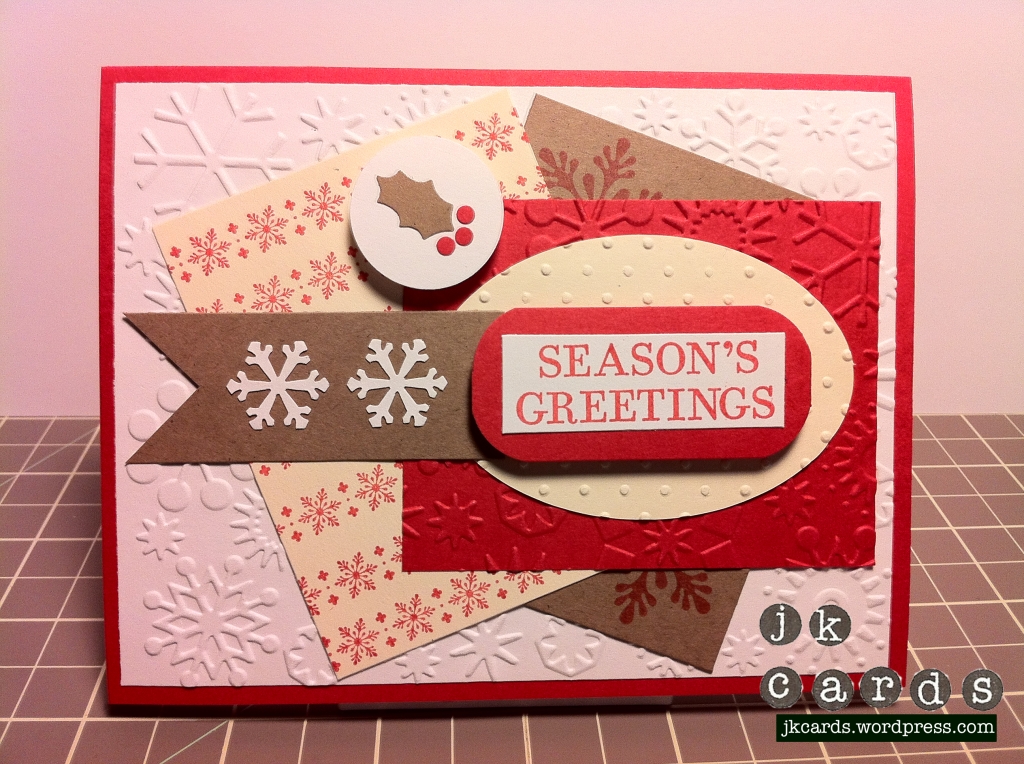
It seems like forever since the last Mojo Monday, but it’s only been two weeks. I’m glad that they are back and hope they all had a nice vacation! This weeks sketch challenge is a nice one. I love all of the pieces that are on the card. I have been trying to get into the Christmas spirit early this year so I can start making my Christmas cards now. This sketch was a perfect one for a holiday card. I used the CuttleBug Snow Embossing Folder for the background and the red rectangle. I also used the CuttleBug Dots Embossing Folder for the oval. The homemade “designer” paper was made using a Martha Stewart Holiday stamp set that I got from Michael’s in March for $.01! It has bout 14 stamps in it. I also used it for the Season’s Greetings. The Holly and Snowflakes are Mini EK Tools punches. I love all of the texture on the card. I think it gives it a nice warm feeling. Thanks for looking!
Celebration Maple Leaf
The cooler temperatures are making me think of warm clothes, hot chocolate and falling leaves which makes me think of the EK Tools Maple Leaf Layering Punch. It creates a very nice dimensional effect with minimal effort. I used my “new” retired host(ess) Stampin’ Up! set Afterthoughts for the greeting. I got it from Etsy from this really nice lady that included all kinds of presents with it. I love it when you buy something on-line and you think I’d be friends with that person because they were so great! I also used the Tim Holtz Tree Trunk Embossing Folder by Sizzix for a nice additional texture. They would make great invitations to a Thanksgiving celebration or a fall apple picking outing!
Scalloped Circle Layering Punch
I’m enjoying what appears to be the last warm days we will have for a little while. I love it when the weather is like this, not too hot and cool at night. I was browsing through EK Tools website the other day and saw that they have all of these new punches. I got the Scalloped Circle Layering Punch from Michael’s because they have 50% off all of their punches this week. I love the idea behind the punch, you select from three different levels of punching to get three different layers. This punch also gives you another ring with the third level. I like the abstract flower look when the pieces are put together. I also like the color combination of orange, beige, cream and black. It’s kind of a nice transition from summer to fall card… still bright but with a little dark too. 🙂
1st Birthday
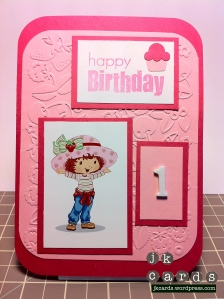
My crafty friend Melissa had a birthday party for her beautiful daughter Addison yesterday. It was originally supposed to be held on August 28th but hurricane Irene had other plans. It was a very nice backyard party with a Strawberry Shortcake theme, Addison has lots of nice red hair! Melissa did a great job with the decorations, most of which she made herself. I love working with a theme so I found a little image of Ms. Shortcake and got to it. I used the CuttleBug Preserves Embossing Folder, some EK Tools punches, Stamp from TPC Studios and a Thicker for the 1. I also made a little gift card holder that coordinates with the card using the same tools. I hope that she enjoyed the card as much as I enjoyed being part of her daughter’s special day!
Baby Naming
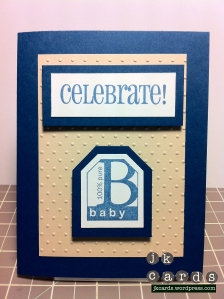
My friends Neal and Stephanie were kind enough to invite me to the baby naming for their son Max. Another friend of mine Kim was also invited but couldn’t make it. She asked me if I would make a card for her too, of course I said yes. The first one is the one I gave them. I’m hooked on the dark blue and cream colors together. I used the CuttleBug Dots Embossing Folder and the tag punch and a tag stamp from the retired Stamin’ Up! set Punch Box – Terrific Tags. The celebrate stamp is from TPC Studios.
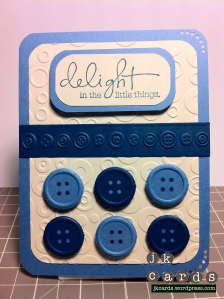
For the second card I used the CuttleBug Circles Embossing Folder and the Buttons Embossing Folder. The realistic large buttons on the card were made using the Martha Stewart Button Double Punch. The stamp is one of the great phrase stamps from studio g. The card is cute as a button just like Max!

