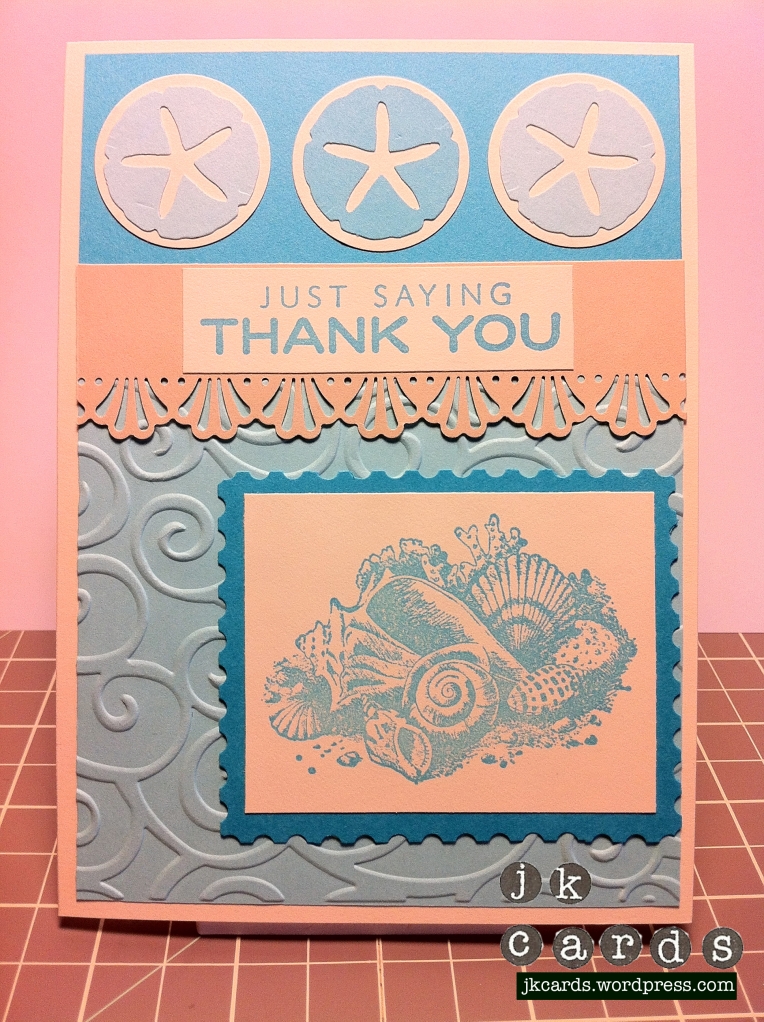
The challenge for this weeks Pals Paper Arts was a really nice layout. I felt inspired by the sea shell stamp that I have from Inkadinkado. It’s also a kind of farewell to summer seeing as it’s been a little chilly these past few days. The blue and beige conjure up the sea and sand. I used the Martha Stewart Crafts Deco Shell Edge Punch from EK Tools for the divider and the Sand Dollar Punch across the top. The Embossing Folder from CuttleBug has a wave like look and the thank you stamp is from studio g. I also used the Postage Stamp Edger from EK Tools. Thanks for looking and I hope you enjoy. 🙂
Vintage Miss You
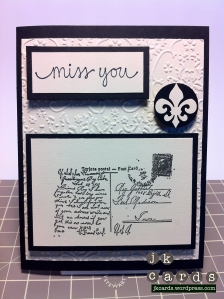
I made this card for a friend of mine and I wanted to give her time to get it before I posted it to my blog. I think she reads it so I didn’t want to ruin the surprise. The neutral colors and the vintage post card stamp give it an older feel. I found the post card stamp at AC Moore for $2.00, I love that if you look closely you can actually read the words. The background was embossed using the CuttleBug Textile Texture Embossing Folder. The stamp is from studio g, one of the many phrase stamps that I got from Michael’s. The punches are EK Tools Fleur De Lis and 1 inch Circle Punch. I hope that she liked the card as much as I enjoyed making it. 🙂
Pals Paper Arts 110
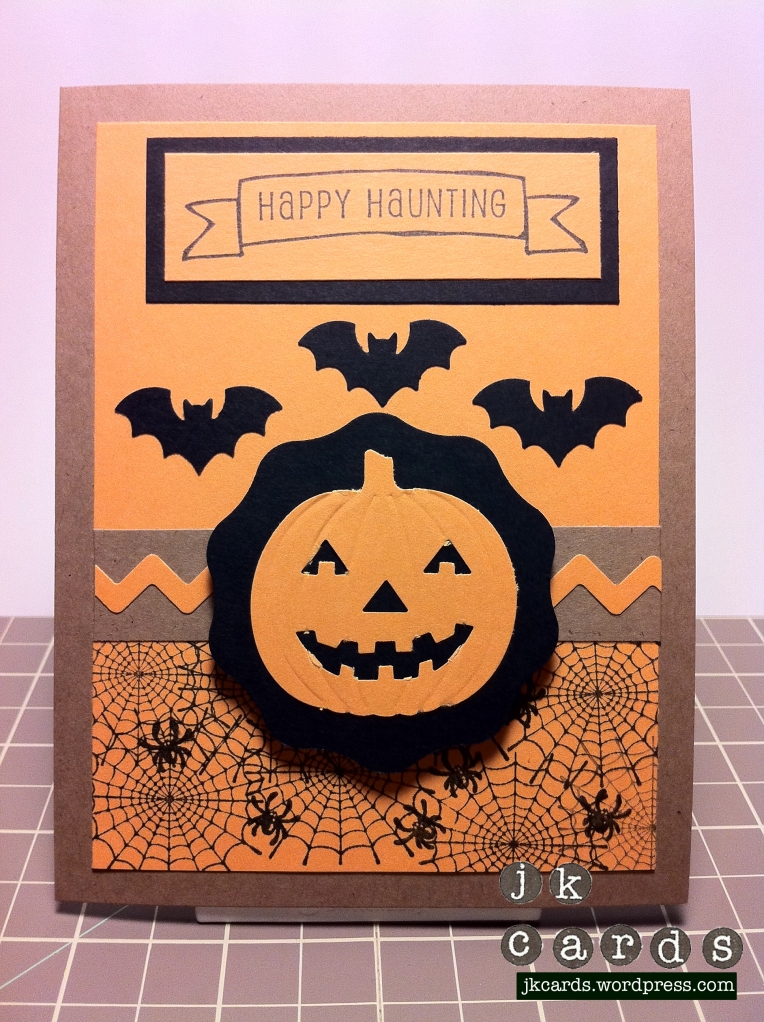
This weeks Pals Paper Arts Challenge is a Halloween card. This is my second one, I did a Halloween theme for one a few weeks ago. I decided on a more subtle orange black and kraft paper color scheme. I used the Wavy Circle and Zig Zag Chain Edger Punches from EK Tools and Martha Stewart Embossed Pumpkin Double and Bats Punches. The stamps are from Inkadinkado and studio g. Happy Haunting!
1st Birthday
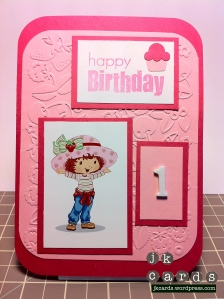
My crafty friend Melissa had a birthday party for her beautiful daughter Addison yesterday. It was originally supposed to be held on August 28th but hurricane Irene had other plans. It was a very nice backyard party with a Strawberry Shortcake theme, Addison has lots of nice red hair! Melissa did a great job with the decorations, most of which she made herself. I love working with a theme so I found a little image of Ms. Shortcake and got to it. I used the CuttleBug Preserves Embossing Folder, some EK Tools punches, Stamp from TPC Studios and a Thicker for the 1. I also made a little gift card holder that coordinates with the card using the same tools. I hope that she enjoyed the card as much as I enjoyed being part of her daughter’s special day!
Baby Naming
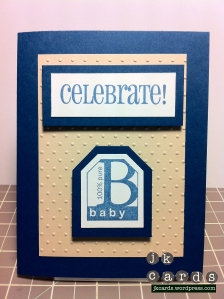
My friends Neal and Stephanie were kind enough to invite me to the baby naming for their son Max. Another friend of mine Kim was also invited but couldn’t make it. She asked me if I would make a card for her too, of course I said yes. The first one is the one I gave them. I’m hooked on the dark blue and cream colors together. I used the CuttleBug Dots Embossing Folder and the tag punch and a tag stamp from the retired Stamin’ Up! set Punch Box – Terrific Tags. The celebrate stamp is from TPC Studios.
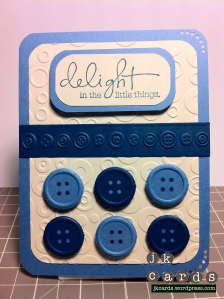
For the second card I used the CuttleBug Circles Embossing Folder and the Buttons Embossing Folder. The realistic large buttons on the card were made using the Martha Stewart Button Double Punch. The stamp is one of the great phrase stamps from studio g. The card is cute as a button just like Max!
First Holiday Card of the Year
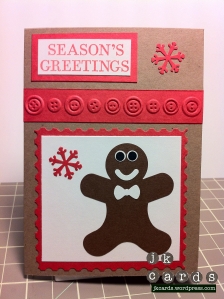
It’s hard to believe that the summer is gone and the days are getting shorted and the weather a little cooler. Before you know it the holidays will be upon us so I decided that I would get myself started on Christmas cards. I love the Gingerbread Man Punch from EK Tools, it’s a builder punch so all you need to do is punch out a few different colors and assemble your gingerbread man. I love the traditional holiday colors of red and white. I’m also liking buttons a lot lately. The postage stamp edge punch is something that I have been looking for for a while and I was happy when I found it in Michael’s! Finally the stamp is from a Martha Stewart Holiday set from last year that I got for a penny! He almost looks good enough to eat!
Techniques Workshop
What better way for my friend Melissa and I to spend a Thursday night than at a techniques workshop. My friend and super talented Stampin’ Up! demonstrator Sandy Mathis hosted a techniques workshop at her beautiful house tonight. We learned four different techniques; layered marker. thump with a twist, spritzing and marker to stamp. It was great to see new ways to use stamps and ink, plus spending some time with other people who enjoy the craft was a lot of fun! We made three cards that we got to take home with us. I can’t wait for next month’s class. Below are the cards we made. Please take a minute to visit Sandy’s blog and see all of the wonderful things that she makes. Thanks!
http://www.stampwithsandy.com/
The Wedding Colors
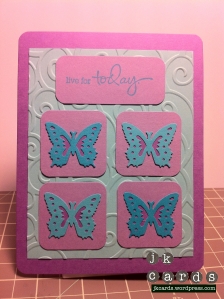
My brother & his fiancé came by my house on Saturday to discuss their save the dates. They were nice enough to ask me to make them. I’m really excited to get to do it and also look forward to working on the wedding invitations. Their colors are purple and turquoise, I already made a mockup of the Save the Date which I will post once they are sent out. I was inspired, as I usually am when I have to work with set colors, to make a card using those colors. I was also very happy to use my new Butterfly Layering punch from EK Tools. It’s a simple card just because. Thanks for taking a look!
Birthday Cards
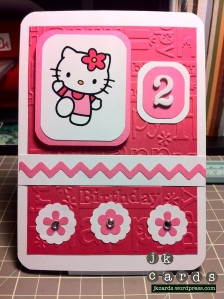
My friend Sam comes over every Saturday morning for breakfast. We use the time to catch up and I love seeing her, we have been doing it for about 2 years. Today she said to me “Oh, I need two birthday cards, one for a 30 year old and one for a two year old. Do you think you could make them for me? Sorry such late notice but I need them today!” Wow, two hours is plenty of time! LOL! So this is what I came up with. I showed her some cards that I had made previously and she picked the ones that she liked. I then tweaked them a little and this is how they came out.
Mini Happy Birthday
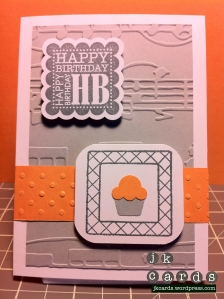
I’m working on my brother’s Save the Dates and I needed a little distraction. I got the Scalloped Square Punch the other day and decided to try it out with the Stampin’ Up Happy Birthday which is part of the Punch Bunch. I love the studio g Grey/Blue ink. I was trying to think of a good coordinating color and came up with orange. I love the contrast of the bright orange with the muted greys. I also used the CuttleBug Sheet Music and Dots embossing folders. The square stamp is from TPC Studio and my trust EK Tools mini cupcake punch. I am also trying to improve a little on my iPhone photography. 🙂

