SUO Challenges 80

It’s always hard getting back into reality for me when I am away for more than the standard 2 days. Even more so when I have actually gone somewhere! Today was not a bad Monday but things are about to ramp up at work so I’d better enjoy it while I can. I still can’t believe the amazing weekend that I had. I told my friend Daniele today that I would prefer it if I could Zip-Line to work every day! It’s nice to be home but I really did have a great time away!

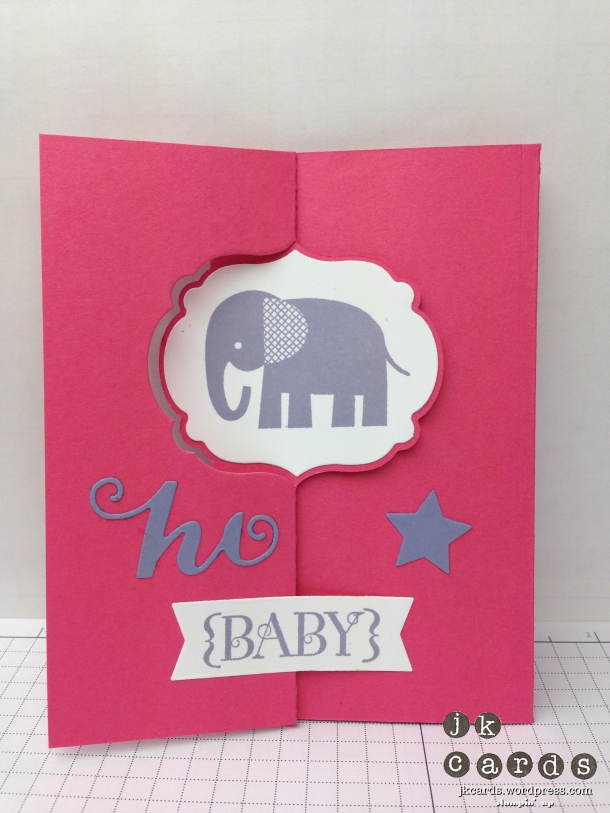
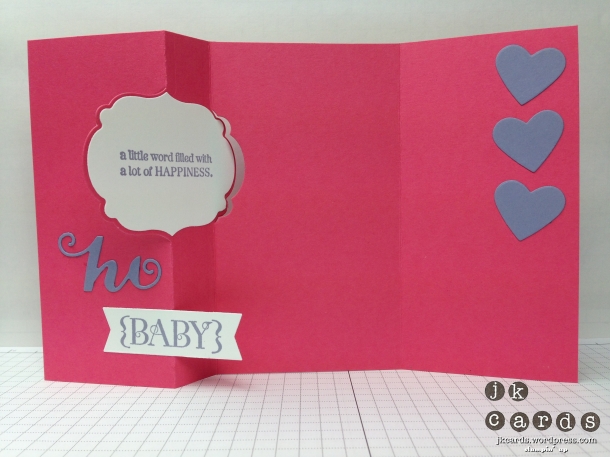
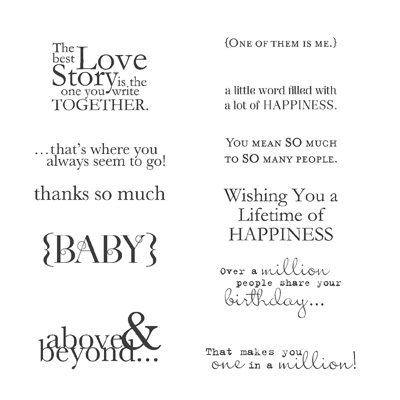
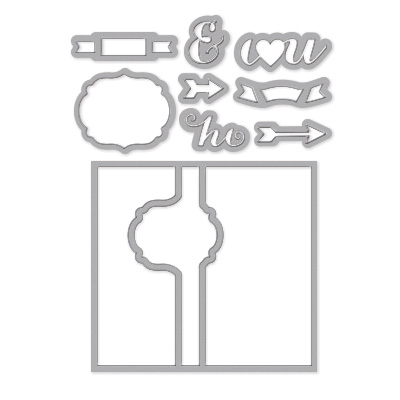
Time sure moves at a rapid pace because it’s time once again for SUO Challenges. For this challenge we have a theme for you, welcome baby. I figured it has been a few days since I have used my favorite new products, the Thinlits Card Dies! LOL! The base of the card is Strawberry Slush Card Stock cut to 5 1/8″ x 8 3/8″ and run through my Big Shot with the Label Card Thinlits Dies leaving the right edge over the top. The main image is from the Zoo Babies Stamp Set and is stamped in Wisteria Wonder and cut out with the label die that comes with set. The greeting is from the One in a Million Stamp Set, the front one is cut out with the banner die and the inside with the label again, both stamped in Wisteria Wonder. All of the elements are cut out from Wisteria Wonder using the various elements included with the Card Thinlits. A fun but simple card with plenty of room on the inside to write. I really do love the Card Thinlits but I like them even better with the extra flap! Thank you, as always, for stopping by to see my SUO Challenges Design Team card for the welcome baby challenge. Click over to the blog to see what my fellow designers have for inspiration for you and add one of your creations to the gallery. Have a good Tuesday! 🙂

SUO Challenges 80 Closed

SUO Challenges 80 Open

Stampin’ Up! products used:

Card Stock: Strawberry Slush and Wisteria Wonder

Ink: Wisteria WOnder CLassic Stampin’ Ink

Stamp Sets: Zoo Babies and One in a Million Clear Mount

Thinlits: Label Card and Circle Card

Tools: Big Shot, 2-Way Glue and SNAIL

Zoo Babies CM

One In A Million CM

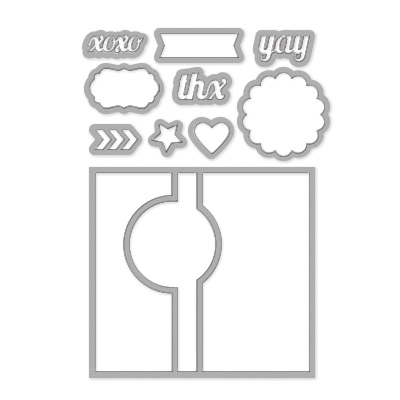
Label Card Thinlits Dies

Circle Card Thinlits Dies

Current Promotions:

Butterfly Bundle – get the Papillon Potpourri Stamp Set and the Bitty Butterfly Punch for a special price now through September 30, 2013!

Paper Pumpkin! Get your first two months for only $10! Click HERE to sign up!

Make your own stamp! New Undefined stamp carving kit. Available now! Click here for the PDF.

Check out all of the Photopolymer Stamp Sets! The two latest ones are Map It Out and Greetings From. It’s a completely clear stamping option you are going to love!

Thinlits Card Dies! A fast and easy way to make a flip fold card! Available August 1st! Click here for the PDF.

Paper Players 164

Well that four day weekend just flew by didn’t it. Thursday I was on a plane to Atlanta, Friday I was Zip-Lining, Saturday I was stamping with Brian and Sunday another plane and then a trip into Manhattan and a lovely belated birthday dinner with my friend Kim. It was so jam packed with fun that’s probably why it went so quickly! I really did have an amazing weekend, a HUGE thank you to everyone that made it possible! 🙂

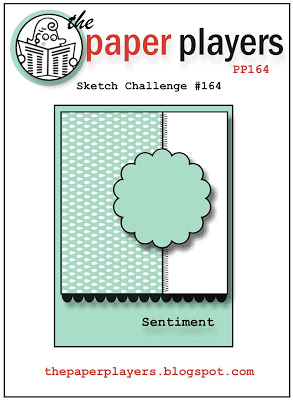
Today I have my card for this week’s Paper Players challenge. This time we have a sketch from the lovely and talented Sandy…

Paper Players #164

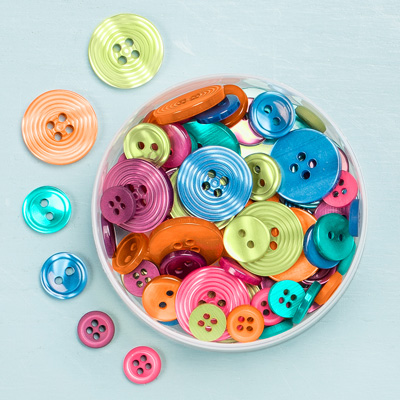
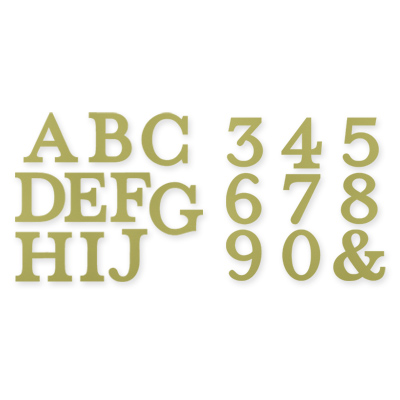
After I made my anniversary card for my parents I used the Typeset Alphabet to cut out some excess rubber from a stamp set in an ampersand, that’s where today’s ampersand comes from. The base of the card is Baked Brown Sugar Card Stock. The background is made from two pieces of Etcetera Designer Series Paper. I used the Needlepoint Textured Impressions Embossing Folder and some Night of Navy to cover the seam down the middle. A piece of Old Olive is cut out withe the Adorning Accents Edgelits Dies and some Basic Jewels Pearls are added in the center of each one. Some Calypso Coral, cut out with the 2 3/8″ Scallop Circle Punch and a piece of Pool Party, stamped in Night of Navy with the Ampersand are adhered with Stampin’ Dimensionals to the background. A Brights Designer Button with some Linen Thread is adhered to the ampersand with a Mini Glue Dot. The greeting is form the A Dozen Thoughts Stamp Set and is also stamped in Night of Navy. I really love the colors in the Etcetera DSP and the ampersand is pretty cool too! Thank you for stopping by to see my second Stamped with Brian card for this week’s Paper Players sketch challenge from Sandy. I hope you enjoyed the card and your Monday! 🙂

Paper Player 164

Stampin’ Up! products used:

Card Stock: Baked Brown Sugar, Calypso Coral, Pool Party, Old Olive and Night of Navy

Designer Series Paper: Etcetera

Ink: Night of Navy Classic Stampin’ Ink

Stamp Set: A Dozen Thoughts Clear Mount

Edgelits: Adoring Accents

Embossing Folder: Needlepoint

Punches: 2 3/8″ Scallop Circle and 1 3/4″ Circle

Embellishments: Basic Jewels Pearls, Bright Designer Buttons and Linen Thread

Tools: Big Shot, Stamp-a-ma-jig, Mini Glue Dots, 2-Way Glue, Stampin’ Dimensionals and SNAIL

A Dozen Thoughts CM

Typeset Alphabet Bigz Dies

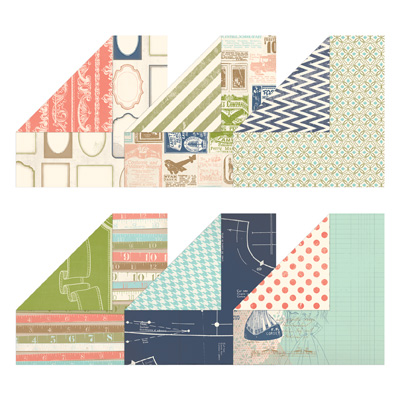
Etcetera DSP

Adorning Accents Edgelits Dies

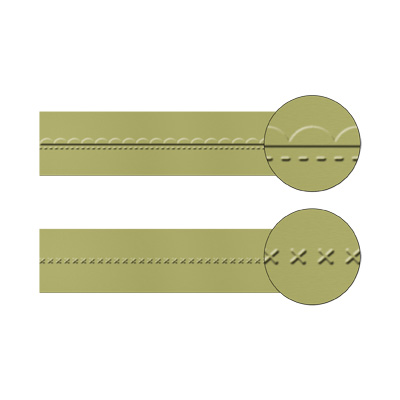
Needlepoint Border Textured Impressions EF

2 3:8%22 Scallop Circle Punch

1 3:4%22 Circle Punch

Basic Pearls

Brights Designer Buttons

Linen Thread

Current Promotions:

Butterfly Bundle – get the Papillon Potpourri Stamp Set and the Bitty Butterfly Punch for a special price now through September 30, 2013!

Paper Pumpkin! Get your first two months for only $10! Click HERE to sign up!

Make your own stamp! New Undefined stamp carving kit. Available now! Click here for the PDF.

Check out all of the Photopolymer Stamp Sets! The two latest ones are Map It Out and Greetings From. It’s a completely clear stamping option you are going to love!

Thinlits Card Dies! A fast and easy way to make a flip fold card! Available August 1st! Click here for the PDF.
Happy Anniversary Mum & Dad!

Hello from rainy Atlanta! It rained most of the day yesterday which made it a good day to spend some quality time in the Fungeon! We did go out of a nice breakfast and then Brian suggested a Thai restaurant for dinner called Annie’s for and it was delicious! I’m having a very nice time and not looking forward to going home already this morning, it’s been too quick!

On a happy note yesterday was my parents anniversary. I wanted a fun and different card so this is what I came up with. The base of the card is Very Vanilla Card Stock and I used the Envelope Punch Board to round the corners. I cut a piece of Crisp Cantaloupe out with the Ovals Collection Framelits Dies and pierced the edge with the Occasions Paper-Piercing Pack. I cut another oval out in Very Vanilla and used my Stamp-a-ma-jig and the Amazing Family Stamp Set to stamp the words in Soft Sky, Pool Party, Costal Cabana, Bermuda Bay and Island Indigo. The greeting is from the Express Yourself Host(ess) Stamp Set, I used my Crisp Cantaloupe Stampin’ Write Marker to marker the stamp and split the greeting. I then used the Typeset Alphabet Bigz Dies to cut out the ampersand from Crisp Cantaloupe and adhered it with Stampin’ Dimensionals. A few scattered Basic Jewels Rhinestones complete the card. I like the graduation of the blues paired with the Crisp Cantaloupe and a little bling makes everything better! Thanks so much for stopping by to see my card for today. Have a good Sunday and I’ll see you tomorrow for my Paper Players card! 🙂

IMG_1883

Stampin’ Up! products used:

Card Stock: Very Vanilla and Crisp Cantaloupe

Ink: Soft Sky, Pool Party, Costal Cabana, Bermuda Bay and Island Indigo Classic Stampin’ Ink

Stampin’ Write Marker: Crisp Cantaloupe

Stamp Sets: Amazing Family and Express Yourself Host(ess) Clear Mount

Framelits: Ovals Collection

Bigz Dies: Typeset Alphabet

Embellishments: Basic Jewels Rhinestones

Tools: Big Shot, Occasions Paper-Piercing Pack, Paper-Piercing Tool, Stampin’ Dimensionals and SNAIL

Amazing Family CM

Express Yourself CM

Ovals Collection  Framelits

Typeset Alphabet Bigz Dies

Envelope Punch Board

Basic Rhinestones

Fab Friday and a Fabulous Friday!

Hello my friends! How are you? I am fantastic! As you know I took a little trip on Thursday night. I was a somewhat evasive about my destination, just for a little fun. My trip took me on a Delta flight to Atlanta, GA. I came to visit an amazing friend of mine… Mr. Brian King! We spent the morning yesterday at Historic Banning Mills doing the canopy tour. We had a great time on the ZIp-Line tour, flying high above the trees (about 300 feet!). After some lunch we came back and spent some time in the Fungeon! Below are some pictures from the Zip-Line Tour… IMG_1876

Me and Brian!

IMG_1874

There I am!

IMG_1857

There’s Brian!

IMG_1860

The view from the top!

IMG_1869

Brian and me with our amazing and funny guides Ross and Tate!

I had an amazing day with my awesome friend, definitely a Fab Friday! Which brings me to today’s post which is for this week’s Fab Friday

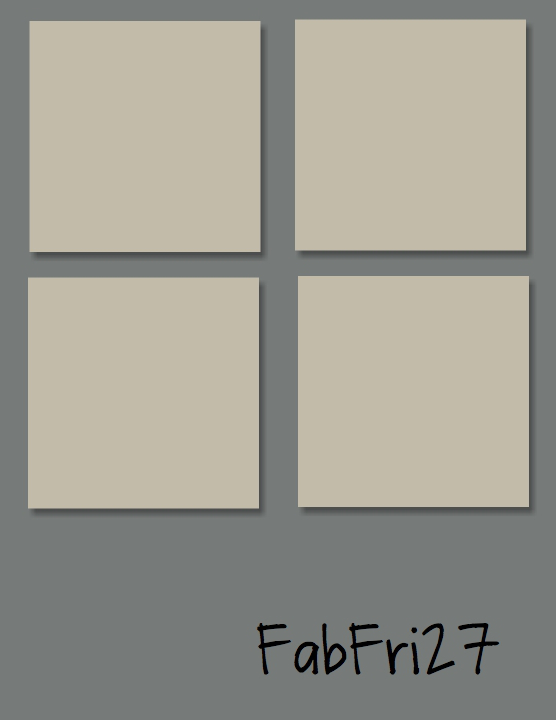
Fab Fri 27 Sketch 9-20-2013

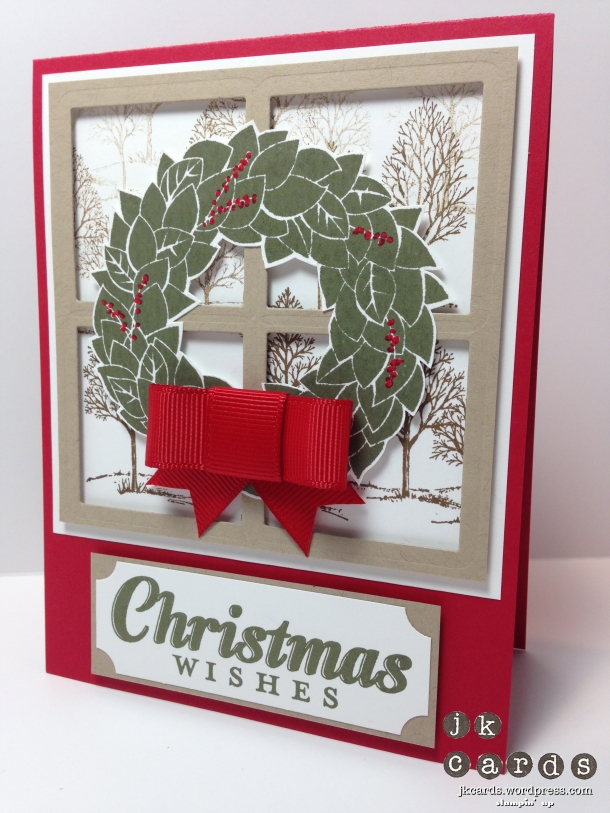
Do you see what I see… a window! The base of my card is Real Red Card Stock. I took a piece of Crumb Cake and used my Squares Collection Framelits Dies to cut out the window. The “scene” through the window is created using the Lovely as a Tree Stamp Set stamped in Soft Suede. I inked the stamp once and stamped it four times to give it some depth. Some Stampin’ Dimensional pieces adhere the window to the trees. The Wonderful Wreath Stamp is stamped in Always Artichoke and cut out with my Paper Snips. Yes, I have cut that wreath out a lot! I used my Real Red Stampin’ Write Marker to color in the berries and a piece of “Vintage” Real Red 5/8″ Grosgrain Ribbon “tied” in a bow completes the wreath. The greeting is from the Joy to the World Stamp Set and is stamped in Always Artichoke and backed with a piece of Crumb Cake. I ticked the corners before I adhered them together. You can never have enough Christmas cards and I have a pretty good stash going already! Go and take a look at the Fab Friday Blog and see what fun creations my teammates have come up with. Thank you very much for stopping by to see my Fab Friday Design Team card and sharing in my fun adventures with Brian. Have a great Saturday! 🙂 Fab Friday 27

Stampin’ Up! products used:

Card Stock: Real Red, Whisper White and Crumb Cake

Ink: Always Artichoke and Soft Suede Classic

Stampin’ Ink Marker: Real Red Stampin’ Write

Stamp Sets: Joy to the World and Lovely as a Tree Clear Mount and Wonderful Wreath Wood Mount

Framelits: Squares Collection

Punch: Ticket Corner Punch (Vintage)

Embellishments: Real Red 5/8″ Grosgrain Ribbon

Tools: Big Shot, Paper Snips, Sticky Strip, Stampin’ Dimensionals and SNAIL Joy to the World CM Wonderful Wreath WM Lovely As a Tree WM Squares Collection Framelits

Control Freaks September Blog Tour

freakwelcome2013

Hello everyone and welcome to the September Control Freaks Blog Tour Featuring Halloween Projects! I’m on a plane at the moment on my way to see a very good friend. Nothing like posting from 30,000 feet! If you are following the tour you should have arrived here from my good friend and very talented stamper Sandy Mathis’ blog. Her projects were just amazing weren’t they?!?! I have two fun and different projects for you this month. A nifty Halloween Wreath and a fun Halloween clock! Yes… a clock!

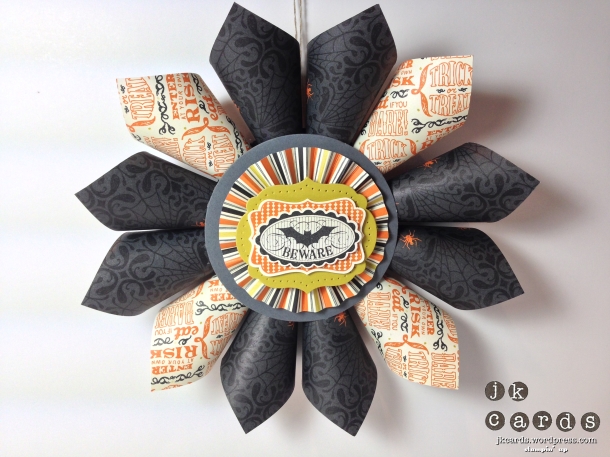
First up I have my Wreath. I was in a store the other day and I saw this pre-packaged halloween wreath and I thought well I can make that with my Stampin’ Up! goodies so that’s exactly what I did! For the backing of the wreath I cut out a piece of Basic Black Card Stock with my Circles Collection Framelits Dies. The cones are made from 12 sheets of Witches’ Brew Designer Series Paper cut in 4″ x 4″ squares. Out came the hot glue gun and after about two full sticks my cones were assembled and glued to the base. The center of the wreath is a piece of Basic Gray, again cut out with the Circles Framelits, and a rosette made from some more Witches’ Brew DSP. A piece of Summer Starfruit cut out with the Labels Collection Framelits Dies and pierced with the Festive Paper-Piercing Pack is the backing for the stamps. Both of the stamps are from the Halloween Bash Stamp Set, the Pumpkin Pie one is cut out with the Decorative Label Punch and the Basic Black one with the Scallop Oval Punch. They are all adhered to one another with Stampin’ Dimensionals. A pretty neat take on a wreath that you can make larger just by changing the dimensions of your squares!

Control Freaks Sept Blog Tour

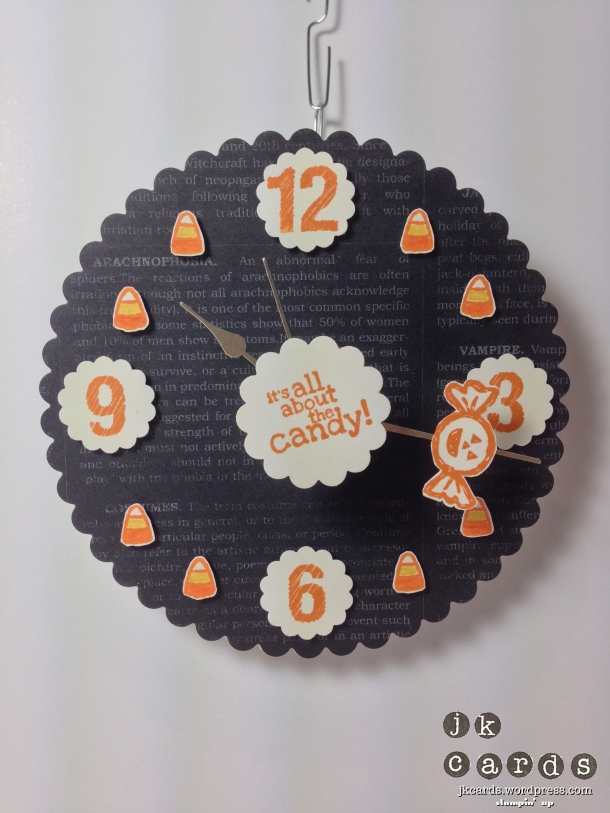
My second project is a really fun one. I was inspired when I was meandering through one of the local craft stores and happened down the clock aisle. I thought wouldn’t it be fun to make a Halloween clock?! For the base of the clock I used my Circles Collection Framelits to cut out a piece of Coaster Board and a piece of Witches’ Brew Designer Series Paper. I glued them to each other using Multi-Purpose glue and used my Paper Snips to make the hole in the middle for the movement to go through. The numbers are from the ABC-123 Sketch Alphabet & Numbers Stamp Set and are stamped in Pumpkin Pie and punched out with the 7/8″ Scallop Circle Punch. All of the other stamped images and greeting are from the Halloween Hello Stamp Set and are stamped in Pumpkin Pie too. I used my Pumpkin Pie and Daffodil Delight Stampin’ Write Markers to color in the candy corn and adhered everything to the clock face with Stampin’ Dimensionals. I really love the way the greeting spins around the center and the candy makes it’s way around the clock face too!

Control Freaks Sept Blog Tour

So what do you think?!?! A little different and fun huh?! I really hope that you enjoyed my projects for this month’s Control Freaks Blog Tour featuring Halloween Projects. Now you are off to see the talented Connie Babbert’s projects. She always has some fun ideas! Thank you for stopping by and enjoy the rest of the tour! 🙂

clickhere2013

Stampin’ Up! products used:

Wreath:

Card Stock: Basic Black, Basic Gray, Summer Starfruit and Very Vanilla

Designer Series Paper: Witches’ Brew

Ink: Pumpkin Pie and Basic Black Classic Stampin’ Ink

Stamp Set: Halloween Bash Clear Mount

Framelits: Circles Collection and Labels Collection

Punches: Decorative Label and Scallop Oval

Tools: Big Shot, Simply Scored, Festive Paper-Piercing Pack, Paper-Piercing Tool, Hot Glue Gun, Stampin’ Dimensionals and SNAIL

Clock:

Card Stock: Very Vanilla

Specialty: Coaster Board

Designer Series Paper: Witches’ Brew

Ink: Pumpkin Pie Classic Stampin’ Ink

Stampin’ Write Markers: Pumpkin Pie and Daffodil Delight

Stamp Set: Halloween Hello and ABC-123 Sketch Alphabet & Numbers Clear Mount

Framelits: Circles Collection

Punches: 7/8″ Scallop Circle and 1 1/4″ Scallop Circle

Tools: Big Shot, Paper Snips, Multi-Purpose Glue, Stampin’ Dimensionals and SNAIL

Freshly Made Sketches 104

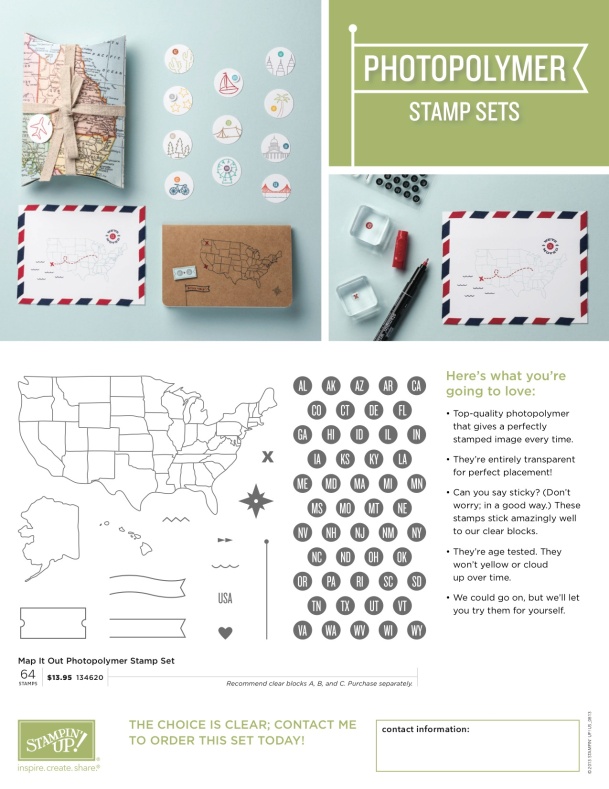
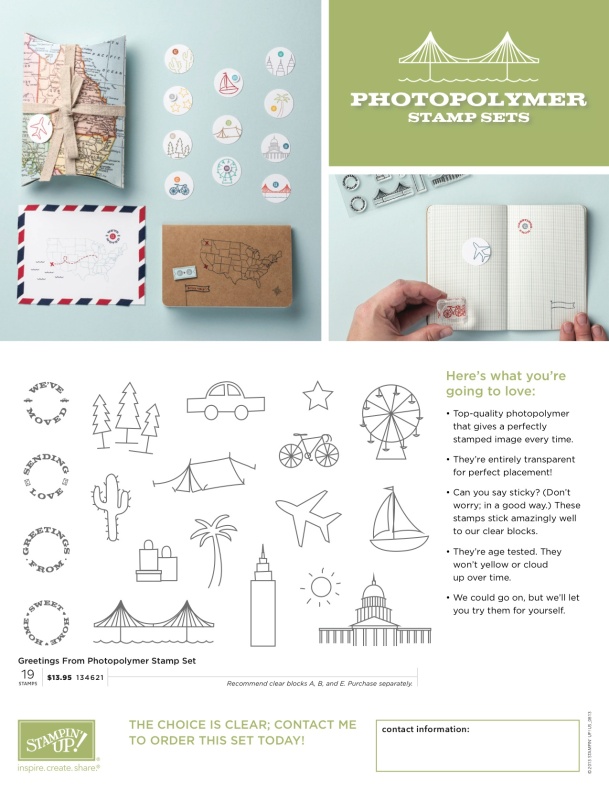
A very happy Thursday to you! It’s Friday for me and I’m getting out of work early because I have yet to pack for my little trip. I spent the evening last night finishing up last minute projects. There is a Control Freaks Blog Tour tonight so don’t forget to come back and see the projects I have this month. They are very different and I think you’ll like them! Before I get to today’s post I wanted to let you know that Stampin’ Up! has released two new Photopolymer Stamp Sets. They are called Map It Out and Greetings From and they work really well together. You can see pictures of the flyers below and if you click on the names of the sets you can download a PDF.

Flyer_photopolymer_Map_Sept1713_NA

Flyer_photopolymer_Greetings_Sept1713_NA

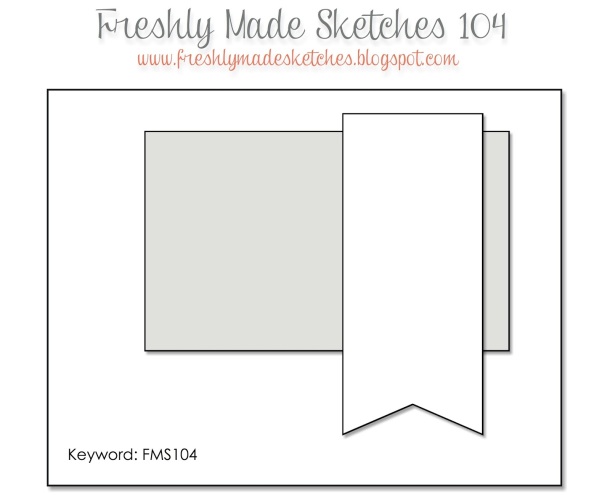
Now on to today’s post. This week’s Freshly Made Sketches has a fun sketch for us provided by Linda…

Freshly Made Sketches #104

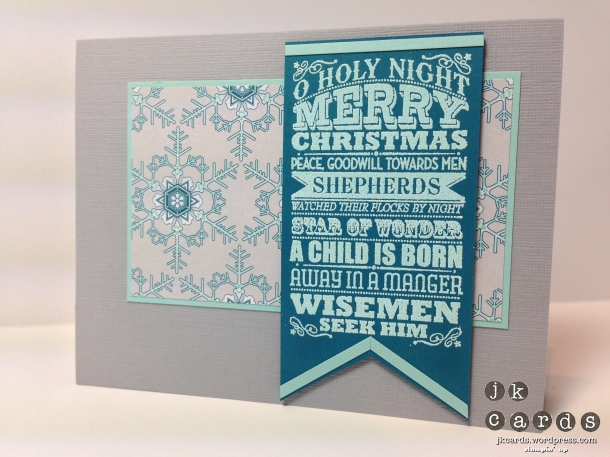
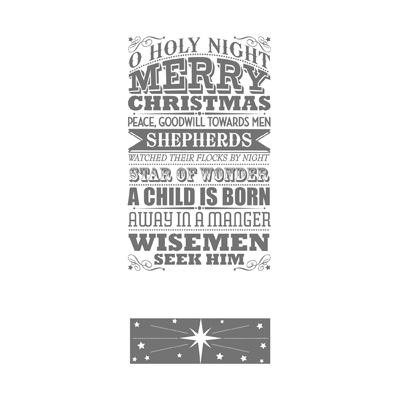
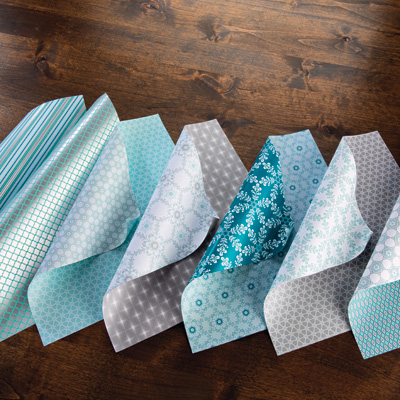
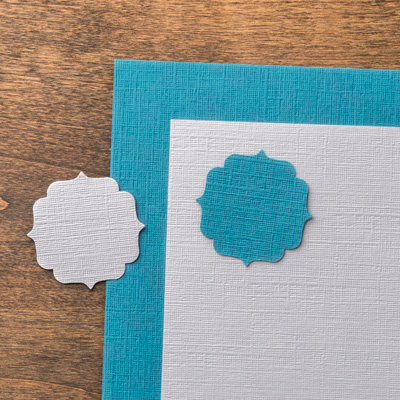
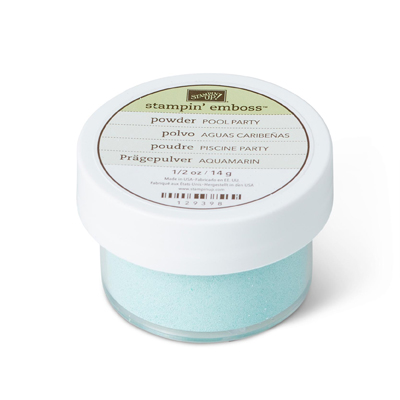
Yup, love it, there is a flag on there! For the base of my card I used a piece of Smoky Slate Textured Card Stock. The background is a piece of Winter Frost Specialty Designer Series Paper backed with a piece of Pool Party. I used Pool Party Stampin’ Emboss Powder to emboss the Oh Holy Night Stamp onto Island Indigo. A few thin strips of Pool Party help frame it and some Stampin’ DImensionals adhere it to the card. A nice simple card but the heat embossing gives it that little extra! Thank you very much for coming by to see my Freshly Made Sketches card for this week’s challenge. I hope that you enjoy your day and the Control Freaks Tour later on. Have an excellent day peeps! 🙂

FMS 104

Stampin’ Up! products used:

Card Stock: Pool Party and Island Indigo

Specialty Card Stock: Smoky Slate Textured

Designer Series Paper: Winter Frost Specialty

Specialty Ink: Versa-Mark

Stamp Set: O Holy Night Clear Mount

Stampin’ Emboss Powder: Pool Party

Tools: Heat Tool, Stampin’ Dimensionals and SNAIL

Oh Holy Night CM

Winter Frost Specialty DSP

Island Indigo-Smokey Slate Textured CS

Pool Party Stampin' Emboss Powder

Current Promotions:

Butterfly Bundle – get the Papillon Potpourri Stamp Set and the Bitty Butterfly Punch for a special price now through September 30, 2013!

Paper Pumpkin! Get your first two months for only $10! Click HERE to sign up!

Make your own stamp! New Undefined stamp carving kit. Available now! Click here for the PDF.

Check out all of the Photopolymer Stamp Sets! The two latest ones are Map It Out and Greetings From. It’s a completely clear stamping option you are going to love!

Thinlits Card Dies! A fast and easy way to make a flip fold card! Available August 1st! Click here for the PDF.
Paper Craft Crew 59

Hello peeps! How are you all doing today? I’m good because it’s Wednesday and tomorrow is my Friday! It was chilly here yesterday, only got up to 68 degrees. They say we are to be back in the 80’s by the weekend so just a little taste of what’s to come weather wise. I have lot’s to do before my departure so I will be a busy boy this evening!

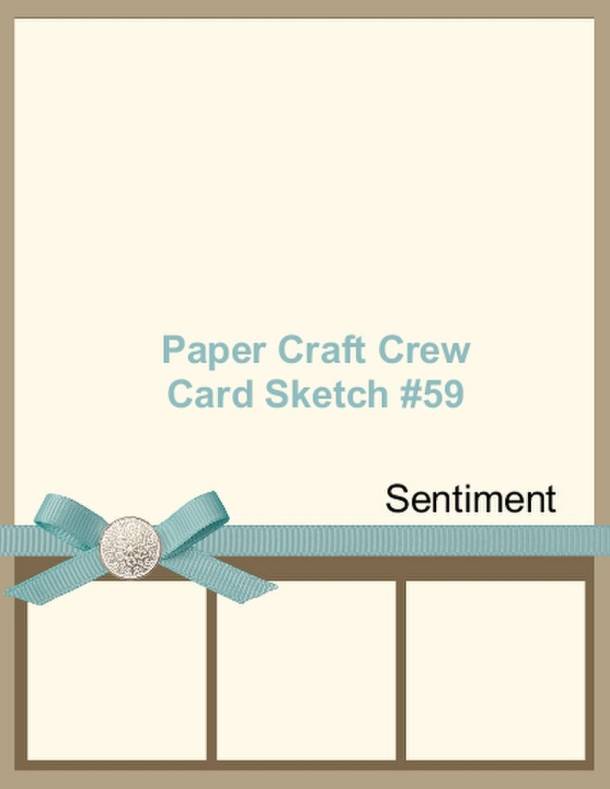
Wednesday also means that it’s time for this week’s Paper Craft Crew sketch challenge…

PCCCS059 9-18-2013

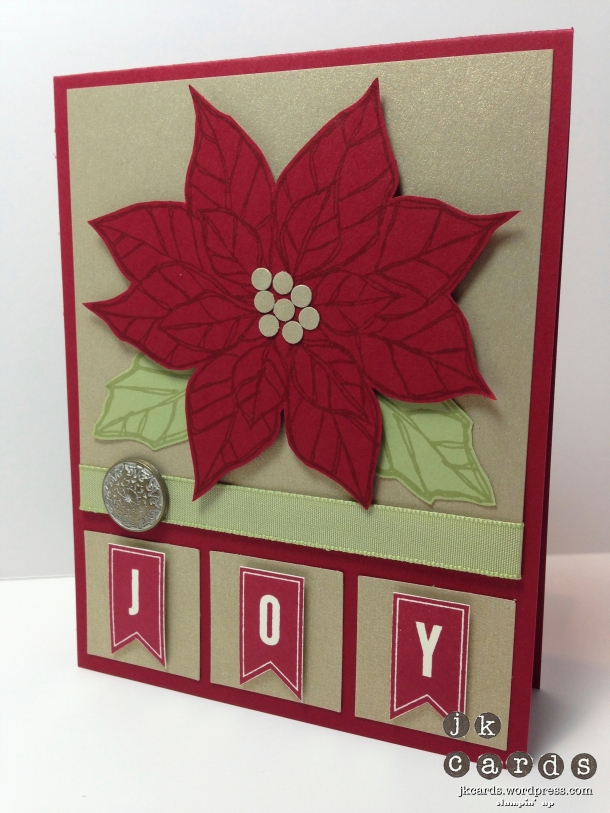
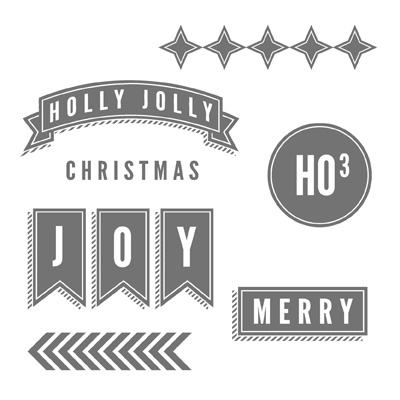
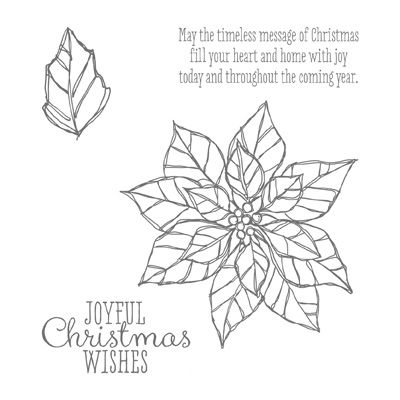
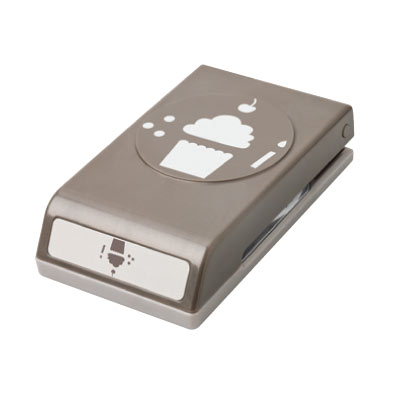
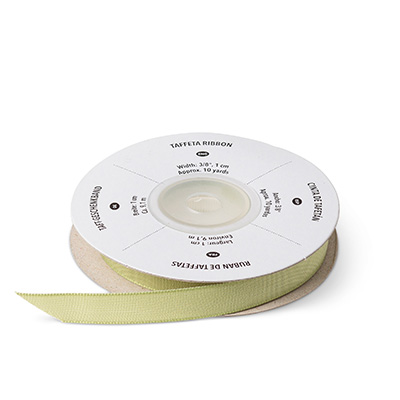
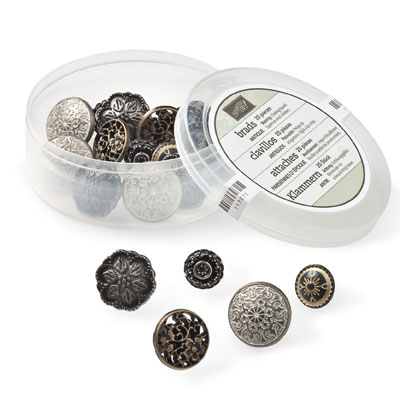
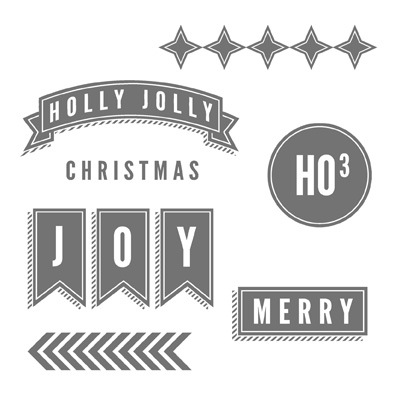
I inked up a new set for this one! The base of my card is Cherry Cobbler Card Stock. For the background on both the large square on top and the small squares along the bottom I used some Brushed Gold. The pretty poinsettia is from the Joyful Christmas Stamp Set and is stamped in Cherry Cobbler on Cherry Cobbler. The leaves are stamped in Pear Pizzaz on Pear Pizzaz and the little dots in the center are punched out with the Cupcake Builder Punch. The ribbon is Pear Pizzaz 3/8″ Taffeta Ribbon with a Antique Brad on the left. The joy is stamped in Cherry Cobbler from the A Banner Christmas Stamp Set and cut out with my Paper Snips. I really love the Brushed Gold with the Cherry Cobbler, it gives the card a rich look and I don’t think I have actually used the Cupcake Builder Punch to make a cupcake in a while! I hope that you enjoyed my Paper Craft Crew Design Team card for this week’s sketch challenge. Make sure to go over to the blog to see my fellow design team’s cards and enter your one in the gallery. Thank you for visiting and have a good day my friends! 🙂

PCCCS059

Stampin’ Up! products used:

Card Stock: Cherry Cobbler, Pear Pizzaz and Very Vanilla

Specialty Card Stock: Brushed Gold Metallic

Ink: Cherry Cobbler and Pear Pizzaz Classic Stampin’ Ink

Stamp Sets: A Banner Christmas and Joyful Christmas Clear Mount

Punch: Cupcake Builder

Embellishments: Pear Pizzaz 3/8″ Taffeta Ribbon and Antique Brads

Tools: Paper Snips, Sticky Strip, Stampin’ Dimensionals and SNAIL

A Banner Christmas CM

Joyful Christmas CM

Brushed Gold CS

Cupcake Builder Punch

Pear Pizzazz 3:8%22 Taffeta Ribbon

Antique Brads

Current Promotions:

Butterfly Bundle – get the Papillon Potpourri Stamp Set and the Bitty Butterfly Punch for a special price now through September 30, 2013!

Paper Pumpkin! Get your first two months for only $10! Click HERE to sign up!

Make your own stamp! New Undefined stamp carving kit. Available now! Click here for the PDF.

Check out all of the Photopolymer Stamp Sets! The latest one is Another Thank You. It’s a completely clear stamping option you are going to love!

Thinlits Card Dies! A fast and easy way to make a flip fold card! Available August 1st! Click here for the PDF.

Mojo 311

Happy Tuesday! I forgot that I have a four day week this week because I’m going on a little trip on Thursday night. I’ll tell you more about it on Friday! I’m quite excited about it! It is definitely feeling fall like here, windy and rainy yesterday morning but it cleared up in the afternoon and it’s 48 degrees this morning. Lot’s of catch up before I leave too. So much to do and so little time, isn’t that how it always works?!?!

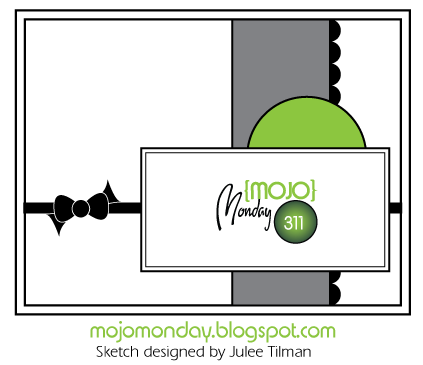
Today I have my card for this week’s Mojo Monday sketch challenge and the sketch this week is provided by Julee Tilman…

Mojo311

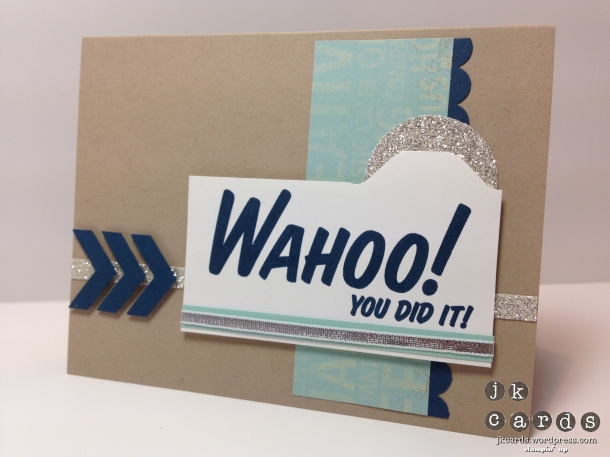
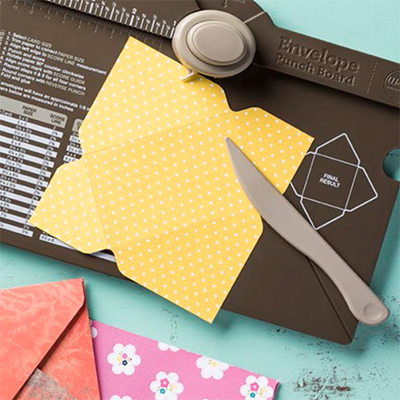
I just received this month’s Paper Pumpkin in the mail today and I love it as always. I was inspired by the card and decided to used the stamps and the color ink pad today. The base of my card is Crumb Cake Card Stock. A piece of Epic Day This & That Designer Series Paper with a piece of Midnight Muse that I punched with the Scallop Edge Border Punch along with a strip and a circle of Silver Glimmer Paper creates the backdrop. The greeting is stamped on a piece of Whisper White that I punched along the top with the Envelope Punch Board to create the file folder look. A strip of Pool Party and a piece of 1/8″ Silver Ribbon goes across the bottom. I used the Chevron Border Punch to punch out some Midnight Muse for the three chevrons on the left. I really do think that the Paper Pumpkin Kits are fun and I love all of the stamps that come with them. I hope you enjoyed my card for this week’s Mojo Monday sketch challenge and thank you for coming by. Have a terrific Tuesday! 🙂

Mojo 311

Stampin’ Up! products used:

Card Stock: Crumb Cake, Midnight Muse, Whisper White and Pool Party

Designer Series Paper: Epic Day This and That

Specialty Paper: Silver Glimmer

Ink: Midnight Muse Classic Stampin’ Ink

Stamp Set: September Paper Pumpkin

Punches: Scallop Edge Border Chevron Border and 1 3/8″ Circle Punch

Embellishment: 1/8″ Silver Ribbon

Tools: Envelope Punch Board, Sticky Strip, Stampin’ Dimensionals and SNAIL

This and That Epic Day DSP

Silver Glimmer Paper

Envelope Punch Board

Chevron Border Punch

Scallop Edge Border Punch

1 3:8%22 Circle Punch

Silver 1:8%22 Ribbon

Current Promotions:

Butterfly Bundle – get the Papillon Potpourri Stamp Set and the Bitty Butterfly Punch for a special price now through September 30, 2013!

Paper Pumpkin! Get your first two months for only $10! Click HERE to sign up!

Make your own stamp! New Undefined stamp carving kit. Available now! Click here for the PDF.

Check out all of the Photopolymer Stamp Sets! The latest one is Another Thank You. It’s a completely clear stamping option you are going to love!

Thinlits Card Dies! A fast and easy way to make a flip fold card! Available August 1st! Click here for the PDF.
Paper Players 163

How was the weekend? Mine… not too bad. I went into Manhattan yesterday to see a friend, it was a beautiful day. Still a bit crisp but it did warm up. I think this is my favorite time to be in the city, you can walk around with overheating. I came home and did some puttering in the craft area, picked up my daughter from work and ran some errands. Monday, you just come way too fast!

My post for today is for this week’s Paper Players challenge. This time around Anne Marie has given us a CAS for the kids challenge…

Paper Players #163

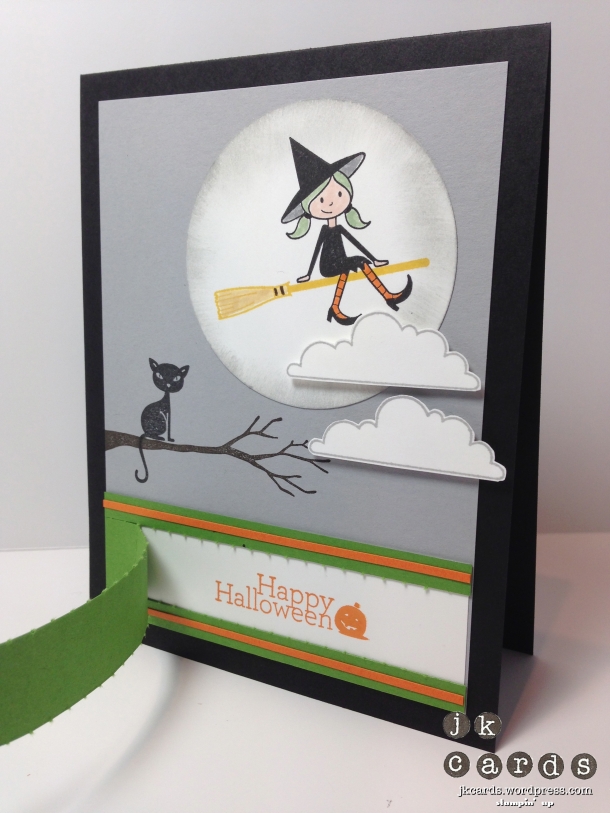
I have had this idea in my head for a little bit and I thought this would be the perfect time to try it out. The base of my card is Basic Black Card Stock. The background is a piece of Smoky Slate. All of the images on the top half of the card are from the “Vintage” Out on a Limb Stamp Set. The branch, stamped in Early Espresso, and the cat, stamped in Basic Black, are stamped directly onto the background. The super cute little witch is stamped in Basic Black and colored in with my Blush Blossom, Pumpkin Pie and Pistachio Pudding Stampin’ Write Markers. I used Crushed Curry to stamp the broom and colored it in with So Saffron. She is then punched out with the 2 1/2″ Circle Punch and the edges are sponged in Smoky Slate. The two clouds are stamped in Smoky Slate and cut out with my Paper Snips. On to the idea part of my card. I stamped the greeting from the Delightful Dozen Stamp Set in Pumpkin Pie. Using my Stampin’ Trimmer and the Rotary attachment I cut a piece of Gumball Green with the Perforating Stampin’ Trimmer Rotary Cutting Blade and used some Sticky Strip to adhere it over the greeting. The spider web is from the “Vintage” Spooky Bingo Bits Stamp Set and the “pull” is stamped with the Designer Typeset Photopolymer Stamp Set in Pumpkin Pie. Now here comes the fun part, you pull open the top to reveal the greeting underneath! What kid (or adult for that matter) wouldn’t want to do that?! Pretty cool huh?! Oh yes, there will be more of these!! Thank you very much for checking out my Paper Players card for this week’s CAS for the kids challenge from Anne Marie. I appreciate your visit and hope you have a zippy day! 🙂

Paper Players 163

Paper Players 163

Stampin’ Up! products used:

Card Stock: Basic Black, Smoky Slate, Whisper White, Gumball Green and Pumpkin Pie

Ink: Basic Black, Early Espresso, Pumpkin Pie and Crushed Curry Classic Stampin’ Ink

Stampin’ Write Markers: Blush Blossom, Pumpkin Pie, Pistachio Pudding and So Saffron

Stamp Sets: Out on a Limb (Vintage), Spooky Bingo Bits (Vintage) and Delightful Dozen Clear Mount

Punch: 2 1/2″ Circle Punch

Tools: Stampin’ Trimmer, Perforating Stampin’ Trimmer Rotary Cutting Blade, Paper Snips, Stamp-a-ma-jig, Sticky Strip, Stampin’ Dimensionals and SNAIL

Out on a Limb CM

Spooky Bingo Bits

Delightful Dozen

Perforating Stampin’ Trimmer Rotary Cutting Blade

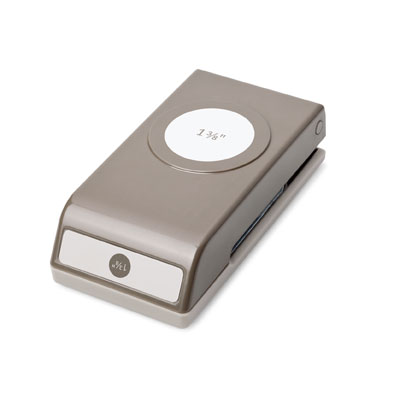
2 1:2%22 Circle Punch

Current Promotions:

Butterfly Bundle – get the Papillon Potpourri Stamp Set and the Bitty Butterfly Punch for a special price now through September 30, 2013!

Paper Pumpkin! Get your first two months for only $10! Click HERE to sign up!

Make your own stamp! New Undefined stamp carving kit. Available now! Click here for the PDF.

Check out all of the Photopolymer Stamp Sets! The latest one is Another Thank You. It’s a completely clear stamping option you are going to love!

Thinlits Card Dies! A fast and easy way to make a flip fold card! Available August 1st! Click here for the PDF.
Just Add Ink 182

Good day! I had a nice productive Saturday, other than sleeping in a little late! I ran some errands, got a much needed haircut and got a lot of projects finished. I had to make a bunch of thank you cards for my birthday gifts and I have some hops and swaps coming up too. It was chilly here today, definitely felt fall like and crisp. I still kept the shorts and flip-flops and just added a hoodie. What were you all up to today?

For today’s post I have my card for this week’s Just Add Ink. This time they ask us to add a frame and we know I love frames!!

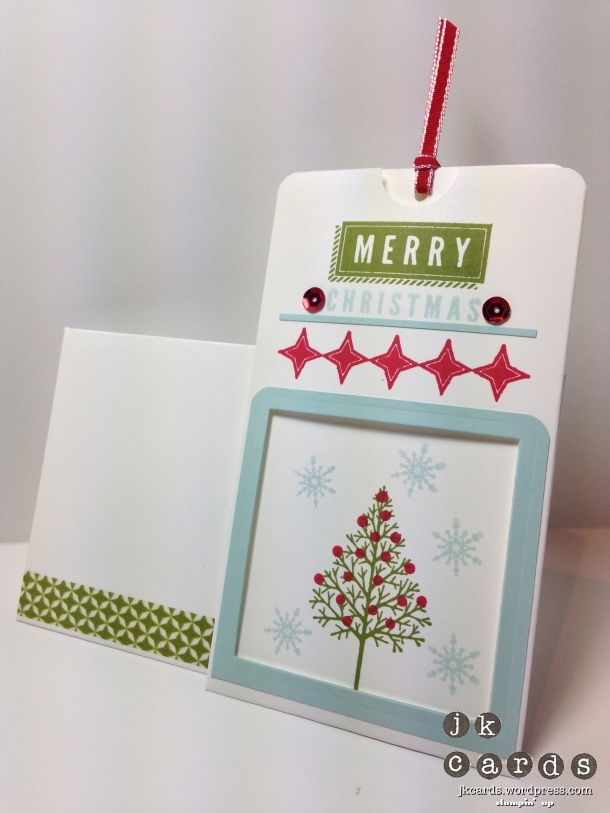
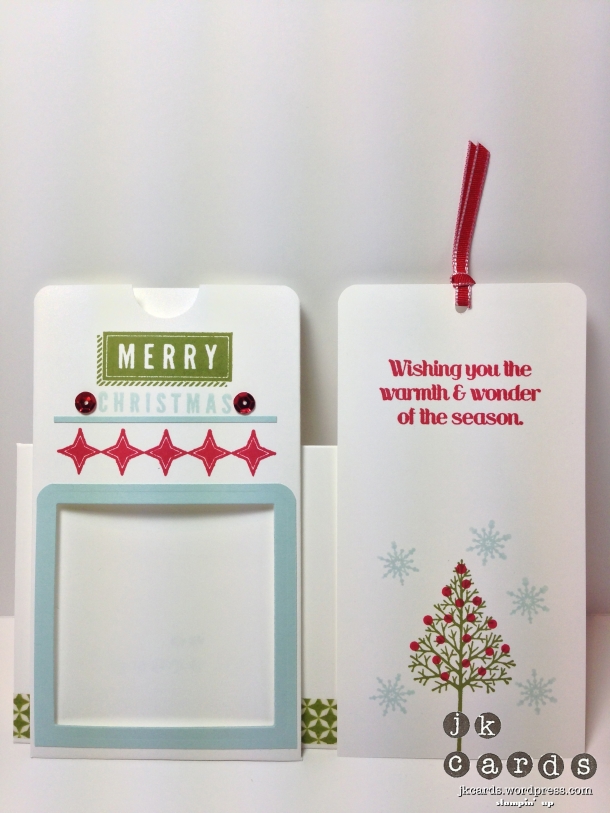
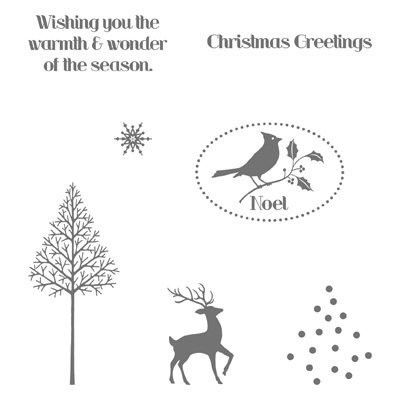
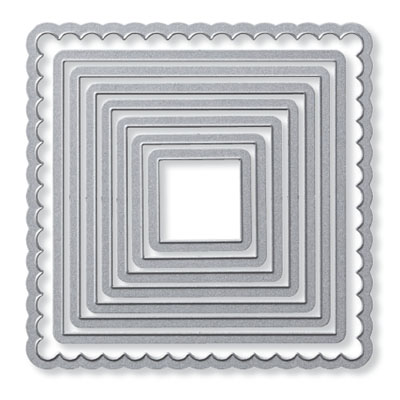
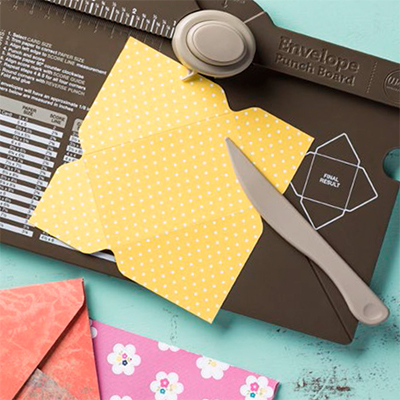
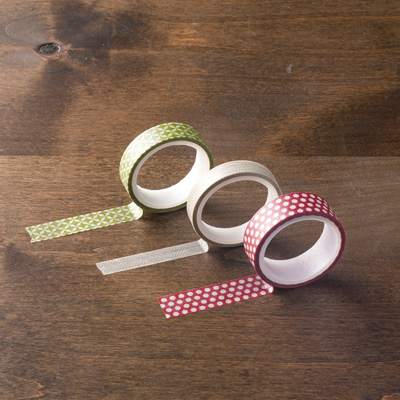
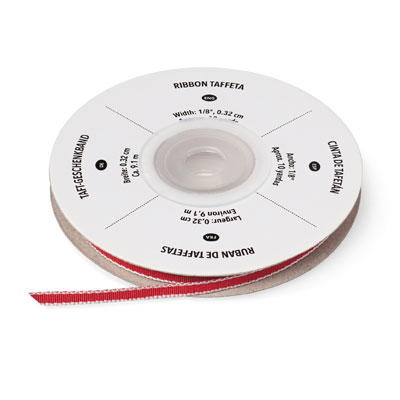
The card I made is a pocket card. It’s relatively simple to make, you just need to grab your Simply Scored, Big Shot and Squares Collection Framelits. I used Whisper White Card Stock for the base of my project. It is cut to 5 1/2″ x 6 1/4″ and I scored it at 1/4″ and 3 1/4″ on the long side and 1/4″ on the short side. The window is cut out with the Squares Collection Framelits Dies and so is the frame, from Soft Sky. I rounded the top corners of both the frame and the pocket with the 3/16″ Corner Rounder. The pocket is stamped with the A Banner Christmas Stamp Set in Old Olive, Soft Sky and Real Red. under Christmas I adhered a thin piece of Soft Sky and some red sequins are on either side. For the piece that slides inside I cut a piece of Whisper White to 2 3/4″ x 5 1/4″, rounded the corners and punched a hole in the top. I used the Warmth and Wonder Host(ess) Stamp Set and my Stamp-a-ma-jig for all of the images. A piece of Real Red 1/8″ Taffeta Ribbon is tied through the hole in the top to make it easier to pull out. I needed a custom envelope so I used my Envelope Score Board and some Whisper White to make one. A strip of Season of Style Designer Washi Tape goes across the bottom and the pattern matches the stamped image on the front of the card. The pocket card is a nice change from the ordinary and you could do so many different things with it. I’m sure this won’t be the last one that you see on here! Thanks very much for stopping by to see my card for this week’s Just Add Ink – just add frames challenge. I hope you enjoyed the project and have a fun Sunday! 🙂

JAI 182

JAI 182

Stampin’ Up! products used:

Card Stock: Whisper White and Soft Sky

Ink: Old Olive, Real Red and Soft Sky Classic Stampin’ Ink

Stamp Sets: A Banner Christmas and Warmth and Wonder Host(ess) Clear Mount

Framelits: Squares Collection

Punch: 1/2″Circle Punch

Embellishments: Real Red 1/8″ Taffeta Ribbon and Sequins

Tools: Big Shot, Simply Scored, Envelope Punch Board, Paper Snips, Multi-Purpose Glue and 2-Way Glue

A Banner Christmas CM

Warmth & Wonder Host(ess) CM

Squares Collection Framelits

1:2%22 Circle Punch

Envelope Punch Board

Season of Style Designer Washi Tape

Real Red 1:8%22 Taffeta Ribbon

Current Promotions:

Butterfly Bundle – get the Papillon Potpourri Stamp Set and the Bitty Butterfly Punch for a special price now through September 30, 2013!

Paper Pumpkin! Get your first two months for only $10! Click HERE to sign up!

Make your own stamp! New Undefined stamp carving kit. Available now! Click here for the PDF.

Check out all of the Photopolymer Stamp Sets! The latest one is Another Thank You. It’s a completely clear stamping option you are going to love!
Thinlits Card Dies! A fast and easy way to make a flip fold card! Available August 1st! Click here for the PDF.