Hello everyone! I had a very nice day in Manhattan yesterday! I will have some fun pictures for you tomorrow, but today it’s time for the Creation Station Blog Tour! I’m hoping that you have been along for our previous ones! I missed the last one, I was at Convention. I f this is your first time here welcome and I hope that you find inspiration in the projects. This time around we are featuring the Amazing Birthday Stamp Set and the Tag-A-Bag products. If you are following the tour you have arrived here from Deborah Smart’s blog, she always has such cool stuff! I have three projects for you today. I took some pictures of the first project because it contains a new item and a fun new technique!
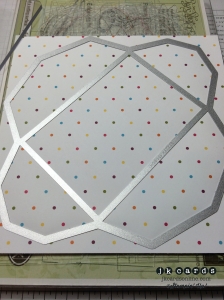
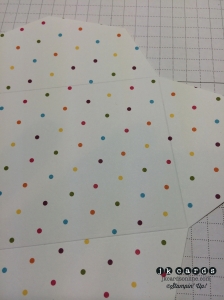
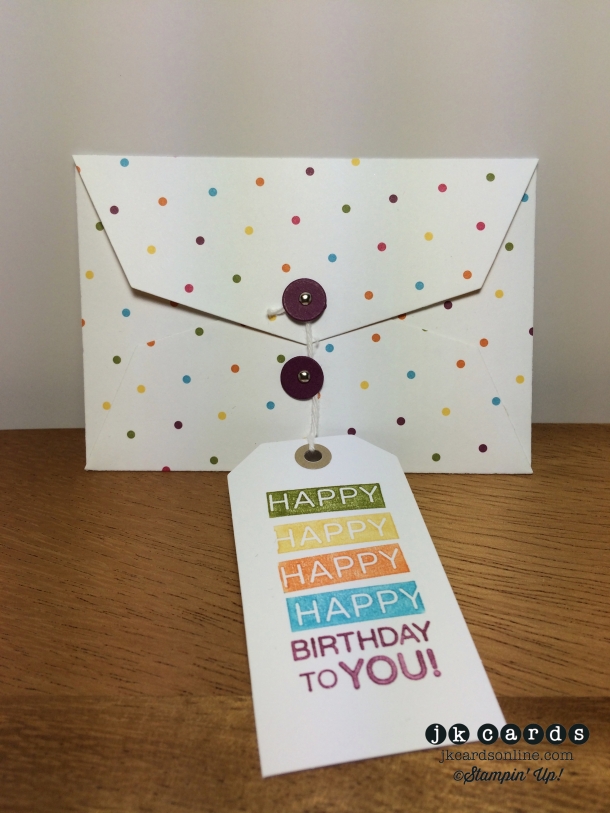
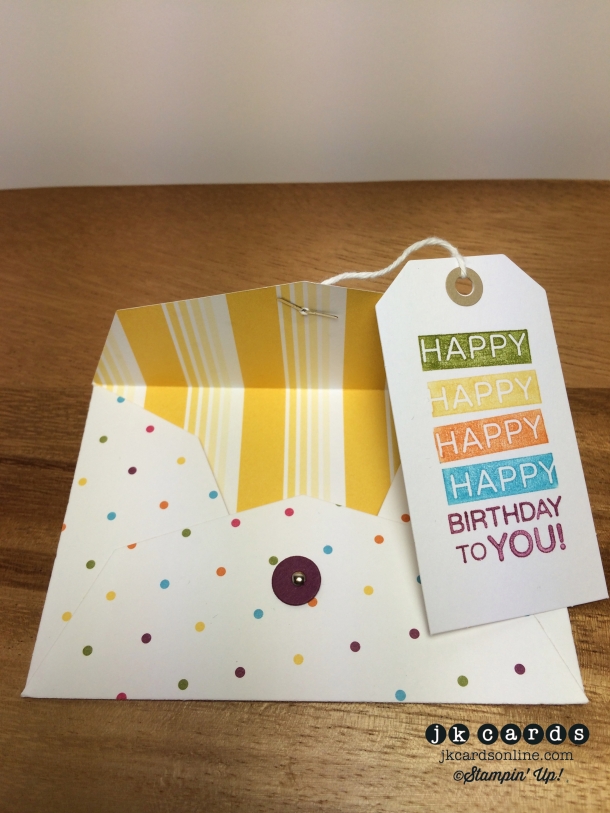
First up I have a simple gift card holder made with the new Gift Card Envelope and Trims Thinlits Die that will be available for purchase on August 28th from the 2014 Holiday Catalog. I used the die to cut out a piece of Sweet Taffy Designer Series Paper.
The die is great because it cuts and scores the paper for you, all you have to do is fold, adhere and embellish!
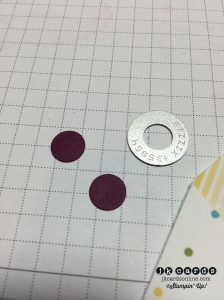
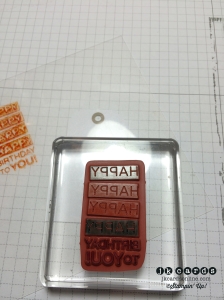
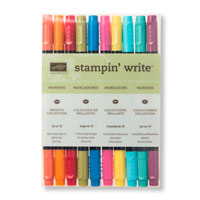
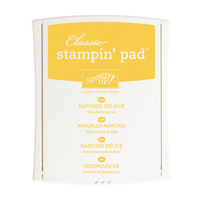
I added the circles and 1/8″ Mini Brads so I would be able to tie on my tag. Speaking of the tag it’s actually a “Vintage” one from the Stamp a Tag Kit. I used the greeting from the Amazing Birthday Stamp Set and marketed it in Old Olive, Daffodil Delight, Pumpkin Pie, Tempting Turquoise and Rich Razzleberry.
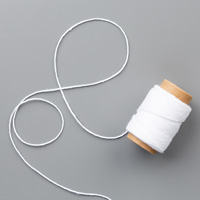
A piece of White Baker’s Twine is wrapped around the brads and holds the tag to the gift card holder. A quick and fun way to give someone a little something for their birthday!
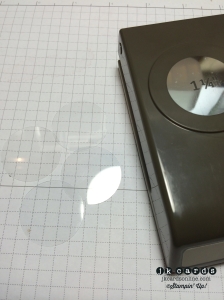
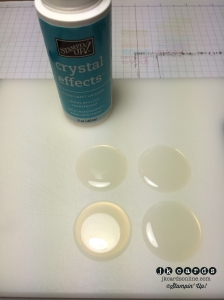
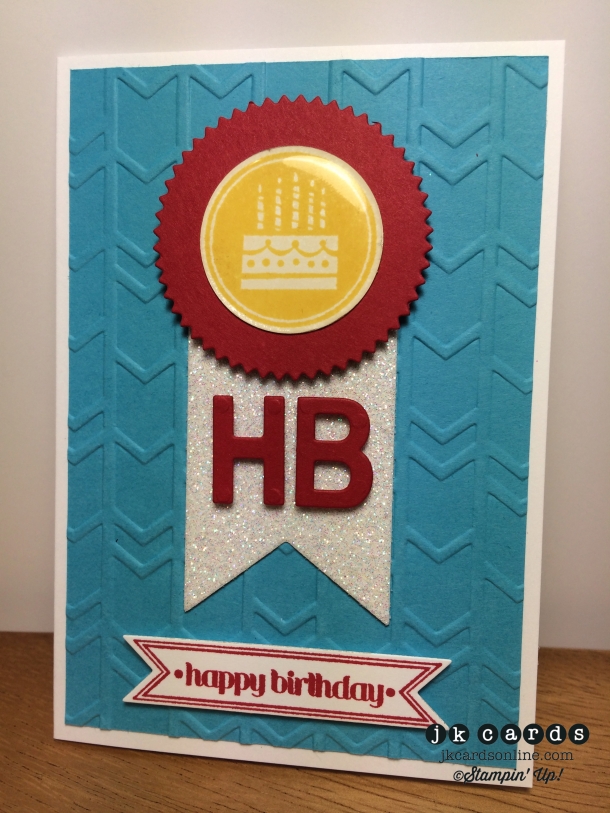
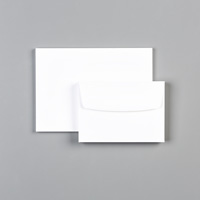
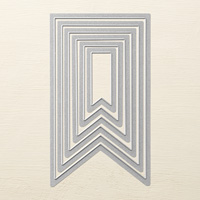
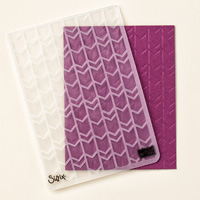
Next up I have a note card. I saw this fun technique to make epoxy embellishments the other day so I thought I would give it a try! The card begins with one of the cards from the Note Cards & Envelopes. I embossed a piece of Tempting Turquoise with the Arrows Textured Impressions Embossing Folder for my background. For the banner I cut out a piece of Dazzling Diamonds Glimmer Paper with the Banners Framelits. A piece of Real Red is cut out with the Starburst Framelits and adhere to the card with Stampin’ Dimensionals. Next up is my epoxy embellishment. I punched out a piece of Window Sheet with the 1 1/4″ Circle Punch and spread some Crystal Effect over the top.
The neat thing is that as long as you don’t put too much Crystal Effects on it stops at the edge of the Window Sheet. You need to set them aside for at least 24 hours to make sure that they are completely dry. I stamped the cake from the Amazing Birthday Stamp Set in Daffodil Delight and ran it through my Zyron Sticker Maker face down and adhered it to the back of the Window Sheet. Some Fast Fuse makes sure that it will stay in place. Another piece of Real Red is cut out with the Little Letters Thinlits and adhered to the card with more Stampin’ Dimensionals pieces. My greeting is from the Itty Bitty Banners Stamp Set and is cut out with the Bitty Banners Framelits. I loved making the epoxy embellishments, they are so much fun and it’s great to be able to customize them to whatever you need!
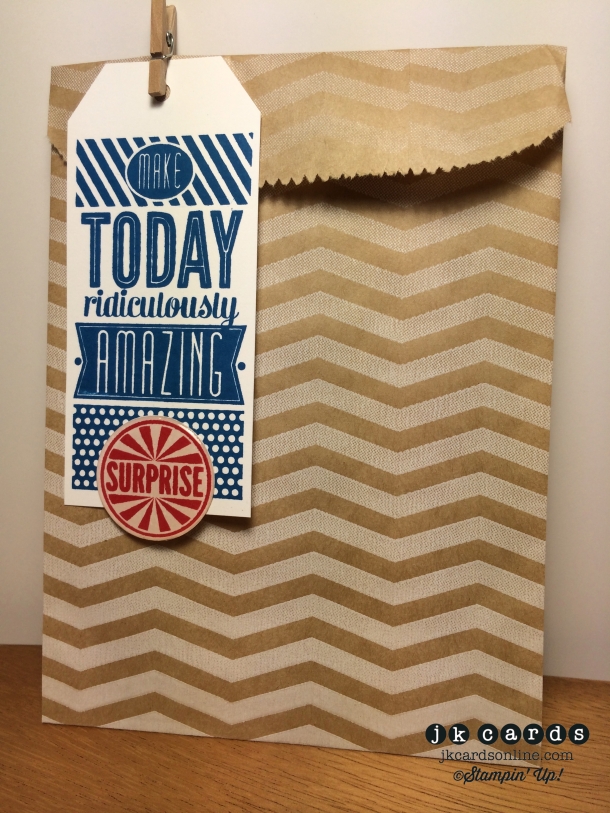
My last project is a simple tag. I stamped the greeting from the Amazing Birthday Stamp Set in Tempting Turquoise and punched the tag with the Angled Tag Topper Punch. Another one of the epoxy embellishments is adhered to the bottom and a Mini Clothes Pin holds it to one if the Chevron Tag a Bag Gift Bags. I always need something quick to make to put on a gift and this definitely fits the bill! I made some extra epoxy embellishments and now can just stamp and adhere what I need to the back of them!
So there are my projects for the Creation Station Blog Tour featuring the Amazing Birthday Stamp Set and Tag a Bag products! I hope that you are inspired and that you will give making the epoxy embellishments a try. Your next stop on the tour is Ilina Crouse! She always has some amazing stuff! Thank you for coming by to see my projects and enjoy the rest of the tour and have a wonderful Sunday! 🙂
Complete Blog Tour:
Justin Krieger (that’s me)
Stampin’ Up! products used:
Gift Card Holder:
Stamp Set: Amazing Birthday Clear Mount
Stampin’ Write Markers: Old Olive, Daffodil Delight, Pumpkin Pie, Tempting Turquoise and Rich Razzleberry
Card Stock: Rich Razzleberry
Designer Series Paper: Sweet Taffy
Tag: Stamp a Tag Kit (Vintage)
Thinlit: Gift Card Envelope and Trims
Embellishments: 1/8″ Mini Brads and White Baker’s Twine
Tools: Big Shot, Paper-Piercing Tool, Fast Fuse and SNAIL
Note Card:
Stamp Sets: Amazing Birthday and Itty Bitty Banners Clear Mount
Ink: Daffodil Delight and Real Red Classic Stampin’ Ink
Card Stock: Tempting Turquoise, Real Red and Whisper White
Specialty Paper: Dazzling Diamonds Glimmer and Window Sheet
Framelits: Starburst, Banners and Bitty Banners
Thinlits: Little Letters
Embossing Folder: Arrows
Punch: 1 1/4″ Circle
Embellishments: Crystal Effects
Tools: Big Shot, Stampin’ Dimensionals, Fast Fuse and SNAIL
Tag and Bag:
Stamp Set: Amazing Birthday Clear Mount
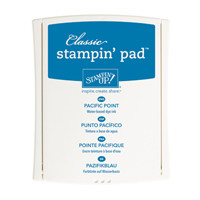
Ink: Pacific Point and Real Red Classic Stampin’ Ink
Punch: Angled Tag Topper and 1 1/4″ Circle
Embellishment: Mini Clothes Pin
Accessory: Chevron Tag a Bag Gift Bags
Tools: Fast Fuse
Current Promotions:
For the entire month of August buy a Big Shot and get a FREE Stamp & Framelit Bundle!! Click HERE for more details!
The 2014-2015 Annual Catalog is here!! Get your lists ready and place your orders!!
With our personalized stamps you can create a cool address label or even use it for everything from marking your territory on books or other belongings to having a fun way to give a personal touch to gifts and goodies. Click HERE for a PDF of the flyer.
It’s here! The 2014 Occasions Catalog is ready for you to place your order! It’s packed with fun trendy products and quick kits! Click on the image in the sidebar and place your order today!
Need some cards quicky? Stampin’ Up! has a brand new kit that allows you to create 20 cards, all you need is some adhesive and you’re all set. Click here for the Everyday Occasion Card Kit!
Make your own stamp! New Undefined stamp carving kit. Available now! Click here for the PDF.
Check out all of the Photopolymer Stamp Sets! The newest sets are Dear Heart and Christmas Bliss. It’s a completely clear stamping option you are going to love!

















Oh my Justin – 3 projects in one blog. You’re going to spoil us! LOL Now I have a question – is there a difference in size between the new thinlits die and the small envelope BigZ scalloped envelope by Sizzix for SU that I already have? I do see this thinlit doesn’t have the scalloped edge but I can’t tell if there is a size difference. I do love the way you used the brads and twine as a closer for the envelope. Very smart indeed! The epoxy embellishments look like lots of fun to make and pretty versatile to use. Great idea and thanks for sharing. Of course I just love the way you used the glitter paper on the birthday card! You sure were a busy boy yesterday…………a trip into Manhattan AND three projects for your readers. Send some of that energy my way please. Hugs!
LOL! You deserve to be spoiled Grace! Yes, the new Thinlit is a bit larger that the Scalloped Envelope Die. The new Thinlit is neat, it comes with extra pieces too! I did have fun making the epoxy embellishments, and I made some extra to have on hand! The card needed something and the glimmer paper was exactly it! I was busy, but I love it all which makes it fun! Hugs to you too my friend and enjoy your Sunday! 🙂
Justin ~ great tip on the “epoxy”. Much easier than what I have been doing. Thanks!
Thank you Sara! I’m going try some different shapes too! 🙂
Hi Justin! Wow!! Fantastic projects today! I agree with Grace, you are spoiling us! 😉 LOVE that thinlit gift card die, can’t wait to get that. Awesome card using the little letters for the HB. And of course the glimmer paper…love that. Thanks for the tip using the crystal effects, I will definitely try that. A bright and cheery card! And the bag you decorated is so cute…always looking for ways to dress those up. Glad you had a great time in the city, looking forward to your pics tomorrow! Have a great day!
Hello Karen!
Thank you! Like I said you deserve to be spoiled! Yes, the gift card die is great and I love the Little Letters Thinlits! The epoxy embellishments were nice and easy to make, they just took a long time to dry! Sometimes all you need is a tag! The city was so much fun yesterday and it turned out to be a great day! Enjoy the rest of your Sunday! 🙂
Your pure awesomeness can not be put into words! Hello…. Crystal Effects on Window Sheet for epoxy dots….. totally genius.
Thank you Teneale! I really appreciate it, but you are wicked awesome yourself! Have fun making the enamel embellishments! 🙂
Hi Justin, Wow love the epoxy embellishments!! I’ve never seen that done before… can’t wait to try it. Thanks for sharing!
Hello Gerri!
Thank you! It’s super easy to make the epoxy embellishments! Have fun! 🙂
As usual- great and creative projects. Love the new use for Crystal effects! Thanks for another inspirational day.
Thank you very much Marty! I hope that you enjoy the rest of your Sunday! 🙂
Love your projects. I had that envelope dye on my wish list. Love the crystal effects tip too. Everything is beautiful! Thanks a bunch.
🙂
Thank you Nancy! The Gift Card Thinlit is super! I hope that you’ll try the enamel embellishments! 🙂
Love your projects. I passed the envelope die up, now I’m having second thoughts, (Thank you, as I’m watching my money go bye bye.. LOL) I’ve made my own glue dots, never thought about epoxy embellishments, gotta try that.
Thank you Linda! LOL! I watch my money go by too! Fun isn’t it?! I hope that you have fun trying the epoxy embellishments! 🙂
All your projects are awesome, but I am LOVIN’ the “epoxy” embellishments! Great tip to do it on the window sheet!
Thank you very much LeAnne! I hope that you give the epoxy embellishments a try! They were nice and simple to make! Have a wonderful week! 🙂
Great projects, Justin! Thanks for sharing the how-to on making the epoxy embellishments 🙂
Thank you Deborah! Have fun making the embellishments! 🙂
Love, love, loved the projects! I have got to try the epoxy pieces, but since I don’t have a sticker machine, I wonder what else I could use to glue it one? Did you try anything else?
Thank you very much Mary Alice! I would think that if you cover the front of what you are going to adhere with SNAIL it might work. 🙂
LOVE that birthday card! It is just like you – awesome!
Thank you so much Theresa! You are are pretty awesome yourself! 🙂
I just love your crystal effects “epoxy” element! What a great idea. Now, I just need enough patience to let it dry for 24 hours… I always feel tempted to touch the crystal effects to see if it’s dry and I get my fingerprint in it! Great ideas – thanks!
Thank you Mary! I had a hard time waiting for them to dry! I put them away from me so I wouldn’t be tempted! LOL! 🙂
Wow these are SOOO nice! Love the envelope die!
Thank you Rubeena! 🙂
Thanks so much for the tip on how to make epoxy embellishments with Crystal Effects, Justin! They really add a great finishing touch. Very cool!
You’re welcome El! I hope you’ll give them a try. 🙂